Roasting duck represents a culinary challenge that rewards precision and patience. Unlike chicken or turkey, duck contains a substantial fat layer beneath its skin, which demands specific techniques to render properly while achieving that sought-after crackling texture. The combination of moisture management, temperature control, and strategic seasoning transforms an ordinary bird into an impressive centerpiece worthy of holiday tables and special occasions.
Understanding Duck Anatomy and Fat Composition
Duck differs fundamentally from other poultry in its structure and fat distribution. The meat underneath the skin is naturally darker and richer than chicken, containing higher levels of myoglobin. The fat layer beneath the skin, however, is what separates successful duck preparation from disappointing results. This fat must render out during cooking, leaving behind crispy skin rather than chewy, greasy exterior. Understanding this principle guides every decision in the preparation process, from initial selection through final plating.
The legs and thighs of a duck contain more fat and connective tissue than the breasts, meaning they require different cooking considerations. This structural knowledge helps explain why various roasting techniques exist—each addresses the specific challenge of cooking these different parts to optimal doneness simultaneously.
Pre-Roasting Preparation: The Foundation for Success
The journey toward crispy duck skin begins days before the roasting pan enters the oven. Preparation techniques employed in advance dramatically influence the final texture and flavor of the finished dish.
Moisture Removal Through Refrigeration
The most critical preparatory step involves removing surface moisture from the duck. Pat the bird thoroughly with paper towels, paying particular attention to the skin’s entire surface, including the cavity interior. After patting dry, place the duck uncovered on a roasting rack positioned inside a roasting tray, then refrigerate for 24 to 48 hours. This extended refrigeration period allows the skin to dry out gradually, a process essential for achieving crispness. The uncovered placement permits air circulation around the bird, facilitating this drying effect. This technique mirrors methods used in traditional Peking duck preparation, where moisture removal represents the cornerstone of skin texture development.
Strategic Scoring and Piercing
Before roasting begins, score the duck skin in a crosshatch or diamond pattern across the breast area, taking care not to penetrate the flesh beneath. This scoring allows fat to escape more efficiently during cooking. Additionally, prick the skin over the legs and other fatty sections with a sharp fork or knife tip. These small perforations provide pathways for rendered fat to exit the bird rather than pooling beneath the skin and creating greasy spots.
Seasoning Approaches: Building Flavor Layers
Duck’s rich, distinctive flavor profile accommodates various seasoning philosophies, from minimalist salt-and-pepper treatments to complex spice blends. The choice of seasonings significantly influences the final dish’s character.
Traditional Herb Rubs
A straightforward approach combines smoked paprika, garlic powder, dried thyme, salt, and pepper in a small bowl until evenly distributed. After patting the duck dry, rub this herb mixture over the entire bird, including the cavity interior. This method imparts flavor while the spices help create an appealing exterior crust during roasting.
Asian-Inspired Spice Combinations
More complex preparations might incorporate Sichuan peppercorns, Chinese five-spice powder, minced garlic, and coarse salt. Grind toasted Sichuan peppercorns using a mortar and pestle or spice grinder, then combine with the five-spice blend and other ingredients. Rub this mixture thoroughly over the duck’s exterior and inside the cavity. Some recipes enhance this approach by placing orange slices or quartered orange inside the cavity, which imparts subtle citrus notes during roasting and prevents the interior from drying.
Allowing Seasoning to Penetrate
After applying seasonings, return the duck to the refrigerator uncovered. This resting period allows flavors to penetrate the meat while moisture continues evaporating from the skin. The combination of seasoning application and extended refrigeration creates a well-seasoned bird with optimal skin texture.
Temperature Strategy: Achieving the Perfect Balance
Most successful duck roasting employs a two-stage temperature approach: slow roasting followed by high-heat finishing. This method addresses the dual challenge of rendering fat while avoiding overcooking the meat.
The Low-Temperature Phase
Begin by preheating the oven to 300-350°F. Place the prepared duck breast-side up on a roasting rack inside a roasting pan. Cook at the lower temperature for approximately one to three hours, depending on the bird’s size and your preferred final texture. During this phase, the duck cooks gently while fat renders gradually. Some recipes specify rotating the bird to cook breast-side down for an hour, then returning it breast-side up for the final period, ensuring even cooking and fat rendering on all sides.
The High-Temperature Finish
After the initial slow roasting, increase the oven temperature to 425°F and continue cooking for 15-40 minutes until the skin achieves deep golden-brown color and crispy texture. This high-heat phase crisps the exterior after the fat has rendered, creating the desired crackling finish without drying the interior meat. Some recipes incorporate a glaze during this final phase, applying it in the last 10-15 minutes for a caramelized exterior.
Basting and Fat Management During Cooking
As the duck roasts, it releases substantial quantities of fat into the pan bottom. Rather than allowing this fat to accumulate stagnantly, use it strategically through basting.
Every 15 minutes during the initial roasting phase, use a baster to draw rendered duck fat from the pan bottom and apply it over the bird’s surface, particularly focusing on areas that appear dry. This basting technique accomplishes multiple goals: it keeps exposed areas from desiccating, it promotes even cooking, and it reinforces the browning process. The basting action represents an active engagement with the cooking process that distinguishes successful preparations from passive roasting approaches.
After cooking concludes, save the rendered fat for future culinary use. Once cooled sufficiently to handle safely, strain the fat through a fine mesh sieve and refrigerate until solidified. Store it in an airtight container for several weeks. This duck fat becomes invaluable for roasting potatoes, frying eggs, or adding richness to other dishes.
Rest and Carving: Completing the Process
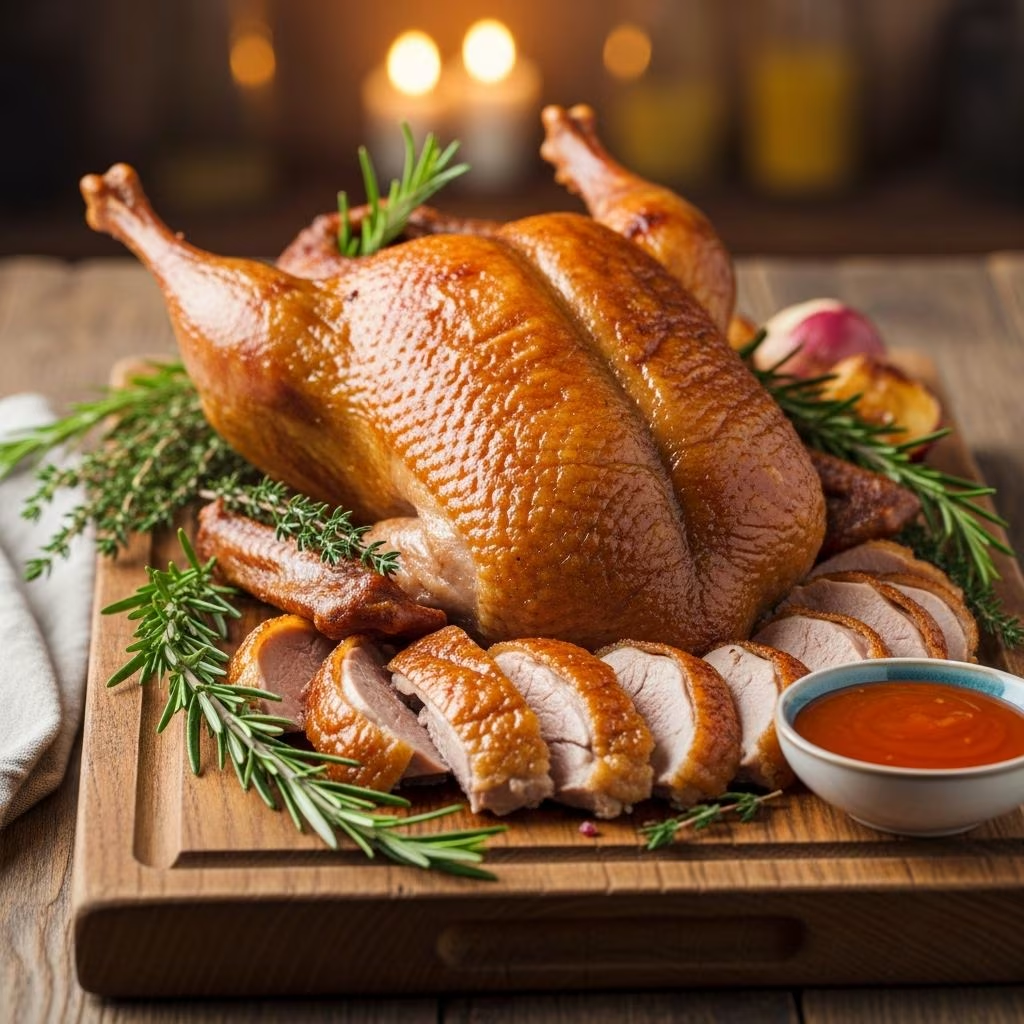
Upon removing the duck from the oven, resist the immediate impulse to carve. Allow the bird to rest for 10 minutes on a cutting board or serving platter. This resting period permits internal juices to redistribute throughout the meat, ensuring moist results when carving. During this brief pause, the skin crisps further as residual heat continues its work.
Carve the duck using sharp knives and poultry shears, or shred the meat using two forks in a pulling motion for a more casual presentation. The well-prepared duck should yield meat that separates easily from the bones, indicating proper cooking and rendering.
Temperature Readiness and Doneness Assessment
Duck meat, unlike chicken, benefits from cooking to medium or medium-rare rather than well-done. A meat thermometer inserted into the thickest part of the thigh (without touching bone) should register 165-170°F for food safety, though some preparations cook to slightly lower internal temperatures in the thigh while maintaining food safety standards. The breast meat may be slightly more pink than chicken breast, as duck’s fat content and structure support this preparation style.
Glazes and Finishing Sauces
The rendered duck provides an ideal foundation for finishing sauces and glazes that complement the crispy exterior. Common approaches include honey-based glazes with hoisin sauce, garlic powder, and black pepper. Orange-forward preparations combine orange juice with soy sauce, ginger paste, and crushed red pepper for an Asian-inspired finish. These sauces apply in the final cooking stages, allowing them to caramelize and form a glossy exterior without burning.
Common Mistakes and How to Avoid Them
Insufficient drying time: Skipping or abbreviating the refrigeration period results in skin that steams rather than crisps during roasting. Allow the full 24-48 hours whenever possible.
Skipping the scoring step: Without scoring and piercing, trapped fat creates chewy rather than crispy skin. These preparatory cuts remain essential regardless of other techniques employed.
Incorrect oven temperature: Beginning at too high a temperature browns the exterior before fat renders, creating a greasy result. Starting low and finishing hot proves more reliable.
Inadequate resting time: Carving immediately after roasting allows juices to escape, resulting in drier meat. The 10-minute rest genuinely matters.
Poor ventilation during refrigeration: Covering the duck during its initial refrigeration traps moisture rather than allowing evaporation. Uncovered placement on a roasting rack supports proper drying.
Serving Suggestions and Accompaniments
Crispy roasted duck pairs excellently with sides that complement rather than compete with its rich flavor. Roasted vegetables like root vegetables benefit from being cooked in rendered duck fat. Light, acidic sides such as citrus-forward salads or vinegar-based slaws provide palate-cleansing contrast. Traditional accompaniments include steamed buns for casual service or refined vegetable preparations for formal presentations.
Frequently Asked Questions
How long does a whole duck require for roasting?
Total roasting time typically spans 1 hour 40 minutes to 3 hours 30 minutes, depending on the bird’s weight, starting temperature, and specific recipe approach. A 5-6 pound duck at 300°F usually requires approximately 3-3.5 hours initially, with 15-40 minutes at higher temperature for finishing.
Can I prepare duck the night before roasting?
Yes, the 24-48 hour refrigeration recommended for moisture removal actually supports advance preparation. Season the duck and refrigerate uncovered for the specified time, then proceed with roasting when convenient.
What temperature should duck reach internally?
Duck reaches food safety standards at 165-170°F in the thickest thigh portion. Unlike chicken, duck meat may appear slightly pink when properly cooked, as its fat content and structure support medium-rare preparation.
How should I store leftover duck?
Store carved duck meat in an airtight container in the refrigerator for up to four days. The rendered fat, once strained and cooled, stores in an airtight container in the refrigerator for several weeks or freezes for longer storage.
What makes the difference between crispy and rubbery skin?
The primary factors determining skin texture include adequate drying time before roasting, proper scoring and piercing to allow fat escape, and the two-stage temperature approach. Skipping any of these elements typically results in suboptimal skin texture.
Mastering the Technique Through Practice
Successfully roasting duck combines fundamental cooking knowledge with attention to detail and willingness to engage actively with the cooking process. The techniques described here—extended drying, strategic scoring, temperature management, and patient basting—represent time-tested approaches refined through generations of culinary tradition. While the process demands more active engagement than roasting chicken, the impressive results justify the additional effort, transforming a single duck into an elegant centerpiece that demonstrates genuine cooking skill.
References
- How to make Classic Herb Roast Duck — 3CatsFoodie. Accessed April 2026. https://3catsfoodie.com/roast-duck/
- Crispy Whole Roast Duck — Went Here 8 This. Accessed April 2026. https://www.wenthere8this.com/crispy-roasted-duck/
- Crispy Duck [Easy w Crispy Skin] — Kitchen Sanctuary. Accessed April 2026. https://www.kitchensanctuary.com/crispy-duck/
- Crispy Whole Roast Duck — GastroSenses. Accessed April 2026. https://www.gastrosenses.com/blog/crispy-whole-roast-duck/
- Slow Roasted Duck with Crispy Skin — Just a Little Bit of Bacon. Accessed April 2026. https://www.justalittlebitofbacon.com/slow-roasted-duck-with-crispy-skin/