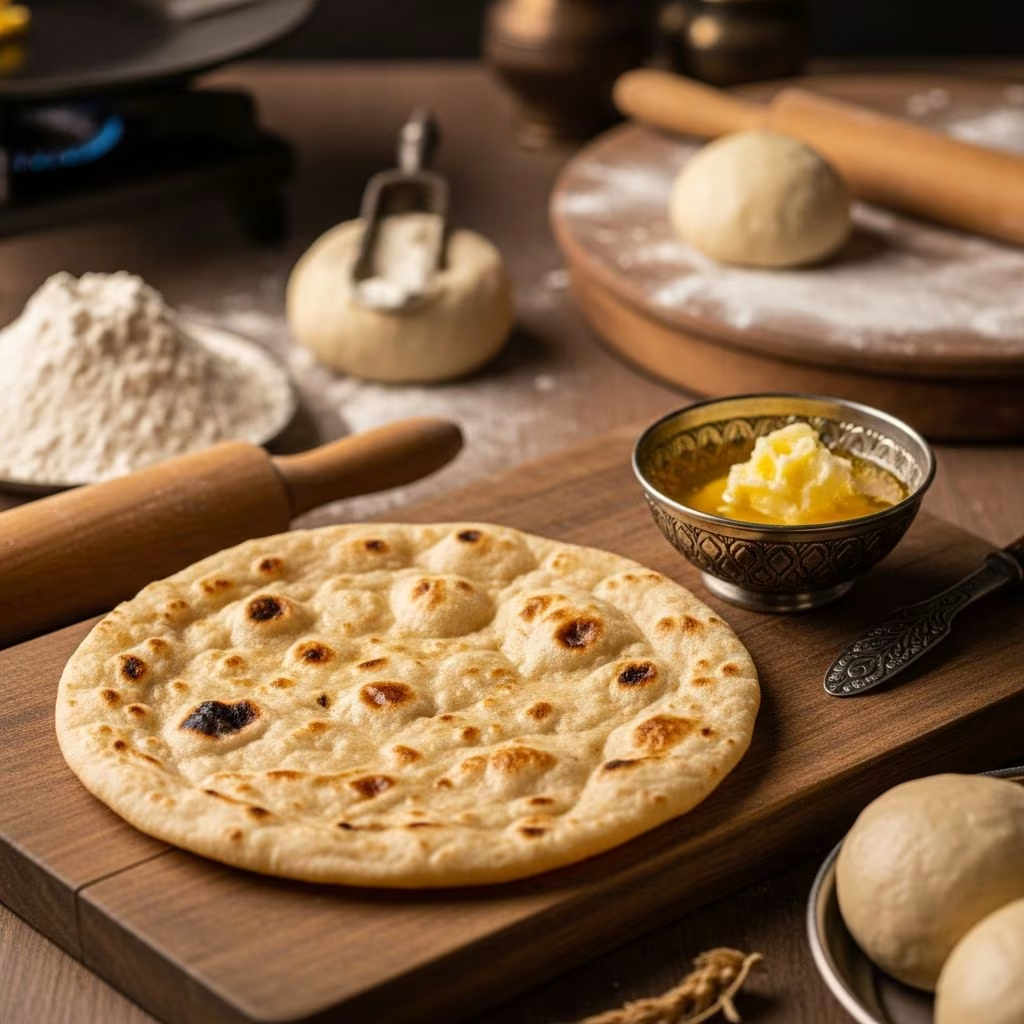
Indian roti represents one of the most fundamental and versatile staples in South Asian cuisine. This unleavened flatbread transcends mere sustenance, serving as an essential accompaniment to curries, vegetable preparations, and legume-based dishes across India and beyond. Despite its seemingly simple appearance, creating genuinely soft and pliable roti requires understanding proper technique, ingredient selection, and the subtle timing that transforms basic flour and water into something remarkably delicious.
Understanding Roti Fundamentals
At its core, roti embodies simplicity in its most refined form. The traditional preparation relies on minimal ingredients, yet each component plays a crucial role in achieving the desired texture and flavor. The foundation begins with selecting appropriate flour, which fundamentally differs from standard all-purpose varieties commonly found in Western kitchens.
Atta flour, a whole wheat flour specifically milled for Indian flatbread production, contains higher protein content than conventional wheat flour. This elevated protein percentage proves instrumental in developing the gluten network essential for creating dough that can be rolled thin without tearing. The flour’s unique milling process preserves the bran and germ, contributing to the characteristic nutty undertones and nutritional density that distinguish roti from other bread varieties.
Beyond flour, water and salt constitute the essential trinity of roti ingredients. The quality and temperature of water influence hydration patterns and dough workability. Many experienced cooks recommend using warm water, as it facilitates more efficient flour hydration and creates a more pliable dough structure. Salt serves purposes extending beyond flavor enhancement, strengthening gluten development and regulating fermentation processes that might otherwise occur during resting periods.
The Dough Foundation: Creating the Perfect Base
Successful roti begins with meticulous dough preparation. This initial stage determines whether your finished flatbread will possess the tender, slightly chewy quality characteristic of superior roti or develop an undesirable dense or brittle texture.
Combining and Mixing
Begin by adding atta flour and salt to a large mixing bowl, incorporating approximately 1.5 cups flour with 1/2 teaspoon salt. Mix these dry components thoroughly to ensure even salt distribution. Gradually introduce warm water—approximately 1/2 cup initially—while stirring with a fork or wooden spoon. The goal involves creating a shaggy mixture that begins holding together without becoming saturated.
This gradual hydration approach prevents lumps from forming and allows precise control over moisture content. Different flour brands absorb varying amounts of water depending on their protein content, milling fineness, and storage conditions. Adding water incrementally permits adjustment based on the specific flour’s behavior rather than relying on fixed measurements.
Kneading Technique
Once the initial mixture forms, transfer the dough to a clean work surface and begin kneading by hand. Apply steady, rhythmic pressure using the heel of your hand, folding the dough back toward yourself after each push. This repetitive motion develops the gluten network responsible for elasticity and extensibility. Continue kneading for approximately 8-10 minutes until the dough transforms from rough and slightly sticky to smooth and supple.
The tactile feedback during kneading provides valuable information about dough consistency. If the dough feels excessively sticky, dust lightly with flour and continue working it. Conversely, if the dough appears dry and resists binding together, wet your hands slightly and continue kneading—this moisture transfer often suffices to achieve proper hydration without adding excess water directly.
Resting and Conditioning
After achieving a smooth, elastic dough, shape it into a cohesive ball and allow it to rest, covered with a damp cloth or plastic wrap, for 20-45 minutes. This resting period permits the flour to fully absorb moisture and allows gl