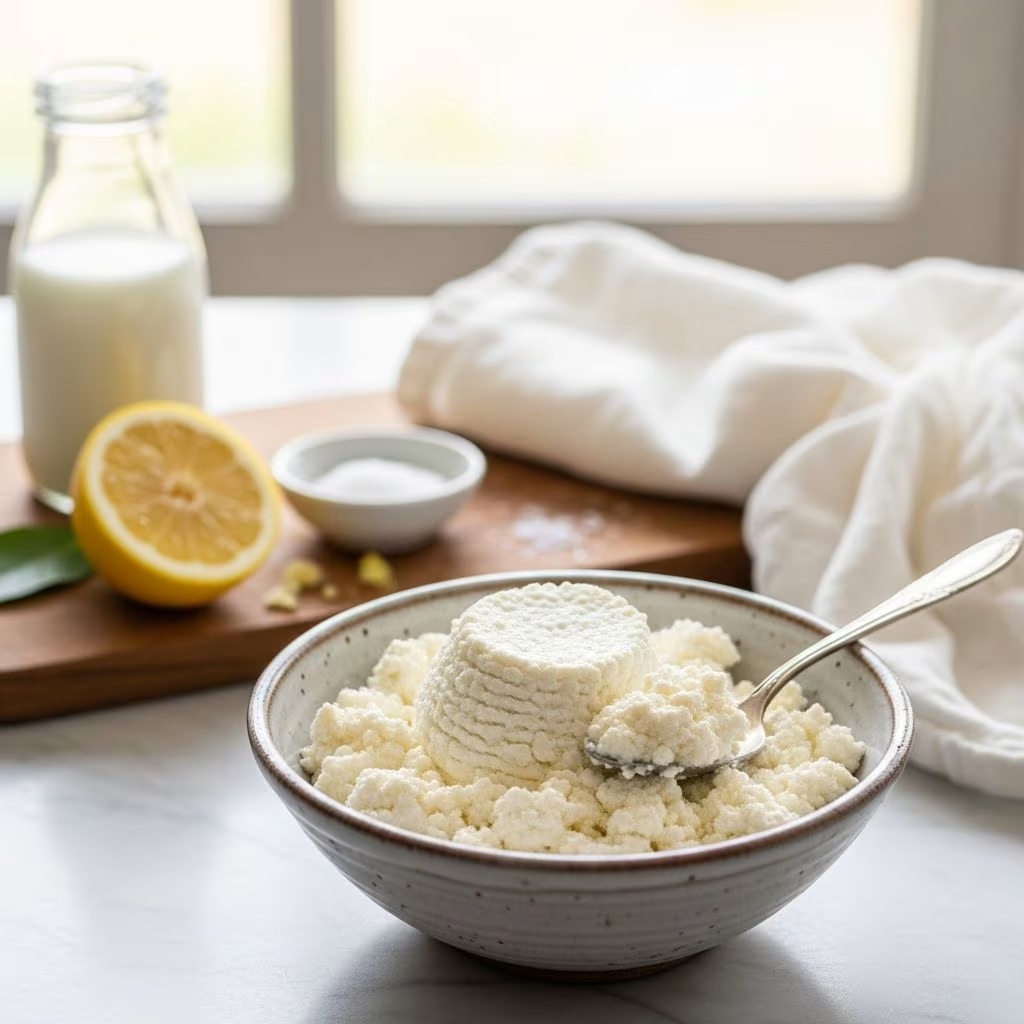
Creating your own ricotta cheese at home elevates everyday cooking with its fresh, creamy taste that store-bought versions can’t match. This process relies on heating milk and introducing an acid to separate curds from whey, yielding a versatile ingredient ready in about an hour.
Why Choose Homemade Over Store-Bought Ricotta?
Artisan-style ricotta boasts a lighter, more delicate flavor profile due to its fresh preparation. Commercial varieties often undergo heavy processing, resulting in denser textures and added stabilizers. Home production allows customization of creaminess and saltiness, plus it’s cost-effective—using about a gallon of milk produces roughly two cups of cheese.
Fresh batches shine in applications like stuffed pasta shells or spread on crusty bread with honey. The satisfaction of watching milk transform into cheese adds a rewarding element to kitchen adventures.
Essential Ingredients for Success
The beauty of this recipe lies in its simplicity: just milk, an acid source, and salt. Here’s a breakdown:
- Whole Milk (8 cups or 2 liters): Opt for full-fat versions at 3.25% milkfat for optimal curd formation. Avoid ultra-pasteurized milk, as it resists coagulation due to prior high-heat treatment.
- Acid (3 tablespoons lemon juice or white vinegar): Freshly squeezed lemon provides a subtle citrus note ideal for sweet dishes; vinegar works well for savory uses like lasagna.
- Salt (½ teaspoon kosher or sea salt): Enhances flavor without overpowering the mild cheese; adjust to taste post-draining.
- Optional Heavy Cream (1 cup): Adds extra richness for an ultra-creamy result, mimicking restaurant-quality ricotta.
These components ensure reliable results without complex additives.
Required Tools and Equipment
You likely have most items on hand, minimizing barriers to entry:
- Large heavy-bottomed saucepan (non-reactive stainless steel or enamel preferred).
- Cheesecloth or fine mesh strainer (fold cheesecloth 3-4 times for secure curds).
- Colander and deep bowl to catch whey.
- Wooden spoon or spatula for gentle stirring.
- Instant-read thermometer (optional but helpful for precision).
- Slotted spoon or ladle for transferring curds.
Non-reactive materials prevent off-flavors; aluminum pots can react with acids.
Step-by-Step Instructions for Perfect Ricotta
Follow these precise steps for foolproof cheese every time. Total active time is under 30 minutes, with passive draining.
Prepare the Draining Setup: Line a colander with dampened cheesecloth (4 layers thick) and position over a large bowl. This catches the whey, a nutritious byproduct usable in baking or smoothies.
Heat the Milk: Pour milk (and cream if using) into the saucepan with salt. Warm over medium heat to 185-195°F (85-90°C), stirring occasionally to prevent scorching. Without a thermometer, watch for steam rising, tiny edge bubbles, and a skin forming—about 20 minutes.
Add Acid and Curdle: Reduce heat to low, stir in lemon juice or vinegar. Gently agitate for 1-2 minutes as curds form and separate from yellowish whey. Avoid over-stirring to preserve large, tender curds.
Rest Off Heat: Cover and let sit 10-20 minutes. This allows full coagulation without additional heat.
Strain the Curds: Ladle mixture into cheesecloth. Drain 5-60 minutes based on desired texture: 5 minutes for spreadable creaminess, 30-60 for firmer fillings.
Finish and Store: Gently squeeze cheesecloth to remove excess whey, then transfer to a bowl. Season if needed. Use immediately or refrigerate in an airtight container up to 5 days.
Temperature control is key—too low and curds won’t form; boiling breaks them apart.
Pro Tips for Flawless Results
- Milk Quality Matters: Fresh, non-ultra-pasteurized milk yields 1.5-2 cups cheese per 8 cups milk. Test by checking labels for “UHT” warnings.
- Acid Balance: Start with 3 tablespoons; add 1 more teaspoon if curds are slow to form.
- Gentle Handling: Minimal stirring post-acid preserves curd integrity for smoother texture.
- Whey Utilization: Save the clear liquid for ricotta pancakes, bread dough, or even pet treats—it’s protein-rich.
- Scaling Up: Double ingredients in a larger pot for batches serving 8-10.
Customizing Texture and Flavor
Draining time dictates consistency:
| Drain Time | Texture | Best Uses |
|---|---|---|
| 3-10 minutes | Ultra-creamy, spoonable | Toast toppings, desserts, dips |
| 20-30 minutes | Soft and spreadable | Pasta sauces, cheesecakes |
| 45-60 minutes | Firm and dry | Ravioli fillings, fried balls |
Flavor twists: Infuse milk with herbs before heating, or mix in roasted garlic post-draining for gourmet dips.
Creative Ways to Enjoy Fresh Ricotta
This cheese’s mild tang pairs endlessly:
- Savory: Toss with hot spaghetti, olive oil, and black pepper. Layer in lasagna or top flatbreads with veggies.
- Sweet: Blend with powdered sugar and lemon zest for cannoli filling; dollop on pancakes with berries.
- Snacks: Spread on grilled bread with honey, pistachios, or balsamic glaze.
- Advanced: Whip with cream for airy frosting or stuff into zucchini flowers.
Portion about ¼ cup per serving for appetizers.
Storage, Freezing, and Shelf Life
Fresh ricotta lasts 3-5 days refrigerated in a covered container; drain any pooling whey daily. For longer storage, freeze in ice cube trays up to 2 months—thaw overnight for best texture, though it may slightly grain.
Label containers with production date to track freshness.
Frequently Asked Questions (FAQs)
Can I use low-fat milk?
No, it produces scant, grainy curds. Stick to whole milk for volume and creaminess.
What if curds don’t form?
Increase acid by 1 tablespoon or ensure milk reached 190°F. Ultra-pasteurized milk is the usual culprit.
Is the whey safe to drink?
Yes, it’s nutritious and mild—use in smoothies, soups, or as a buttermilk substitute.
How much cheese does one batch yield?
Expect 1.5-2 cups from 8 cups milk, varying by milk fat and draining.
Vegan alternatives?
Try coconut milk with citric acid, but results differ from dairy ricotta.
Common Mistakes and How to Avoid Them
Grainy Texture: Over-stirring shatters curds—stir minimally.
Scant Yield: Wrong milk type; verify non-UHT.
Bitter Taste: Too much acid; measure precisely.
Watery Cheese: Insufficient draining; extend time as needed.
Practice refines technique, but first attempts often succeed.
Nutritional Profile and Health Notes
A ½-cup serving offers about 200 calories, 14g protein, and calcium for bone health. It’s lower in sodium than many commercial options when lightly salted. Use in moderation within balanced diets.
References
- Homemade Ricotta Cheese: Only 3 Ingredients! — She Loves Biscotti. 2023-05-15. https://www.shelovesbiscotti.com/creamy-homemade-fresh-ricotta-cheese/
- The Creamiest 4-Ingredient Homemade Ricotta — Well Seasoned Studio. 2022-11-10. https://www.wellseasonedstudio.com/homemade-ricotta/
- Homemade Ricotta (Easy Foolproof Method) — The Burnt Butter Table. 2024-02-20. https://www.theburntbuttertable.com/homemade-ricotta/
- Homemade Ricotta is So Easy To Make! — Laura in the Kitchen (YouTube). 2019-08-12. https://www.youtube.com/watch?v=ScuKJFAYB68
- How to Make One-Minute Homemade Ricotta Cheese — Food Wishes (YouTube). 2023-07-05. https://www.youtube.com/shorts/G7eEq8H9mKo