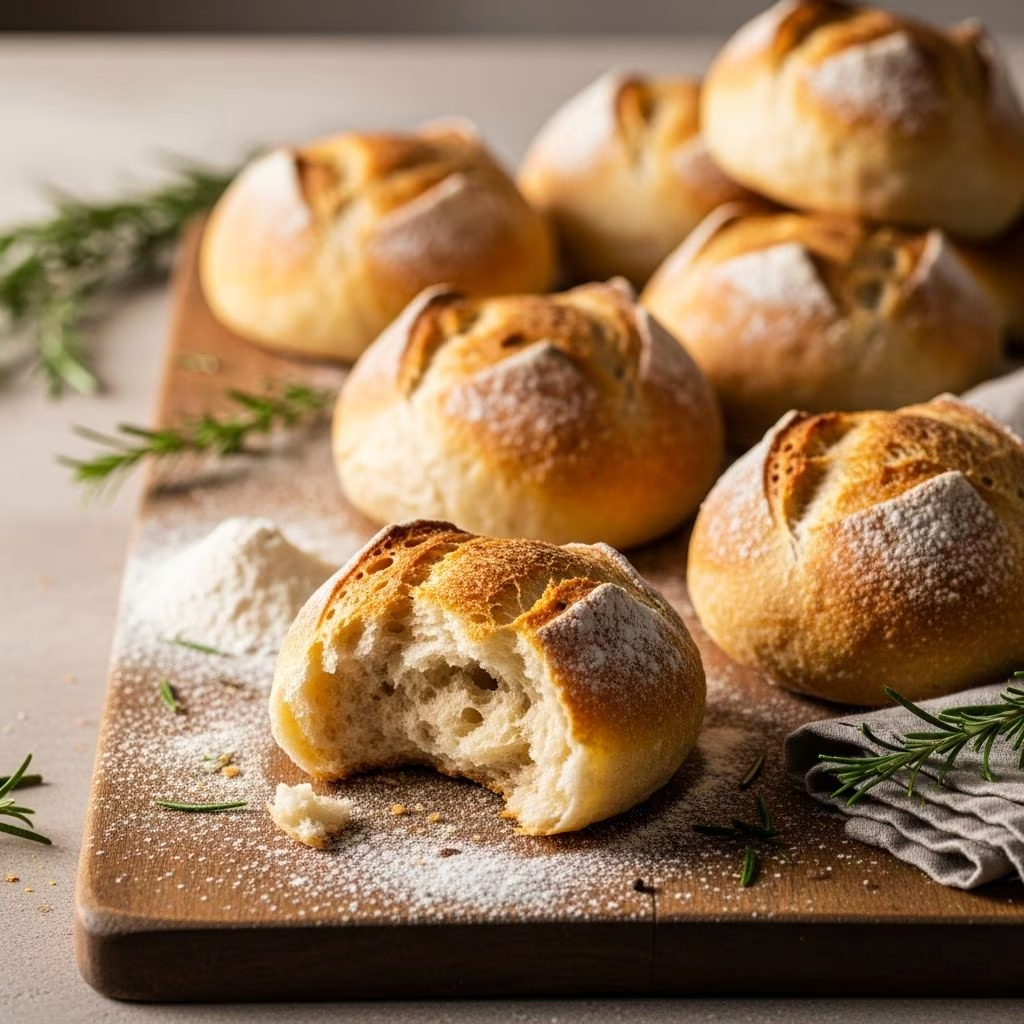
Crusty on the outside and tender inside, French bread rolls elevate any meal with their classic bakery quality. This recipe yields about 12-16 rolls, ready in under 3 hours, using simple pantry staples for impressive results.
Why Make French Bread Rolls at Home
Homemade rolls offer superior flavor and texture compared to store-bought versions. The secret lies in fresh yeast activation and proper rising techniques, creating steam pockets for that signature chewiness. Bakers praise these for their versatility alongside soups, roasts, or salads.
Essential Ingredients for Perfect Rolls
Gather these basics for authentic taste:
- Warm water (105-110°F): Activates yeast without killing it—test by dipping a finger; it should feel comfortably warm.
- Yeast: Instant or active dry (about 2¼ tsp or 1 packet) ensures reliable rise.
- Sweetener: 1-2 tbsp honey or sugar feeds yeast and adds subtle flavor.
- Oil: 2 tbsp olive, canola, or vegetable for softness and dough elasticity.
- Salt: 1-2 tsp balances flavors and strengthens gluten.
- Flour: 3½-4 cups all-purpose or bread flour; start low and add gradually for optimal hydration.
- Optional: Cornmeal for pan dusting, egg wash for shine.
Quantities scale easily: use the table below for adjustments.
| Yield | Water | Yeast | Sugar/Honey | Oil | Salt | Flour |
|---|---|---|---|---|---|---|
| 12 rolls | 1½ cups | 2¼ tsp | 2 tbsp | 2 tbsp | 1 tsp | 4 cups |
| 16 rolls | 1¼ cups | 2¼ tsp | 2 tbsp | 2 tbsp | 2 tsp | 3½ cups |
Step-by-Step Baking Instructions
Activate yeast: In a stand mixer bowl (or large bowl), mix warm water, yeast, and sweetener. Let sit 5-10 minutes until foamy.
Form dough: Add oil, salt, and 2 cups flour. Mix on low with dough hook (or by hand). Gradually incorporate remaining flour until dough pulls from sides—knead 5-7 minutes until smooth and elastic.
First rise: Oil a bowl, place dough inside, cover with greased plastic or towel. Let rise in warm spot until doubled, 45-60 minutes.
Shape rolls: Punch down dough, divide into 12-16 equal pieces (use scale for uniformity). Tuck edges under, roll into tight balls with palm on unfloured surface for tension.
Second rise: Place on parchment-lined or cornmeal-dusted sheet, 2 inches apart. Cover, rise 30-45 minutes until puffy.
Bake: Preheat oven to 400-425°F. Score tops with sharp knife (3 slashes). Brush with egg wash (1 egg + 1 tsp water + pinch salt) for gloss. Bake 15-20 minutes until golden, rotating halfway. Internal temp: 200°F. Cool on rack.
Pro Tips for Bakery-Worthy Results
- Use a kitchen scale for flour—humidity affects volume measurements.
- Avoid hot water over 120°F; it kills yeast.
- For extra crust, place a pan of water in oven to create steam.
- Refrigerate shaped rolls 4+ hours or overnight for deeper flavor.
- Freeze unbaked rolls post-second rise; bake from frozen, adding 5 minutes.
Common Mistakes and Fixes
| Issue | Cause | Solution |
|---|---|---|
| Dense rolls | Too much flour or under-kneading | Measure flour by weight; knead until windowpane test passes |
| Flat rolls | Over-proofed or weak yeast | Poke test: dough springs back slowly; test yeast freshness |
| Tough crust | No steam or overbaked | Add ice cubes to oven floor; check at 15 min |
| No rise | Cold environment | Use proofing box or oven with light on |
Flavor Variations to Try
- Herb-infused: Add 2 tbsp minced rosemary or garlic to dough.
- Cheesy: Top with parmesan before baking.
- Whole wheat: Swap 1 cup flour for whole wheat for nutty taste.
- Sweet: Increase honey to ¼ cup, add cinnamon swirl.
- Seeded: Brush with oil, roll in sesame or poppy seeds post-rise.
Perfect Pairings and Serving Ideas
These rolls shine with hearty dishes:
- Soups and stews: Dip into creamy tomato or beef barley.
- Mains: Alongside roast chicken, pasta, or BBQ.
- Salads: Crumble for crostini-style crunch.
- Holidays: Basket for Thanksgiving or Easter feasts.
Serve warm; re-crisp in 350°F oven 5 minutes. Store airtight up to 2 days or freeze baked rolls 1 month.
Nutrition Snapshot (Per Roll, 12 servings)
| Nutrient | Amount |
|---|---|
| Calories | 150 |
| Carbs | 28g |
| Protein | 4g |
| Fat | 2g |
| Sodium | 250mg |
Values approximate; varies by ingredients.
Frequently Asked Questions
Can I make these without a stand mixer?
Yes, knead by hand 8-10 minutes until smooth and supple.
What if my yeast doesn’t foam?
It’s inactive—buy fresh. Always check expiration.
Can I use bread flour?
Absolutely; it yields chewier texture due to higher protein.
How do I get a thicker crust?
Refrigerate overnight and bake with steam.
Are these vegan?
Yes, skip egg wash or use plant-based alternative.
Advanced Techniques for Expert Bakers
Experiment with autolyse: Mix flour and water, rest 30 minutes before yeast for better gluten. For baguette-style rolls, elongate before proofing. Track dough temp at 75-80°F for consistency.
References
- Easy French Bread Dinner Rolls — Feel Good Foodie. 2023. https://feelgoodfoodie.net/recipe/french-bread-rolls/
- French Bread Rolls {Step-by-Step} — Mel’s Kitchen Cafe. 2022. https://www.melskitchencafe.com/french-bread-rolls/
- French Bread Rolls — Life in the Lofthouse. 2021. https://life-in-the-lofthouse.com/french-bread-rolls/
- French Bread Dinner Rolls — Serena Bakes Simply From Scratch. 2012-10-01. https://www.serenabakessimplyfromscratch.com/2012/10/french-bread-dinner-rolls.html
- French Bread Rolls — Flour Arrangements. 2021-03-01. https://www.flourarrangements.org/2021/03/french-bread-rolls/
- French Bread Dinner Rolls — The Salted Pepper. 2023. https://thesaltedpepper.com/french-bread-dinner-rolls/