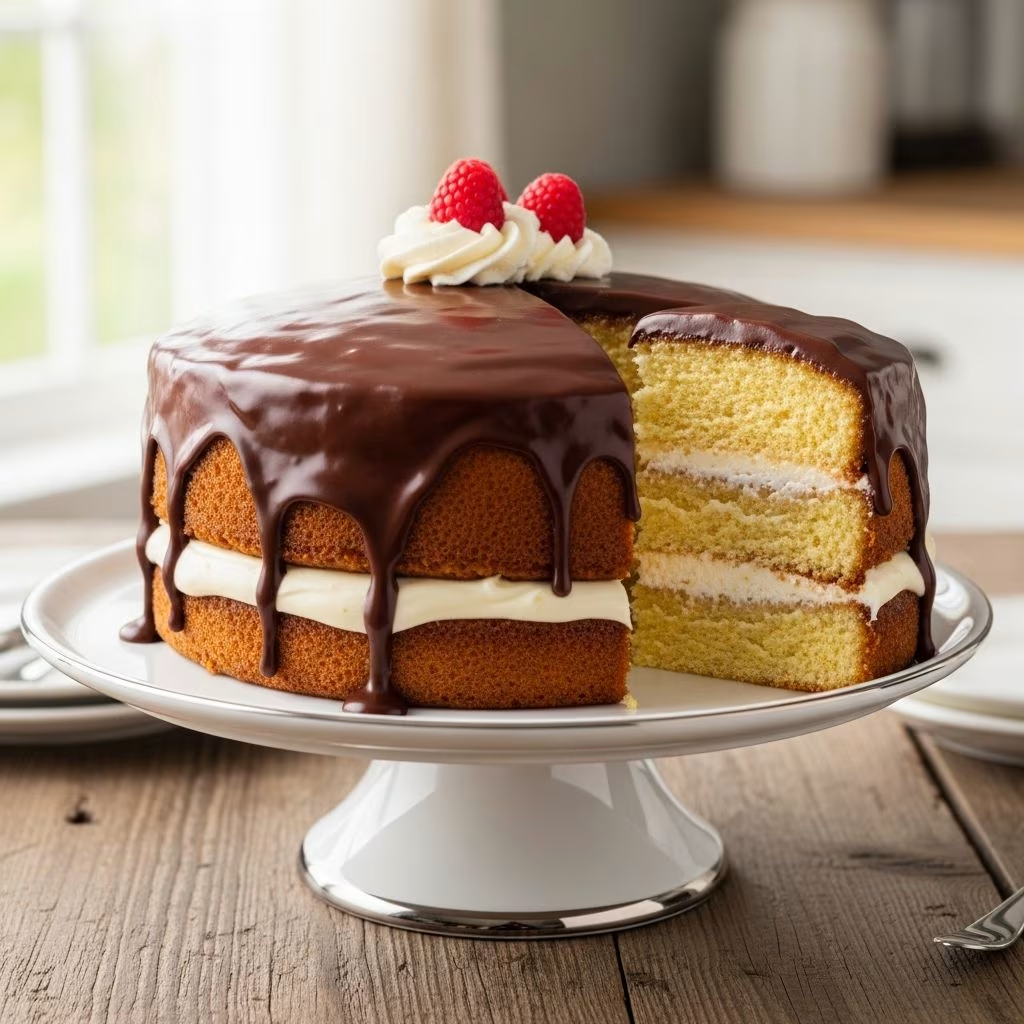
The Boston cream pie stands as one of America’s most iconic desserts, celebrated for its combination of tender cake, smooth custard filling, and decadent chocolate coating. However, the traditional preparation can intimidate home bakers with its complexity and time commitment. A Boston cream poke cake offers an elegant solution, capturing all the flavors and textures of the classic pie in a far more approachable format. This sheet cake variation maintains the sophistication of the original while streamlining the preparation process, making it accessible to bakers of all skill levels.
Understanding the Poke Cake Concept
The poke cake technique represents an ingenious approach to layering flavors and moisture into a single dessert. Rather than constructing a traditional layered cake, the method involves creating small perforations across the surface of a baked cake and then pouring a liquid mixture directly into these openings. This approach allows the pudding to penetrate deep into the cake structure, distributing creamy custard throughout every bite rather than confining it to a single layer.
The genius of this method lies in its simplicity. By allowing the pudding to seep through the cake’s crumb structure, you achieve moisture and flavor distribution that typically requires more complex assembly techniques. The result feels indulgent and restaurant-quality while requiring significantly less skill and equipment than traditional layered cakes.
Essential Components for Success
Building Your Cake Foundation
The foundation of your Boston cream poke cake begins with a quality yellow or vanilla cake mix. These boxed options provide consistency and reliability while eliminating the need for precise measuring and mixing of individual dry ingredients. When selecting a cake mix, yellow or butter varieties work best, as they complement the vanilla pudding and chocolate topping beautifully.
Prepare your cake according to package directions, typically using eggs, oil, and water as specified on the box. The exact quantities may vary by manufacturer, but most standard mixes follow similar ratios. Using the ingredients recommended on the box ensures the cake achieves the proper texture—moist enough to accept the pudding filling while remaining structurally sound.
Bake the cake in a 9×13-inch baking pan, the standard size for sheet cakes. This dimension provides the ideal surface area for creating numerous perforations while maintaining the cake’s structural integrity. Allow the cake to cool completely before proceeding to the next stage, though some recipes suggest that a slightly warm cake may accept the pudding more readily.
The Pudding Layer
Instant vanilla pudding serves as the creamy heart of this dessert, mimicking the custard filling found in traditional Boston cream pies. Select instant pudding rather than cook-and-serve varieties, as the former requires minimal preparation and allows you to pour it immediately after mixing.
Combine instant vanilla pudding mix with milk according to package instructions, typically using a ratio of one pudding box to two cups of milk. Whisk these ingredients together gently to avoid incorporating excess air, which can create a foamy texture. The pudding should achieve a pourable consistency before it fully sets. Some recipes incorporate whipped topping into the pudding mixture, creating an aerated filling that adds lightness and volume to the final dessert.
The choice between French vanilla and standard vanilla pudding offers an opportunity for personalization. French vanilla provides a slightly more sophisticated flavor profile with hints of vanilla bean, while standard vanilla delivers straightforward, classic vanilla taste. Either option complements the chocolate topping beautifully.
The Chocolate Coating
The chocolate component transforms the cake into the complete Boston cream experience. Two primary approaches exist for the chocolate layer: using canned chocolate frosting for ultimate convenience or creating a chocolate ganache from scratch using heavy cream and chocolate chips.
Chocolate ganache represents a simple mixture of chocolate and heated cream that creates a luxurious, glossy coating. The standard ratio uses one part chocolate chips to two parts heavy cream. Heat the cream until it steams gently, then pour it over the chocolate chips and allow them to soften for two minutes before stirring until smooth. This creates a ganache that can be poured directly over the chilled cake, setting into an elegant chocolate shell.
For those preferring convenience, canned chocolate frosting provides an acceptable alternative that eliminates the need for stovetop cooking. Simply spread or pour the frosting across the top of the chilled pudding layer. Both approaches deliver satisfactory results, with the choice depending on your comfort level and time availability.
Step-by-Step Preparation Process
Creating the Perforations
The distinctive feature of poke cakes involves creating numerous small holes across the cake’s surface. The most effective tool for this task is the rounded handle end of a wooden spoon, which creates appropriately sized perforations without tearing the cake crumb structure.
Begin by positioning the wooden spoon handle at approximately one-inch intervals across the cake’s surface. Apply steady downward pressure, pushing the handle nearly to the bottom of the cake without breaking through the pan’s bottom. The goal involves creating holes large enough to permit pudding penetration while maintaining sufficient cake integrity to support the layers above.
Work systematically across the entire cake surface, ensuring even distribution of perforations. This uniform spacing guarantees that pudding reaches all areas of the cake, preventing dry spots in the finished dessert. Many recipes recommend poking the cake while it remains slightly warm, as the warmth may allow the holes to stretch slightly, creating marginally larger openings.
Filling and Chilling
Once the perforations are complete, pour the prepared pudding mixture slowly and evenly across the cake’s surface. The pudding should flow into the holes naturally due to gravity and the liquid’s weight. If desired, use the back of a spoon to gently push pudding down into visible holes, though excessive manipulation may damage the cake structure.
After distributing the pudding, cover the cake with plastic wrap and refrigerate for a minimum of two hours. This chilling period allows the pudding to set completely while permeating throughout the cake layers. The extended chilling also firms the pudding layer, preventing it from shifting when you apply the chocolate topping.
Applying the Chocolate Finish
Remove the cake from refrigeration and apply the chocolate topping once the pudding has fully set. Whether using ganache or canned frosting, spread or pour the chocolate across the pudding layer in an even coating. The chocolate should cover the entire surface, creating a unified appearance while protecting the pudding below.
Allow the chocolate to set at room temperature for approximately thirty minutes, or refrigerate for faster setting if preferred. The final cake can be stored covered in the refrigerator for up to three days, making it an excellent choice for advance preparation.
Variations and Customization Options
Flavor Modifications
While the traditional Boston cream poke cake maintains a vanilla and chocolate flavor profile, numerous variations invite creative adaptation. Substituting chocolate cake mix for yellow cake creates a more decadent interpretation, with chocolate complementing the vanilla pudding in unexpected ways.
French vanilla pudding offers enhanced vanilla flavor compared to standard varieties, providing a more pronounced vanilla component in the finished dessert. Some recipes incorporate a small amount of vanilla extract into the pudding mixture for additional depth.
The chocolate topping can be customized by mixing semi-sweet, dark, or milk chocolate chips according to preference. Dark chocolate creates a more sophisticated, slightly bitter counterpoint to the sweet vanilla pudding, while milk chocolate produces a sweeter overall flavor profile.
Textural Enhancements
The pudding layer can incorporate whipped topping for added lightness and volume. Folding whipped cream into the pudding mixture before pouring creates a mousse-like consistency that feels more luxurious on the palate. This variation increases the overall cake volume without substantially altering preparation complexity.
For those seeking additional richness, adding a thin layer of whipped cream or additional ganache between the cake and the chocolate coating creates multiple textural layers, enhancing the eating experience.
Troubleshooting Common Issues
Addressing Uneven Pudding Distribution
If pudding fails to distribute evenly across the cake, ensure that the perforations are sufficiently deep and large. Small or shallow holes restrict pudding flow and prevent adequate filling throughout the cake. When creating holes, push the wooden spoon handle as far into the cake as possible without breaking through the bottom layer.
Additionally, verify that the pudding consistency is appropriate. Pudding that has begun to set before pouring will not flow smoothly into the openings. Prepare pudding immediately before pouring it across the cake to maximize fluidity.
Preventing a Soggy Cake Base
Excessive moisture can occasionally soften the cake base excessively, creating an undesirable texture. Prevent this by ensuring adequate refrigeration time after pudding application. The chilling process allows the cake to absorb moisture gradually while preventing oversaturation. Avoid allowing the cake to sit at room temperature for extended periods after pudding addition, as this accelerates moisture absorption.
Managing Chocolate Topping Application
If ganache appears too thick for spreading, warm it gently over low heat or in the microwave for a few seconds, stirring frequently. Conversely, if ganache is too thin and fails to set properly, allow it additional refrigeration time before serving. Ganache typically reaches ideal consistency within thirty minutes at room temperature or ten to fifteen minutes in the refrigerator.
Serving and Storage Guidelines
Boston cream poke cake maintains optimal quality when served chilled directly from the refrigerator. The cold temperature preserves the pudding’s creamy texture and keeps the chocolate topping firm. Serve generous portions, as the dense combination of cake, pudding, and chocolate satisfies most appetites completely.
Store any leftover cake covered in the refrigerator for up to three days. The cake actually improves slightly after one day, as additional time allows flavors to meld and the pudding to penetrate further into the cake structure. Remove the cake from the refrigerator approximately fifteen minutes before serving to allow it to reach an ideal eating temperature.
This dessert is not suitable for room temperature storage or freezing, as the pudding layer fails to withstand these conditions effectively. Plan your serving and storage accordingly to ensure the cake maintains optimal quality throughout its consumption window.
Frequently Asked Questions
Can I prepare this cake in advance?
Yes, Boston cream poke cake is an excellent make-ahead dessert. You can prepare it up to two days before serving, allowing ample time for pudding to set and flavors to develop. Ensure the cake remains covered in the refrigerator throughout storage.
What if I don’t have instant pudding?
While instant pudding streamlines preparation, you can substitute traditional custard or cook-and-serve pudding if instant varieties are unavailable. Prepare the custard according to package directions and allow it to cool before pouring over the cake. The texture may differ slightly from instant pudding versions, but flavor remains consistent.
Can I use homemade cake instead of boxed mix?
Absolutely. Any quality yellow or vanilla cake recipe produces excellent results when used as the foundation for this dessert. Bake the homemade cake in a 9×13-inch pan according to recipe instructions, then proceed with the poke cake technique as described.
Is this dessert suitable for dietary restrictions?
Adapted versions can accommodate various dietary needs. Dairy-free pudding and chocolate alternatives exist for those avoiding dairy. Alternatively, gluten-free cake mixes and pudding options allow this dessert to be enjoyed by those managing celiac disease or gluten sensitivity.
References
- Boxed Cake Mix Preparation Guidelines — General Mills. 2024. https://www.bettycrocker.com/
- Instant Pudding and Dessert Preparation — Kraft Heinz Company. 2024. https://www.kraftheinzcompany.com/
- Chocolate Ganache Technique and Ratios — Callebaut by Barry Callebaut. 2024. https://www.barry-callebaut.com/
- Food Storage and Safety Guidelines — U.S. Department of Agriculture Food Safety and Inspection Service. 2024. https://www.fsis.usda.gov/
- Baking Temperature and Time Standards — American Institute of Baking. 2024. https://www.aibonline.org/