Creating beautiful decorated cookies requires more than just baking skills—it demands precision in your icing preparation and application. Royal icing stands as one of the most popular choices for decorating baked goods, offering a glossy finish that hardens into a pristine shell. Whether you’re a seasoned baker or new to cookie decoration, understanding the fundamentals of royal icing will elevate your confectionery creations from ordinary to extraordinary.
Understanding Royal Icing Fundamentals
Royal icing represents a sophisticated decorating medium that transforms simple baked cookies into showpieces worthy of professional bakeries. This versatile icing combines just a few basic ingredients to create a substance that flows smoothly when liquid, yet hardens to a beautiful glossy finish when dry. The magic lies in understanding how each component contributes to the final product and how to manipulate the consistency to suit different decorating applications.
The beauty of royal icing extends beyond its appearance. The hardened icing creates a protective layer over baked goods, helping preserve moisture and maintain freshness. This characteristic has made it the preferred choice for decorated cookies destined for gift-giving or long-term storage. Professional bakers and home enthusiasts alike rely on this technique to achieve restaurant-quality results.
Essential Components for Royal Icing Success
Meringue Powder: The Modern Foundation
Modern royal icing recipes have evolved to incorporate meringue powder, a convenient substitute for traditional raw egg whites. Meringue powder creates a thicker icing that puffs slightly, producing a robust layer that enhances cookie presentation. The primary advantage lies in food safety—meringue powder eliminates concerns about consuming raw eggs while maintaining the identical consistency and structural integrity that egg whites would provide.
When selecting meringue powder, ensure you’re purchasing the product specifically labeled as meringue powder rather than plain egg white powder. The distinction matters significantly for achieving the correct texture and behavior during the mixing and setting processes. Typically, you’ll find meringue powder in the baking section of grocery stores, though specialty baking suppliers often stock higher-quality varieties.
Confectioners’ Sugar: The Texture Enhancer
Confectioners’ sugar plays a crucial role in achieving smooth, glossy finishes. Its superfine texture dissolves rapidly into the mixture, eliminating grittiness that could mar your finished decorations. Beyond texture, confectioners’ sugar accelerates the setting process, allowing your piped designs to hold their shape without excessive waiting time.
The quality of your confectioners’ sugar directly impacts the final appearance of your icing. Some bakers prefer sifting their confectioners’ sugar before measuring, as this breaks up any lumps that may have formed during storage. This extra step ensures a uniformly smooth icing without visible imperfections.
Water: The Consistency Controller
Water serves as the adjustable component that allows you to achieve the precise consistency your project demands. Unlike meringue powder and confectioners’ sugar, which appear in fixed proportions, water gets added gradually in measured increments. Room-temperature water mixes most effectively, as extreme temperatures can affect how the icing behaves during application.
Ingredient Proportions and Variations
| Ingredient | Standard Recipe | Alternative Variation |
|---|---|---|
| Confectioners’ Sugar | 4 cups (480g) | 2 lbs |
| Meringue Powder | 3 Tablespoons | 5 Tablespoons |
| Water | 9 Tablespoons | 1 cup |
| Optional Additions | Vanilla extract, food coloring | Light corn syrup, clear vanilla |
Step-by-Step Preparation Process
Equipment Requirements
Proper equipment significantly impacts your success rate. An electric mixer—either handheld or stand mixer—proves essential for achieving the correct texture. A stand mixer fitted with a whisk attachment offers hands-free mixing, allowing you to focus on gradually incorporating water. If using a handheld mixer, medium-high speed accomplishes the same results with slightly more effort.
The Mixing Process
Begin by beating meringue powder and water together until the mixture becomes frothy and begins to stiffen. This initial phase typically takes two to three minutes, during which you’ll observe the mixture transforming from liquid to foam-like consistency. This step establishes the foundation for everything that follows.
Once your meringue mixture achieves the proper texture, add the confectioners’ sugar gradually while maintaining medium speed. Continue beating until the mixture becomes smooth and thick. At this stage, the icing should hold its shape when lifted with a spoon, though it may still feel slightly too stiff for your intended application.
The final adjustment involves adding water one tablespoon at a time, beating between each addition. This gradual process prevents accidentally creating icing that’s too thin to recover. Your goal is reaching a consistency that holds its shape without becoming impossible to work with during piping or flooding.
Achieving Perfect Consistency for Your Project
Stiff Consistency for Piping Details
For creating outlines, writing, and intricate piping details, you need stiff royal icing that maintains sharp lines and defined shapes. This firmer consistency requires less water than flooding-consistency icing. When you lift the piping bag, the icing should hold its form without drooping or flattening. Test your consistency by piping a small amount onto parchment paper—the lines should stand proud with defined edges.
Medium Consistency for Versatile Application
A middle-ground consistency works well for cookies that receive both piping and flooding techniques. This icing remains stiff enough for creating decorative elements yet flows smoothly enough for filling larger areas. Finding this sweet spot requires practice, but most bakers develop an intuitive sense after a few batches.
Flood Consistency for Smooth Coverage
For flooding cookies with a smooth, flat icing layer, thin the mixture with water one teaspoon at a time until reaching the desired consistency. The properly thinned flood icing should hold its shape for a couple of seconds when drizzled on the cookie surface, then slowly start to flow and merge, eventually settling into an even layer.
Testing flood consistency on a practice surface prevents wasting decorated cookies. Drizzle a small amount onto parchment paper—it should spread gradually rather than immediately liquefying or stubbornly holding its shape. Achieving this balance takes practice, but the results reward your effort with professionally finished cookies.
Flavor Enhancement and Color Application
Vanilla and Extract Options
While basic royal icing contains no flavoring, adding vanilla extract or other flavorings enhances the taste profile. Standard vanilla extract works well, though some bakers prefer clear vanilla extract to avoid discoloring light-colored icing. Lemon, coconut, and peppermint extracts offer creative alternatives that complement specific cookie varieties.
Food Coloring Techniques
Incorporate food coloring after achieving your desired icing consistency. Gel-based food coloring produces more vibrant hues than liquid varieties, and you’ll need smaller quantities. Beat the coloring thoroughly until the icing displays a uniform color without streaks. For gradient effects or multiple colors, prepare separate batches of icing, each tinted to the desired shade.
Professional Techniques for Superior Results
Layering and Drying Between Applications
Creating complex decorated cookies often involves multiple icing applications. Allow adequate drying time between layers—typically fifteen to thirty minutes depending on ambient humidity. This prevents colors from bleeding into each other and ensures each layer sets completely before adding the next detail.
Piping Bag Selection and Preparation
Disposable piping bags work well for most applications, though some bakers prefer reusable alternatives for environmental reasons. Pairing your bag with the appropriate tip size ensures successful detail work. Fine tips produce delicate lines perfect for writing and outlining, while larger tips fill areas quickly for flooding applications.
Flooding and Spreading Techniques
After flooding a cookie with appropriately thinned icing, use a small offset spatula or toothpick to gently spread the icing toward the edges. Work quickly before the surface begins setting. Some decorators prefer allowing the icing to flow naturally, guiding only when necessary to ensure complete coverage.
Troubleshooting Common Icing Problems
Icing Too Thick or Too Thin
Overly thick icing resists piping and won’t spread evenly when flooding. Add water one tablespoon at a time, beating thoroughly between additions. Conversely, icing that’s too thin will lack structure for piping and flow uncontrollably across cookie surfaces. Restore thickness by beating in additional confectioners’ sugar, one tablespoon at a time, until reaching the desired consistency.
Grainy or Gritty Texture
Undissolved confectioners’ sugar creates an unpleasant texture that mars the appearance of decorated cookies. Ensure your confectioners’ sugar is sifted before measuring, and continue beating after adding it to the meringue mixture until the icing achieves complete smoothness. If grittiness persists, pass the finished icing through a fine-mesh sieve.
Icing Won’t Hold Its Shape
Insufficient meringue powder or excessive water causes structural weakness. Verify your measurements are accurate, and beat the icing for adequate time to develop strength. If problems continue, increase the meringue powder slightly in your next batch, as environmental humidity affects required proportions.
Storage and Make-Ahead Strategies
Royal icing can be prepared up to twenty-four hours in advance, though best results come from using it within a few hours of preparation. Store prepared icing in an airtight container at room temperature. Before using stored icing, stir gently and add water if necessary to restore the desired consistency.
If you prefer making icing significantly ahead, prepare and store meringue powder and confectioners’ sugar separately, then combine when ready to decorate. This approach requires adding water fresh before each use, but maintains optimal icing quality.
Creative Applications Beyond Cookie Decoration
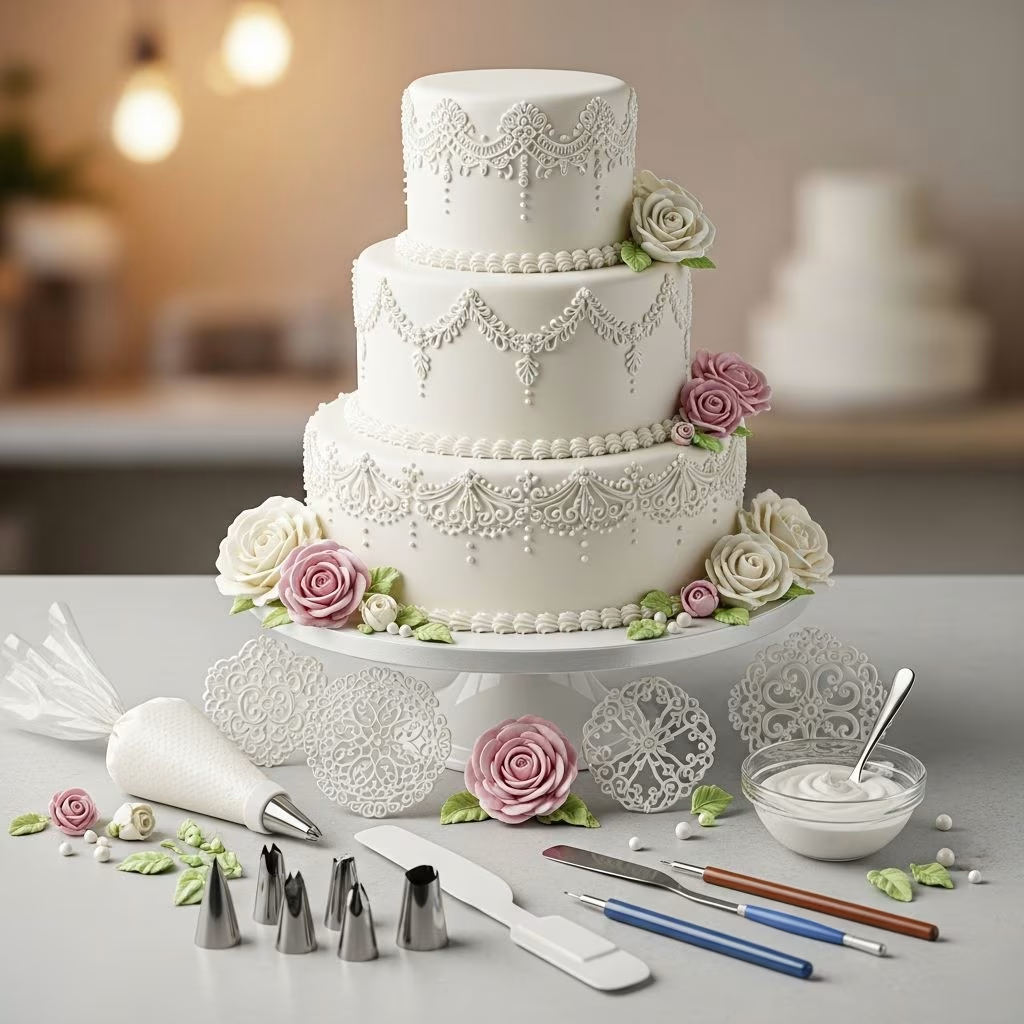
While royal icing gained fame for decorating sugar cookies, its applications extend far beyond. Gingerbread houses rely on royal icing for structural support and decorative detailing. Wedding and celebration cakes benefit from royal icing’s elegant appearance and durability. Cupcakes decorated with royal icing details showcase professional presentation that impresses guests.
Frequently Asked Questions About Royal Icing
Can I use egg whites instead of meringue powder?
Yes, traditional royal icing uses raw egg whites. However, meringue powder offers safety advantages by eliminating raw egg concerns while producing identical results.
How long does royal icing take to dry completely?
Royal icing typically sets to the touch within five to ten minutes, though complete hardening may take several hours. Environmental humidity affects drying speed significantly.
Can I make royal icing without special equipment?
While an electric mixer produces best results, vigorous hand-beating can accomplish similar outcomes, though requiring considerably more effort and time.
What’s the shelf life of decorated cookies with royal icing?
Properly decorated and stored cookies remain fresh for two to three weeks. Store them in airtight containers at room temperature, avoiding exposure to moisture and humidity.
Is royal icing edible, and does it taste good?
Yes, royal icing is completely edible and quite sweet. The texture is hard and shell-like when dry, though some find it less pleasant than softer frostings for eating.
References
- Homemade Royal Icing Recipe — Delish. Accessed April 2026. https://www.delish.com/cooking/recipe-ideas/a45866410/homemade-royal-icing-recipe/
- My Favorite Royal Icing — Sally’s Baking Addiction. Accessed April 2026. https://sallysbakingaddiction.com/royal-icing/