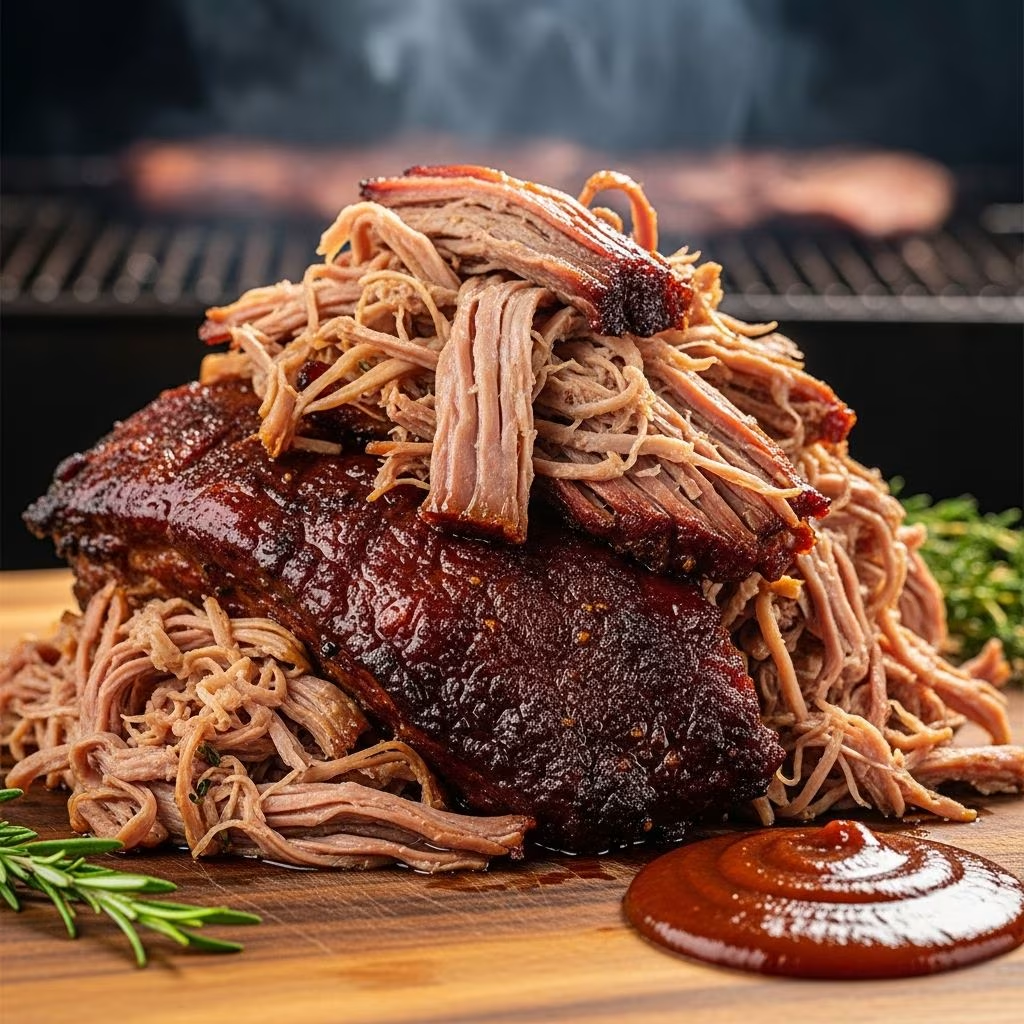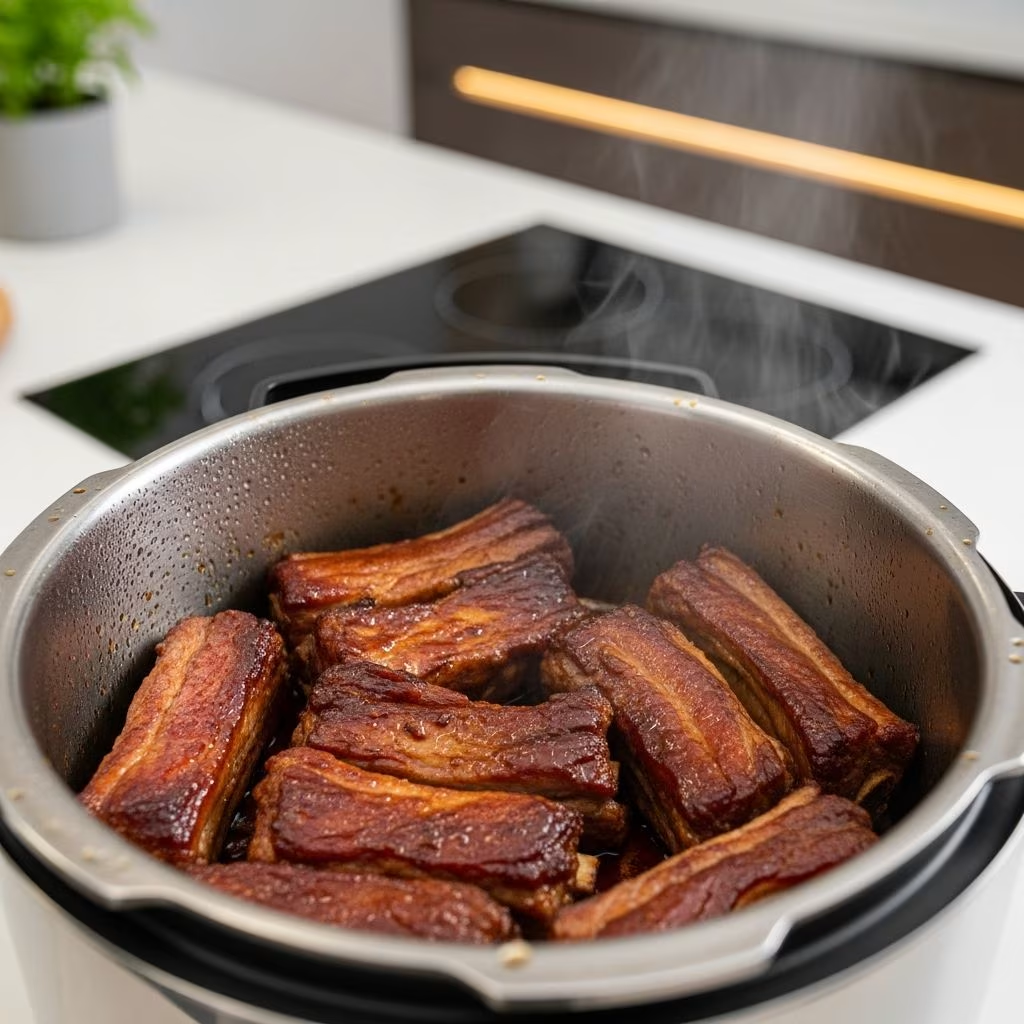
The traditional method of smoking ribs can take hours, requiring specialized equipment and considerable planning. However, modern pressure cooking technology has revolutionized how home cooks approach this classic dish, dramatically reducing cooking time while maintaining exceptional tenderness and flavor. Pressure-cooked pork ribs represent a practical solution for weeknight dinners or entertaining guests without the extensive preparation time traditionally associated with barbecue.
Understanding Pressure Cooking as a Cooking Method
Pressure cooking uses steam and moisture to cook food rapidly under controlled conditions. The sealed environment traps steam, which increases the internal pressure and raises the boiling point of water beyond its normal 212°F (100°C) at sea level. This elevated temperature accelerates the breakdown of collagen in tough cuts of meat, transforming them into tender, succulent dishes in a fraction of the time required by conventional cooking methods.
The process works particularly well for ribs because the high-moisture environment and sustained heat penetrate the meat thoroughly while maintaining its juiciness. The steam essentially braises the ribs from the inside out, creating conditions similar to slow-cooking but accomplished in approximately 25 to 30 minutes total cooking time, including the initial pressurization phase.
Selecting and Preparing Your Pork Ribs
The foundation of any excellent rib dish begins with proper selection and preparation. Baby back pork ribs are the ideal choice for pressure cooking, offering a perfect balance of meat quantity and bone structure. These ribs typically come in full racks weighing between 2 and 4 pounds, yielding approximately 6 to 8 servings depending on portion size and accompanying sides.
Before seasoning, examine the membrane on the underside of the ribs. This thin, papery layer should be removed by sliding a butter knife or similar flat tool beneath it and using a paper towel for grip to pull it away completely. Removing this membrane allows seasonings to penetrate the meat more effectively and permits the cooking liquid to interact with the entire surface area of the ribs.
After membrane removal, pat the ribs thoroughly dry with paper towels. Moisture on the surface can dilute your spice rub and prevent proper seasoning adhesion. Dry ribs ensure that the dry rub forms a flavorful crust and adheres well to the meat.
Crafting the Perfect Dry Spice Rub
The spice rub provides the primary flavor foundation for your pressure-cooked ribs. This aromatic mixture combines sweet, savory, and smoky elements that complement pork’s natural richness. A balanced rub typically includes:
- Brown sugar for sweetness and caramelization
- Paprika and smoked paprika for color and smoky flavor
- Chili powder for depth and subtle heat
- Garlic and onion powders for umami and savory notes
- Cumin for earthy complexity
- Salt and black pepper as flavor enhancers and seasoning foundations
To prepare your rub, combine all dry ingredients in a small bowl and mix thoroughly to ensure even distribution. A typical batch produces enough seasoning for one to two racks of ribs. Apply the rub generously to both sides of the ribs, using gentle pressure to encourage adhesion. Pay particular attention to the meaty side, ensuring complete coverage that will create a flavorful exterior when the ribs finish cooking.
The Cooking Liquid: Building Flavor Through Moisture
The liquid component in pressure cooking serves multiple purposes beyond simple moisture. It creates the steam necessary to build pressure while also infusing the ribs with complementary flavors. Most effective pressure-cooked rib recipes employ a combination of liquids that work synergistically.
Apple juice or apple cider provides natural sweetness that complements pork and enhances caramelization. The acidity in these liquids also tenderizes the meat while adding subtle fruity notes. Apple cider vinegar intensifies these effects, contributing additional tanginess that mirrors traditional barbecue flavor profiles. Water forms the liquid base, and a small amount of liquid smoke adds the characteristic smoky flavor traditionally achieved through wood smoke, though this component remains optional.
A typical liquid mixture combines approximately one cup of water, half to three-quarters cup of apple juice or vinegar, and one-half teaspoon of liquid smoke. Some recipes incorporate beef or chicken broth as a replacement for water, further enhancing the savory dimension of the finished dish.
Arrangement and Pressure Cooking Process
Proper arrangement of the ribs within the pressure cooker ensures even cooking and efficient use of space. Most recipes recommend curling the ribs around the interior walls of the pot, positioning them with the meat side facing outward. This orientation exposes the most flavorful portion to the heat source while allowing the liquid to circulate effectively around all surfaces.
Place the metal trivet (the metal rack included with most pressure cookers) at the bottom of the pot before adding liquid. This prevents direct contact between the ribs and the pot bottom, which could cause sticking or burning. Pour your liquid mixture into the center of the pot, taking care not to rinse away your carefully applied spice rub.
Secure the lid firmly and ensure the pressure valve is set to sealing. Set the pressure cooker to high pressure and adjust the cooking time based on the quantity and thickness of ribs being prepared. A single rack of baby back ribs requires approximately 25 minutes of high-pressure cooking, while larger quantities may require 30 minutes or slightly longer.
Pressure Release and Post-Cooking Handling
After the timer expires, proper pressure release is essential for optimal results. The recommended method involves allowing 10 minutes of natural pressure release, during which the pressure gradually decreases without manual intervention. This gradual release permits gentle carryover cooking and prevents the meat from becoming too firm from rapid temperature changes.
After the natural release period, carefully switch the pressure valve to venting to release any remaining pressure quickly. Allow the pressure to drop completely before opening the lid. Use ca