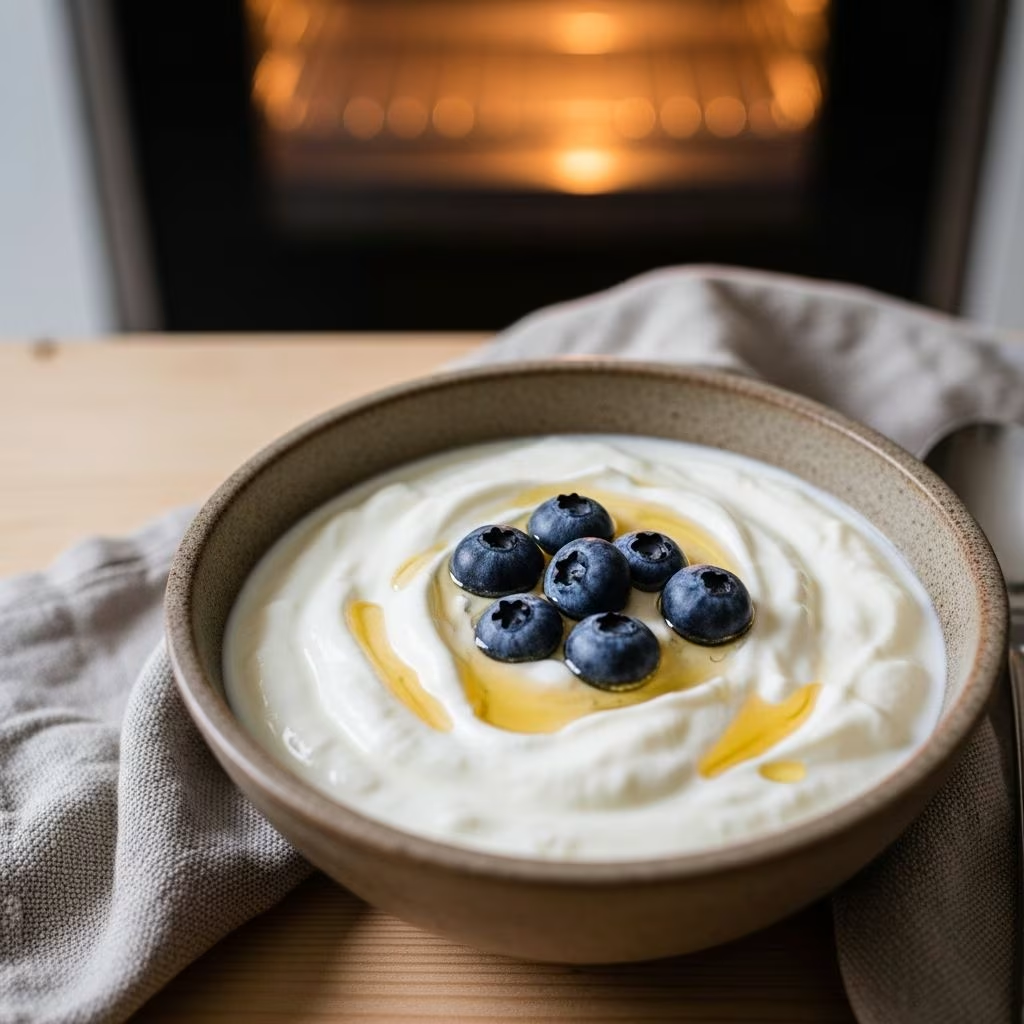
Transform ordinary milk into velvety, probiotic-packed yogurt right in your kitchen oven. This method skips specialized equipment, relying on gentle heat from the oven light or brief warming cycles to culture the milk perfectly. Home production yields fresher taste, customizable thickness, and significant savings over commercial options.
Why Choose Oven Yogurt Making?
Homemade yogurt offers control over ingredients, avoiding additives common in store brands. The oven provides steady, low heat ideal for bacterial fermentation without constant monitoring. Results are consistently thick and tangy, with live cultures thriving for gut health benefits.
- Cost-Effective: A gallon of milk makes quarts of yogurt at a fraction of retail prices.
- Freshness: No preservatives mean superior flavor and nutrition.
- Customization: Adjust tanginess, sweetness, or thickness to preference.
- Probiotic Boost: High live culture counts support digestion.
Essential Ingredients for Success
Start with high-quality basics. Whole milk produces the creamiest texture, but alternatives work with adjustments.
| Ingredient | Quantity (for 2 Quarts) | Purpose |
|---|---|---|
| Whole Milk | 2 Quarts | Base for creaminess and nutrients |
| Plain Yogurt with Live Cultures | 2-3 Tbsp | Starter for fermentation |
| Optional: Milk Powder | 1/2 Cup | Thickens without straining |
| Optional: Sugar/Vanilla | To Taste | Sweetens post-fermentation |
Use ultra-pasteurized milk for reliability, as it reduces failure risks from wild bacteria.
Step-by-Step Guide to Oven Yogurt
Follow these precise steps for foolproof results. Temperature control is crucial—use a thermometer for accuracy.
- Prepare Equipment: Sanitize jars, utensils, and pots with hot soapy water or a dishwasher cycle. Cleanliness prevents bad bacteria interference.
- Heat the Milk: Pour milk into a heavy-bottomed pot. Warm over medium heat to 180-190°F (82-88°C), stirring to prevent scorching. This denatures proteins for thickness. Hold at temperature 5-10 minutes if possible.
- Cool Down: Remove from heat. Let cool to 110-115°F (43-46°C). Skim foam or skin for smooth texture. Speed cooling in an ice bath if needed.
- Incorporate Starter: Whisk 2-3 Tbsp store-bought plain yogurt (with live active cultures) into a small milk portion first, then blend into the full batch. For repeats, reserve 1/2 cup from prior homemade batch.
- Optional Add-Ins: Stir in milk powder for Greek-style density or gelatin for extra firmness before jarring.
- Jar and Incubate: Ladle into clean pint or quart jars. Seal loosely. Preheat oven to lowest setting (170°F/77°C) for 10 minutes, then turn off. Place jars inside, light on for gentle warmth (around 100-110°F/38-43°C). Close door; ferment 6-10 hours undisturbed.
- Chill and Set: Refrigerate 4-6 hours post-fermentation. It thickens further. Enjoy plain or flavored.
Mastering Temperature and Timing
Success hinges on 100-115°F (38-46°C) during culturing. Oven light often suffices; test with thermometer initially.
- 6 Hours: Mild, soft-set yogurt.
- 8 Hours: Balanced tang and creaminess—most popular.
- 10+ Hours: Tangier, firmer, probiotic-rich (up to 24 hours max).
If oven runs cool, preheat briefly every few hours or use a towel-wrapped cooler alternative.
Troubleshooting Common Issues
Even simple methods have hiccups. Here’s how to fix them:
| Problem | Cause | Solution |
|---|---|---|
| Runny Texture | Too short culture or low temp | Extend time; add milk powder next batch |
| Whey Separation | Over-fermentation or temp swings | Stir back in; strain for Greek style |
| No Set/Fail | Dead cultures or contamination | Fresh starter; sanitize better |
| Grainy | Overheating milk | Stir constantly; cool properly |
Flavor Variations and Uses
Plain yogurt is versatile. Sweeten post-chill.
- Vanilla Honey: Stir in honey and vanilla extract.
- Fruit Swirl: Layer with jam or pureed berries.
- Savory: Add herbs, garlic for dips.
- Smoothies: Blend into drinks.
- Baking: Substitute in recipes for tenderness.
Save 1/2 cup as next starter—perpetuates for months.
Health Benefits of Homemade Yogurt
Rich in probiotics like Lactobacillus and Bifidobacterium, it aids digestion, immunity. Whole milk versions provide calcium, protein without sugars.
Storage and Shelf Life
Keeps 2-3 weeks refrigerated. Freeze portions for longer. Signs of spoilage: off smell, mold—discard.
Scaling Up Production
Double for families using larger pots/jars. Maintain ratios; ensure even heating.
Frequently Asked Questions
Can I use non-dairy milk?
Yes, coconut or almond with additives like tapioca for thickness, but results vary.
Do I need a thermometer?
Highly recommended for precision, especially first tries.
What if my oven light is too dim?
Preheat to 200°F, turn off, monitor temp.
Is straining necessary?
No—this method yields thick yogurt; optional for Greek.
How do I know cultures are active?
Check label: “live active cultures.” Test small batch first.
References
- Super Easy Homemade Yogurt (made in the oven!) — Thrifty Frugal Mom. 2023-01-15. https://www.thriftyfrugalmom.com/how-to-make-homemade-yogurt-without-a-crockpot/
- Homemade Oven Yogurt ~Easy ~NO STRAIN Method — YouTube (Hearth and Dome). 2022-05-10. https://www.youtube.com/watch?v=swV-1A2RO4Q
- Homemade Yoghurt Made Easy — Steam & Bake. 2024-03-22. https://steamandbake.com/homemade-yoghurt-made-easy/
- How to Make Homemade Yogurt [No Yogurt Maker] — A Quaint Life. 2023-07-08. https://aquaintlife.com/howtomakehomemadeyogurtwithoutayogurtmaker/
- Easy Homemade Oven Yogurt — YouTube. 2021-11-12. https://www.youtube.com/watch?v=9OMKGP1w6lc