Creating fresh, wholesome bread in your own kitchen is one of the most rewarding cooking experiences you can undertake. Whether you’re a seasoned baker or attempting your first loaf, whole wheat bread offers a nutritious alternative to store-bought options while filling your home with an inviting aroma. This comprehensive guide will walk you through every step of the baking process, from selecting quality ingredients to achieving that perfect golden-brown crust.
Understanding Your Ingredients: The Foundation of Great Bread
The beauty of whole wheat bread lies in its simplicity. You need just a handful of quality ingredients to create a loaf that rivals any artisanal bakery. Each component plays a vital role in developing flavor, texture, and structure.
Whole Wheat Flour: Choosing the Right Type
Whole wheat flour is the star ingredient in this recipe, making up the bulk of your dough. Unlike refined all-purpose flour, whole wheat flour contains the entire grain kernel—the bran, germ, and endosperm. This composition provides superior nutritional value and a distinctive nutty flavor that develops beautifully during the baking process.
Several varieties of whole wheat flour exist, each offering slightly different characteristics. White whole wheat flour, milled from a lighter variety of wheat berries, produces a milder flavor and lighter crumb structure while maintaining the nutritional benefits of whole grain. Red wheat flour, the traditional option, delivers a deeper, earthier taste and creates denser loaves with more pronounced texture. Spelt flour represents an ancient grain alternative that some bakers prefer for its unique flavor profile and digestibility. For your first attempt, white whole wheat flour provides an excellent starting point that balances nutrition with approachability.
Water: The Often-Overlooked Essential
Water comprises a significant portion of your dough and directly influences hydration levels, fermentation speed, and final texture. The temperature of your water matters considerably—lukewarm water between 80°F and 100°F activates yeast at an optimal rate, encouraging proper fermentation without killing beneficial microorganisms or inhibiting their activity. Cold water slows fermentation, while excessively hot water can damage yeast cells and prevent proper rising.
Yeast: The Living Ingredient
Active dry yeast or instant yeast serves as your bread’s rising agent, consuming sugars in the dough and producing carbon dioxide gas that creates air pockets and lift. The amount of yeast affects fermentation speed—using less yeast results in slower, longer fermentation that develops deeper, more complex flavors. A small quantity, typically 2¼ teaspoons for a standard loaf, allows for extended rising periods that enhance the bread’s character.
Salt: More Than Just Seasoning
Salt strengthens gluten networks, controls fermentation speed, and enhances flavor perception. Despite its modest quantity in your ingredient list, salt fundamentally affects your bread’s rise, crumb structure, and taste. Never omit or reduce salt significantly—it serves essential technical functions beyond flavor enhancement.
Preparing Your Workspace and Equipment
Successful bread baking requires minimal specialized equipment. A large mixing bowl, measuring cups, and basic kitchen tools suffice for creating restaurant-quality loaves. Optional items like a Dutch oven concentrate heat and steam during baking, resulting in superior crust development, though alternatives exist for those without one.
Before beginning, ensure your work surface is clean and floured. Gather all ingredients—a practice bakers call mise en place—to streamline your process and prevent mistakes. Understanding your kitchen’s temperature matters significantly, as room temperature affects fermentation speed and timing.
The Complete Mixing and Kneading Process
Activating Your Yeast
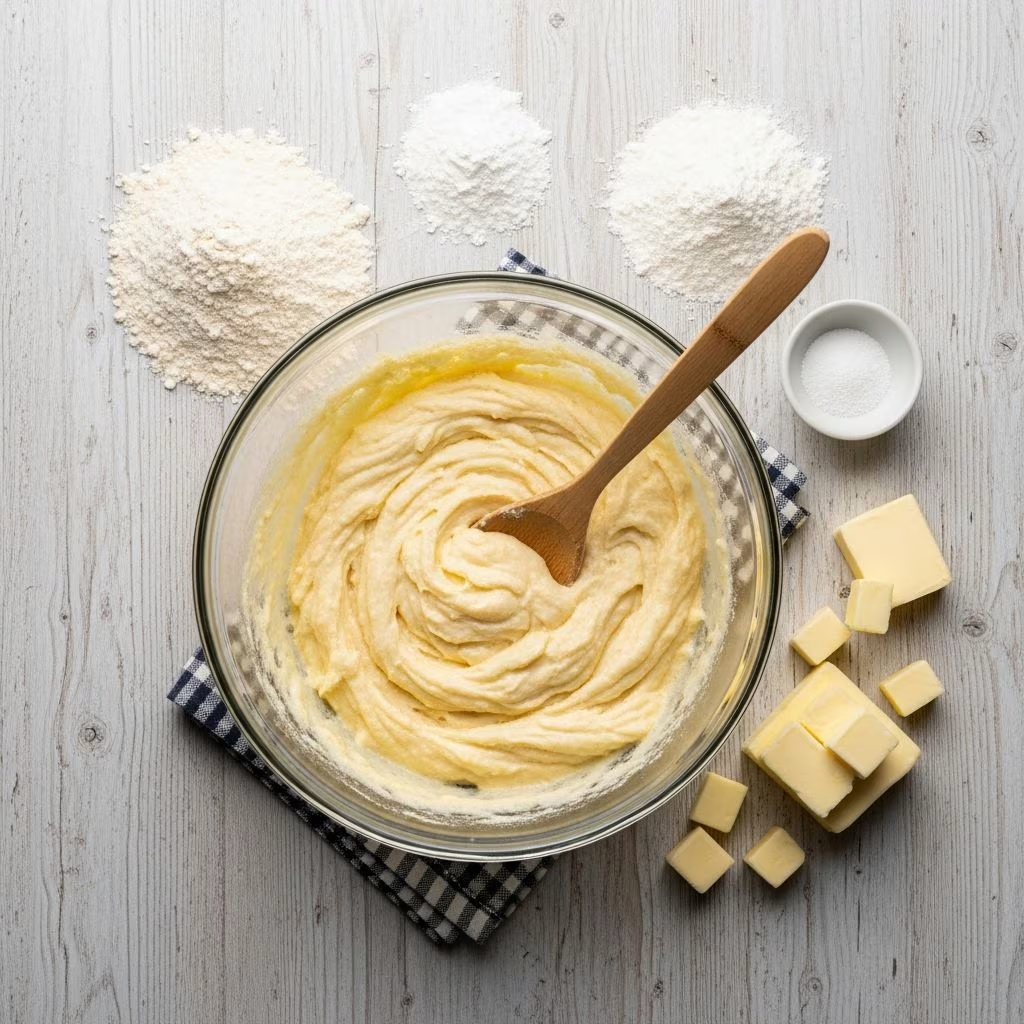
Begin by combining lukewarm water, instant yeast, salt, and a small amount of sugar in a large bowl. Allow this mixture to rest for approximately five minutes until visible froth appears on the surface—this indicates active yeast that’s ready to ferment your dough. This step confirms your yeast’s viability before you commit additional ingredients.
Incorporating Flour Gradually
Add whole wheat flour to your yeast mixture gradually, mixing thoroughly with a spoon or wooden spoon until a shaggy, rough dough forms. This method prevents dry flour pockets and ensures even hydration throughout. Once the mixture becomes difficult to stir, transfer it to a floured work surface for the next phase.
Hand Kneading Technique
Knead the dough by hand for approximately five minutes, using a push-fold-turn motion. Push the dough away from you with the heel of your hand, fold it back over itself, turn it slightly, and repeat. This develops gluten networks that trap gas and create the bread’s structure. Your finished dough should feel smooth, elastic, and slightly tacky—not dry or sticky enough to stick to your hands.
Return the kneaded dough to your bowl, cover it with plastic wrap and a clean kitchen towel, and proceed to the rising phase.
The Long Fermentation: Where Magic Happens
Place your covered bowl at room temperature and allow the dough to rise for an extended period—typically 12 to 18 hours. This unhurried fermentation develops complex flavors, improves digestibility, and creates superior texture compared to rapid yeast fermentation. The longer rise allows beneficial bacteria and enzymes to work their magic, breaking down proteins and carbohydrates into more flavorful compounds.
During this time, gluten continues developing without additional kneading, and the dough roughly doubles or triples in volume. Don’t worry if your dough rises unevenly or seems to rise more slowly than expected—room temperature variations naturally affect fermentation speed.
Preparing for Baking Success
Oven and Equipment Preheating
About 30 minutes before baking, preheat your oven to 500°F (260°C). If using a Dutch oven, place it inside during preheating so it reaches optimal temperature. This equipment distributes heat evenly and traps steam, creating the rustic crust characteristic of artisanal loaves. If you lack a Dutch oven, a covered baking vessel or even a covered baking stone works as an acceptable alternative.
Shaping Your Loaf
Turn your fermented dough onto a lightly floured surface. Handle it gently to preserve the gas bubbles that developed during fermentation—these air pockets determine your final crumb structure. Using floured hands, shape the dough into a loose round ball without pressing out all the air. The finished shape needn’t be perfectly symmetrical; rustic character is part of the appeal.
The Baking Process: Achieving the Perfect Crust
Place your shaped dough on parchment paper and carefully transfer it into your preheated Dutch oven. Cover with the lid and bake for 30 minutes. This covered phase traps steam that hydrates the crust, allowing it to expand freely and develop a beautiful tan color without cracking prematurely.
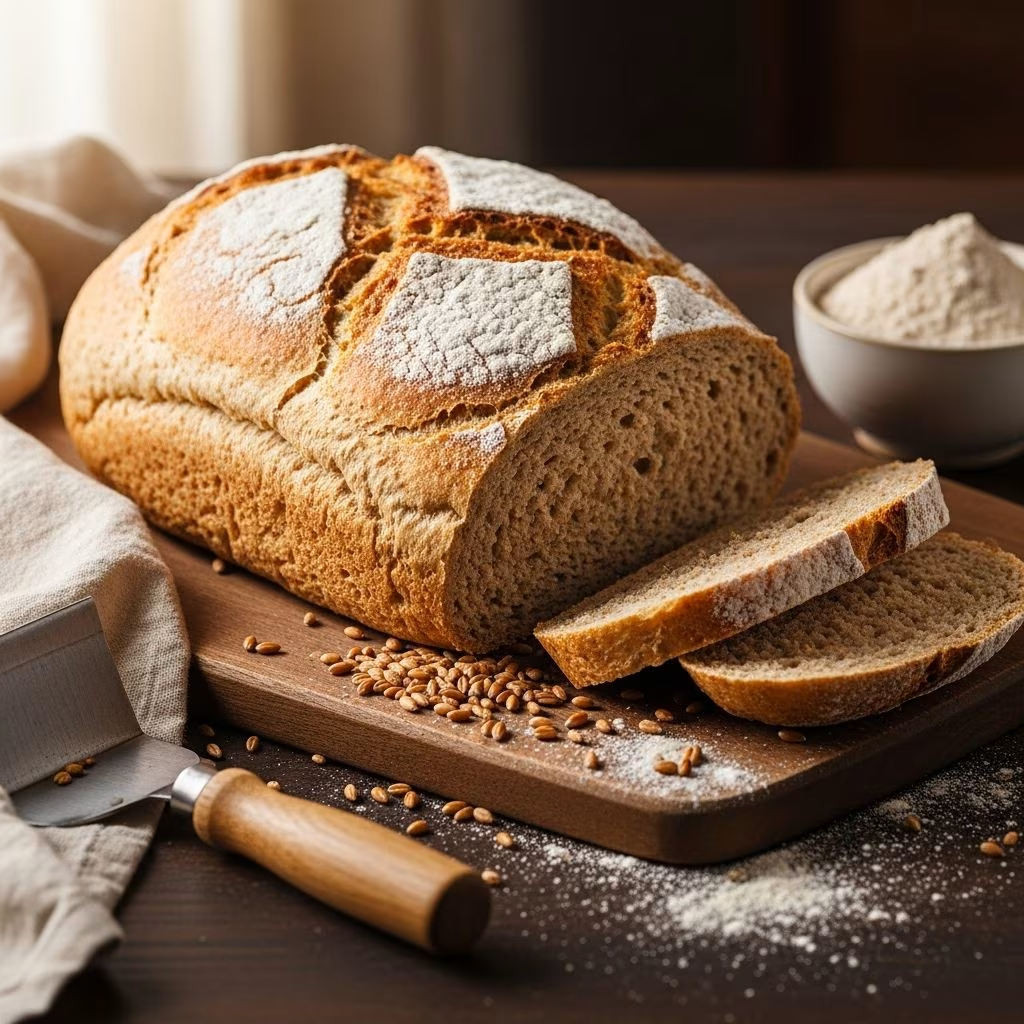
Remove the Dutch oven lid and reduce the temperature to 415°F (210°C). Bake for an additional 10 to 15 minutes, monitoring closely until the crust achieves a deep golden-brown color. This uncovered phase allows moisture to evaporate, creating a crispy, crunchy exterior that contrasts wonderfully with the tender interior.
Cooling: The Final Essential Step
Remove your finished loaf from the Dutch oven and place it on a wire rack or clean surface. Allow it to cool for at least 30 minutes before slicing. This cooling period allows the interior structure to set completely. Slicing while still hot can result in a gummy, compressed crumb, so patience at this stage significantly impacts your final result.
Ingredient Substitutions and Variations
| Ingredient | Standard Option | Alternative | Impact on Result |
|---|---|---|---|
| Whole Wheat Flour | Red or white wheat | Spelt or ancient grains | Varies flavor; affects rise time |
| Water Temperature | 80-100°F | Room temperature | Slower fermentation; deeper flavor |
| Rising Time | 12-18 hours | 8-10 hours (shorter rise) | Less flavor development; quicker results |
| Add-ins (Optional) | None | Seeds, nuts, or herbs | Enhanced flavor and texture variation |
Troubleshooting Common Baking Challenges
Bread Isn’t Rising Enough
Insufficient rise often indicates inactive yeast or a kitchen environment that’s too cold. Check your yeast’s expiration date and ensure it froths when activated. If your kitchen temperature falls below 65°F, find a warmer location like an oven with just the light on, or consider extending fermentation time by several hours.
Crust Is Too Thick or Too Thin
An excessively thick crust suggests you removed the Dutch oven lid too early or used insufficient steam. Conversely, a crust that’s too thin indicates you didn’t bake long enough uncovered. Adjust your timing in five-minute increments on subsequent attempts.
Bread Is Dense or Gummy Inside
Dense crumb typically results from underfermentation, insufficient kneading, or slicing before the loaf has fully cooled. Gummy interiors usually indicate insufficient baking time. Ensure the bread’s internal temperature reaches 205-210°F using a thermometer if you’re uncertain about doneness.
Frequently Asked Questions
Can I reduce the fermentation time?
Yes, though results will differ. Shorter fermentation (4-8 hours) produces edible bread but with less developed flavor and potentially denser crumb. The extended overnight rise is recommended for superior results.
What if I don’t have a Dutch oven?
Place your shaped dough on a baking sheet and cover it with an inverted bowl during the first 30 minutes of baking. This traps steam similarly to a Dutch oven, though results may be slightly less dramatic.
How should I store my finished loaf?
Store completely cooled bread in a paper bag or bread box at room temperature for up to three days. Refrigeration extends shelf life but can accelerate staling. For longer storage, freeze sliced bread in freezer bags for up to three months.
Can I prepare the dough in advance?
Absolutely. After kneading, refrigerate your dough in a covered container for up to 48 hours. This cold fermentation actually enhances flavor development. Remove the dough from the refrigerator one hour before shaping to allow it to warm slightly.
Is whole wheat bread more nutritious than white bread?
Whole wheat bread contains the complete grain kernel, providing substantially more fiber, B vitamins, minerals, and antioxidants compared to refined white bread. The bran and germ, removed during white flour processing, contain most of these beneficial compounds.
Enhancing Your Bread Baking Skills
Once you’ve mastered the basic whole wheat loaf, consider experimenting with variations. Adding seeds, nuts, herbs, or dried fruit introduces new dimensions of flavor and texture. You might also explore different flour blends, combining whole wheat with spelt, rye, or other grains for unique taste profiles.
Keeping a baking journal noting your oven’s temperature quirks, your kitchen’s ambient temperature, and any adjustments you make helps refine your technique over time. Each oven behaves differently, and understanding yours leads to increasingly consistent results.
The satisfaction of pulling a beautiful, crusty loaf from your oven and sharing it with family and friends makes whole wheat bread baking worth the time investment. What begins as following a recipe evolves into an intuitive understanding of how dough behaves, how fermentation develops flavor, and how heat transforms simple ingredients into something truly special.
References
- Whole Grains Council – Whole Grains 101 — Whole Grains Council. 2024. https://wholegrainscouncil.org/whole-grains-101
- King Arthur Baking – No-Knead Rustic Whole Wheat Bread Recipe — King Arthur Baking Company. 2024. https://www.kingarthurbaking.com/recipes/no-knead-rustic-whole-wheat-bread-recipe
- USDA FoodData Central – Bread, whole-wheat — U.S. Department of Agriculture. 2024. https://fdc.nal.usda.gov/fdc-app.html