Creating authentic thin-crust pizza doesn’t require professional equipment or years of experience. With the right approach to ingredient selection and technique, you can produce restaurant-quality pizza in your own kitchen within approximately 45 minutes. This guide walks you through the fundamental principles of developing thin-crust pizza dough, from initial ingredient preparation through the final baking stage.
Understanding the Foundation of Thin-Crust Pizza Success
The appeal of thin-crust pizza lies in its delicate balance between structure and crispness. Unlike thicker, more bread-like varieties, thin-crust pizza prioritizes a crispy exterior with just enough structural integrity to support toppings without becoming overly fragile. The key to achieving this texture resides in three primary factors: ingredient quality, hydration levels, and baking temperature.
The flour you select significantly impacts the final outcome. Bread flour contains higher protein content compared to all-purpose flour, which promotes gluten development and creates better structure. However, all-purpose flour remains a perfectly viable alternative for those seeking convenience. The water temperature, typically between 100-110°F, activates yeast efficiently without killing it through excessive heat. Finally, the minimal resting period—just 15 to 30 minutes—distinguishes thin-crust approaches from traditional dough recipes that require extended fermentation.
Essential Ingredients for Your Thin-Crust Pizza Foundation
Successful thin-crust pizza begins with precise ingredient measurements. Here’s what you’ll need:
- 2½ cups bread flour or all-purpose flour (approximately 363 grams)
- 1 packet instant dry yeast (2¼ teaspoons or 7 grams)
- 1 teaspoon fine sea salt
- 1 cup warm water (100-110°F temperature range)
- 1 tablespoon extra-virgin olive oil
These proportions yield enough dough for two 12-14 inch pizzas or three 10-inch personal-sized pizzas. The ingredient list’s simplicity reflects the straightforward nature of quality pizza-making—no complex additives or specialty ingredients required.
Step-by-Step Preparation Process
Preparing Your Oven Environment
Begin by preheating your oven to 500°F at least 30 minutes before baking. If using a baking stone or steel plate, position it on the bottom third of your oven rack. This early preparation ensures your oven reaches optimal temperature while you prepare the dough, maximizing efficiency throughout the cooking process.
Combining Dry Ingredients
In a large mixing bowl, combine your flour, salt, and instant yeast using either a dough whisk or sturdy wooden spoon. Mixing these components before adding liquid ensures even yeast distribution throughout the flour, preventing concentrated pockets that could cause irregular rising. This preliminary step takes just one minute but significantly impacts consistency.
Incorporating Wet Ingredients
Add the warm water and olive oil to your flour mixture. Using your chosen mixing tool, incorporate the liquid into the dry ingredients until most flour particles are hydrated and the dough begins forming a cohesive mass. The mixture won’t appear smooth at this stage—that’s completely normal. You’re simply aiming for a shaggy dough where flour is mostly incorporated but some lumps remain visible.
The Critical Resting Period
Cover your dough with an inverted bowl (ideally the same one you mixed in, to minimize dishwashing). Allow it to rest undisturbed for 15 to 30 minutes at room temperature. During this autolyse phase, flour gradually absorbs water, gluten develops naturally without mechanical effort, and yeast begins its work. This passive hydration creates superior dough structure compared to longer kneading times.
Portioning and Shaping
After resting, divide your dough into either two or three equal-sized portions, depending on your desired final pizza size. For two 12-14 inch pizzas, create two balls. For three 10-inch pizzas, divide into three balls. To shape each portion, gently fold the dough edges toward the center, rotating slightly with each fold, until you’ve created a tight sphere. This technique builds surface tension without requiring intense kneading.
Rolling and Stretching Techniques for Optimal Thickness
Thin-crust pizza demands specific handling to achieve the desired final texture. Place one dough ball between two sheets of parchment paper on your work surface. Using a rolling pin, apply even pressure while rolling from the center outward. This approach distributes dough evenly and prevents irregular thickness patterns.
Roll your dough to approximately 10-14 inches in diameter, depending on your portion size and thickness preference. Remember that larger diameters produce thinner crusts due to the same volume of dough spreading across greater surface area. If dough springs back excessively during rolling, pause for 5-10 minutes to allow gluten relaxation before continuing.
Avoid adding flour unless the dough exhibits excessive stickiness. Excess flour incorporated during rolling creates dry spots that prevent proper browning and crisp development. If needed, dust very lightly with flour rather than working substantial amounts into the dough surface.
Topping and Baking Guidelines
Application Principles for Even Coverage
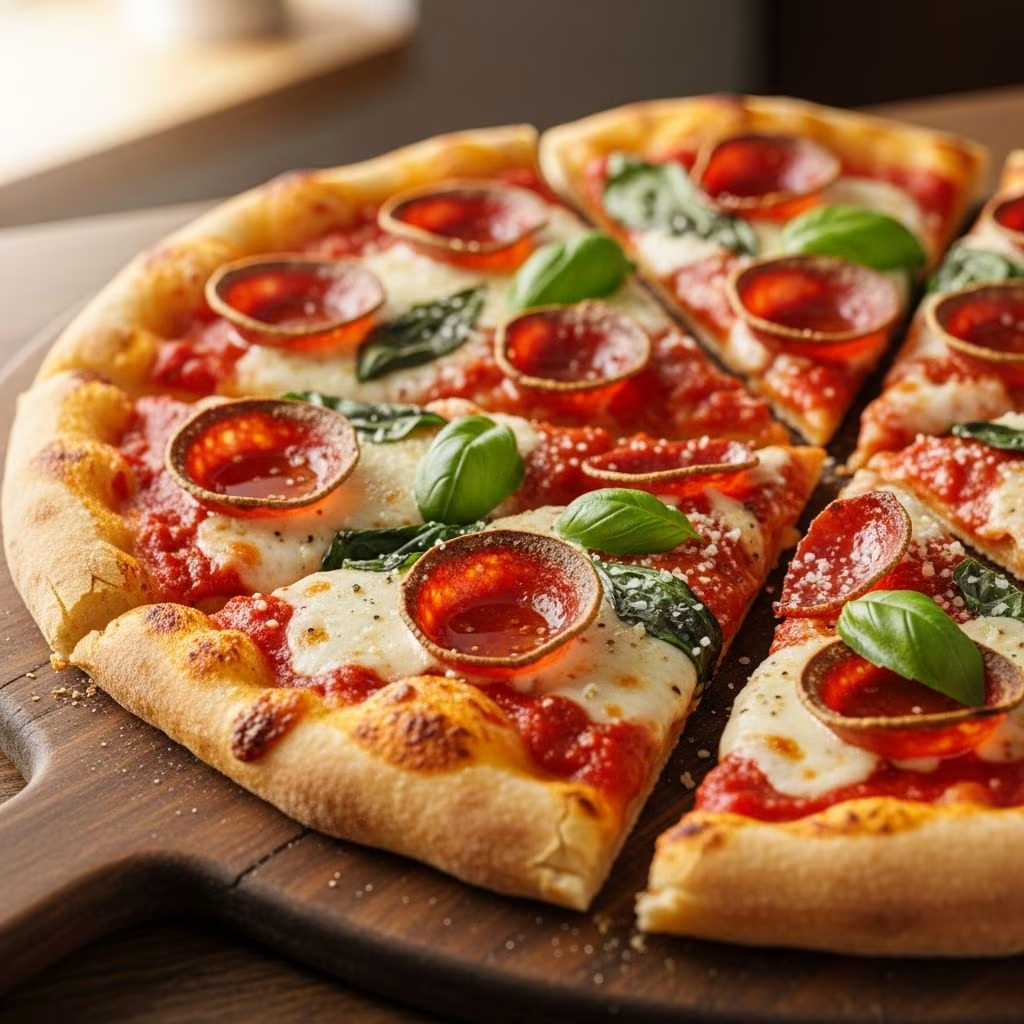
Once rolled to your desired thickness, peel away the top parchment sheet. Apply approximately ½ cup pizza sauce in a thin, even layer across the dough surface, leaving roughly ¼ inch around the edges for crust development. Distribute ½ to 1 cup shredded cheese evenly across the sauce layer.
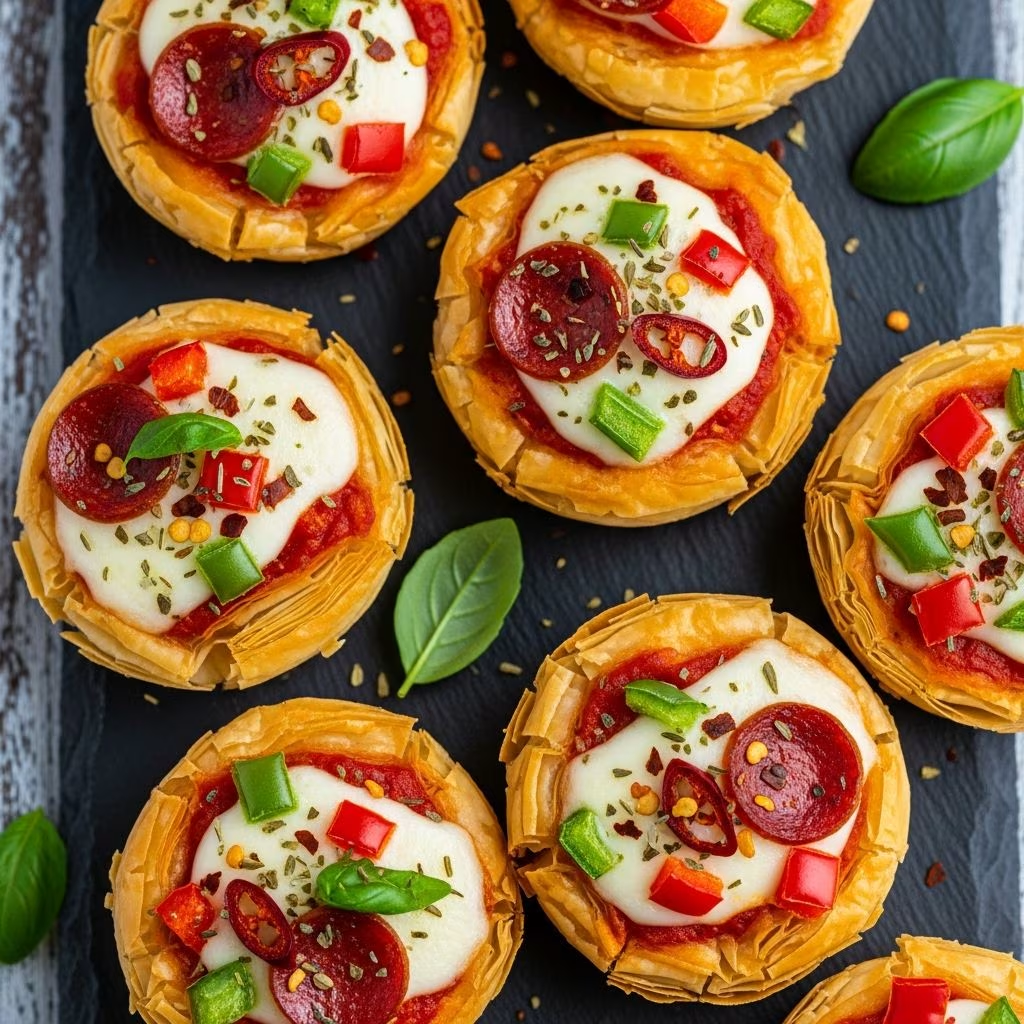
Top with ½ to 1 cup total of desired vegetables and/or cured meats, arranging them in relatively thin, individual layers rather than heavy piles. Season with salt, pepper, and a light olive oil drizzle if desired. Overcrowding the surface with toppings increases moisture content and prevents the bottom crust from achieving optimal crispness.
Baking for Perfect Results
Transfer your topped pizza to the preheated baking surface, carefully peeling away the bottom parchment sheet. Bake for approximately 8 minutes on a preheated baking stone or steel plate. If using a traditional pizza pan or baking sheet without preheating, extend baking time to 10-15 minutes.
Your pizza reaches completion when the crust exhibits golden-brown coloring around the edges and even browning across the bottom surface. The cheese should appear melted with slight browning in spots. These visual cues indicate optimal texture development and food safety.
Storage Solutions for Extended Enjoyment
Short-Term Refrigeration
After shaping dough into balls, store in an airtight container or zip-top freezer bag in your refrigerator for up to 2 days. This brief refrigeration allows flavor development while maintaining dough readiness. Before using, allow dough to return to room temperature for approximately 30 minutes, which promotes easier stretching and better texture development during baking.
Long-Term Freezing
For extended storage, freeze shaped dough balls in airtight containers or freezer bags for up to 3 months. Complete thawing and room temperature rest are essential before rolling and baking. Thaw in your refrigerator overnight, then allow 1-2 hours at room temperature before preparing your pizza.
Creative Variations to Expand Your Pizza Repertoire
Whole Grain Integration
For nutritionally enhanced pizza, substitute 1 cup of your all-purpose or bread flour with whole wheat flour. This modification increases fiber content and adds subtle nutty flavor dimensions while maintaining the desired thin-crust characteristics. The remaining 1½ cups of regular flour provides adequate gluten structure for proper rise and crisp development.
Specialty Flour Exploration
Consider experimenting with Italian “00” flour, traditionally used in Naples for authentic pizza preparation. This finely milled flour produces exceptionally smooth dough and contributes to superior crust texture. While slightly more expensive than standard all-purpose flour, “00” flour often justifies its cost through superior results.
Troubleshooting Common Challenges
| Issue | Likely Cause | Solution |
|---|---|---|
| Dough too sticky during rolling | Excessive hydration or warm room temperature | Chill dough briefly; use minimal additional flour; increase resting time |
| Crust remains thick despite rolling thin | Insufficient resting period before rolling | Extend initial rest to full 30 minutes; allow gluten relaxation between rolling attempts |
| Uneven browning across crust | Inconsistent oven temperature or dough thickness | Use baking stone for more even heat distribution; verify uniform dough thickness |
| Dry or tough final crust | Over-baking or excessive flour incorporation | Reduce baking time slightly; minimize flour additions during preparation |
| Dough won’t hold stretched shape | Weak gluten development from insufficient rest | Extend initial resting period; allow dough to relax between rolling attempts |
Frequently Asked Questions About Thin-Crust Pizza Preparation
Can I prepare dough in advance?
Yes, prepared dough balls maintain quality in refrigeration for 2 days or freezer storage for 3 months. Thaw completely and allow room temperature rest before using. Some bakers prefer brief refrigeration as it enhances flavor through extended fermentation.
What water temperature is essential?
Water between 100-110°F activates yeast optimally. Temperatures below 90°F slow yeast activity excessively, while temperatures above 115°F can damage yeast cells. If your tap water lacks accurate temperature control, use a kitchen thermometer for precision.
Is instant yeast interchangeable with active dry yeast?
These products are largely interchangeable in quantity, though instant yeast sometimes produces slightly faster results due to finer granule size. Both work effectively for thin-crust pizza applications.
Can I reduce oven temperature for longer baking?
Yes, though results differ. Lower temperatures around 425°F require 15-20 minutes and produce less crispy crusts. The 500°F temperature creates rapid external crust formation while maintaining interior structure—optimal for thin-crust applications.
What’s the best topping weight limit?
Keep total topping weight between ½ and 1 cup per pizza. Excessive toppings release moisture during baking, creating soggy crust and preventing crisping. Distribute toppings evenly to maintain consistent texture throughout.
Professional Tips for Consistent Excellence
- Invest in a kitchen thermometer to verify water temperature and oven accuracy
- Use a baking stone or steel plate rather than conventional pizza pans for superior crust texture
- Preheat your baking surface for at least 30 minutes before baking
- Arrange toppings in thin, individual layers rather than piling heavily
- Practice consistent dough ball shaping—uniform size produces even baking results
- Allow dough to reach complete room temperature before stretching for optimal flexibility
- Keep parchment paper beneath dough during rolling to prevent sticking
Conclusion: Mastering Your Thin-Crust Pizza Craft
Creating exceptional thin-crust pizza requires understanding fundamental principles rather than complex techniques. By respecting ingredient measurements, managing hydration levels appropriately, and utilizing high oven temperatures, you’ll consistently produce pizzas rivaling professional pizzeria quality. The approximately 45-minute total time investment—from ingredient preparation through finished pizza—makes this approach practical for regular weeknight preparation.
Begin with this foundational recipe, then explore variations and techniques that align with your preferences. Each pizza you prepare teaches valuable lessons about dough behavior, personal topping preferences, and equipment capabilities. Your home kitchen becomes a personal pizzeria where experimentation leads to mastery and consistent satisfaction for family and guests alike.
References
- How to Make Thin Crust Pizza Dough — Thursday Night Pizza. https://www.thursdaynightpizza.com/thin-crust-pizza-dough/
- Easy Thin Crust Pizza — The Salty Marshmallow. https://thesaltymarshmallow.com/favorite-thin-crust-pizza/
- Super Crispy Thin Crust Pizza Dough — Josie + Nina. https://josieandnina.com/thin-crust-pizza-dough/
- Thin Crust Pizza Dough — A Couple Cooks. https://www.acouplecooks.com/easy-thin-crust-pizza-dough/
- Thin Crust Pizza Dough Recipe — A Farmgirl’s Dabbles. https://www.afarmgirlsdabbles.com/thin-crust-pizza-dough-recipe/