Creating a perfect pie crust represents one of the fundamental skills in baking that separates novice cooks from experienced pastry makers. The delicate balance between technique, ingredient quality, and timing creates the foundation for memorable pies that showcase your culinary prowess. Whether you’re preparing a traditional fruit pie, savory quiche, or cream-based dessert, understanding the intricacies of pie crust development ensures consistently excellent results.
Understanding the Foundation: Core Ingredients and Their Roles
The simplicity of pie crust ingredients belies their critical importance in achieving the desired texture and flavor. Each component serves a specific function in the dough structure and final baked product.
Flour Selection and Protein Content
All-purpose flour serves as the primary structural component in most pie crust recipes, offering a balance between strength and tenderness. The protein content in flour directly influences gluten development, which affects crust texture. Higher protein content produces tougher crusts, while lower protein content yields more tender results. Standard all-purpose flour contains approximately 10-12% protein, making it ideal for pie applications. Some bakers prefer cake flour for extra tenderness, though this may require slight adjustments to liquid ratios due to its lower protein and starch content.
Fat: The Texture Creator
Butter remains the preferred fat for pie crust among most bakers due to its superior flavor profile and ability to create visible flakes in the finished product. Cold butter creates steam pockets during baking, resulting in the characteristic flaky layers that define quality pie crust. The butter must be cut into small pieces and kept cold throughout the mixing process to maintain these pockets. Some recipes incorporate shortening or lard alongside or instead of butter—shortening produces particularly flaky results but lacks butter’s rich flavor, while lard creates exceptionally tender crusts with subtle taste.
Liquid Ingredients and Hydration
Water serves as the standard liquid for developing gluten and bringing the dough together. The amount varies based on flour type, humidity, and fat selection, typically ranging from three to eight tablespoons for a standard single-crust recipe. Some bakers substitute a portion of water with apple cider vinegar or vodka—both reduce gluten development and promote tenderness. Alcohol evaporates during baking without affecting flavor, while acid inhibits gluten formation chemically.
Salt and Seasoning Elements
Salt enhances flavor perception and strengthens gluten structure, typically used at a ratio of ½ teaspoon per cup of flour. Some recipes include a small amount of sugar, which adds subtle sweetness and aids browning during baking.
The Mixing Method: Technique Determines Texture
The method employed for combining ingredients fundamentally affects the final crust’s characteristics. Traditional approaches emphasize maintaining cold temperatures and avoiding overworking the dough.
The Pastry Cutter Method
Using a pastry cutter or two forks to incorporate cold fat into flour creates visible fat pieces within the dough. These pockets expand during baking, producing flakiness. The process involves repeatedly cutting the cold fat into the flour mixture until it resembles coarse breadcrumbs, with some pea-sized pieces remaining visible. This labor-intensive method provides excellent control and results in superior flake development.
Food Processor Efficiency
Modern kitchens often employ food processors for speed and consistency. Pulsing cold fat with flour quickly creates the desired texture while minimizing overworking. The processor’s speed requires careful attention—excessive pulsing generates heat and develops gluten, compromising tenderness. Short pulses at intervals prevent this problem. Some bakers freeze the food processor bowl beforehand to maintain cooler temperatures.
Stand Mixer Approach
Paddle attachments on stand mixers offer another option, though they require vigilance against overworking. Using the mixer at low speed with frequent intervals prevents excessive gluten development. The paddle gradually cuts fat into flour without generating the excessive friction that can occur with hand mixing.
Hydration and Dough Formation: Finding the Sweet Spot
Adding liquid to dry ingredients represents a critical juncture requiring careful judgment. Too little liquid produces a crumbly, unmanageable dough, while excess liquid generates tough, dense crusts through excessive gluten activation.
The traditional approach involves adding liquid gradually, typically beginning with three tablespoons and increasing incrementally until the dough just holds together when squeezed. The surface should appear slightly moist but not wet. Environmental factors including humidity and flour variation necessitate this flexible approach rather than rigid measurements.
Mixing after liquid addition should be minimal—just enough to incorporate the liquid evenly throughout. Overmixing at this stage develops gluten unnecessarily, resulting in tough crust.
Resting Periods: Patience Builds Quality
Allowing dough to rest serves multiple purposes in crust development. The initial rest after mixing enables water distribution throughout the flour, promoting even hydration and gluten relaxation. Most recipes recommend chilling dough for at least 30 minutes, though several hours or overnight chilling improves results further.
Cold dough behaves more predictably during rolling and fitting into the pie pan. Additionally, rested dough shrinks less during baking, maintaining the crust’s shape and preventing excessive contraction.
When rolling previously chilled dough, brief resting periods during the process prevent excessive shrinkage. If dough becomes warm or difficult to work with, returning it to the refrigerator for 10-15 minutes restores workability.
Rolling and Shaping: Technique and Consistency
Transforming chilled dough into a thin sheet requires specific techniques that prevent tearing and maintain even thickness.
Preparation and Equipment
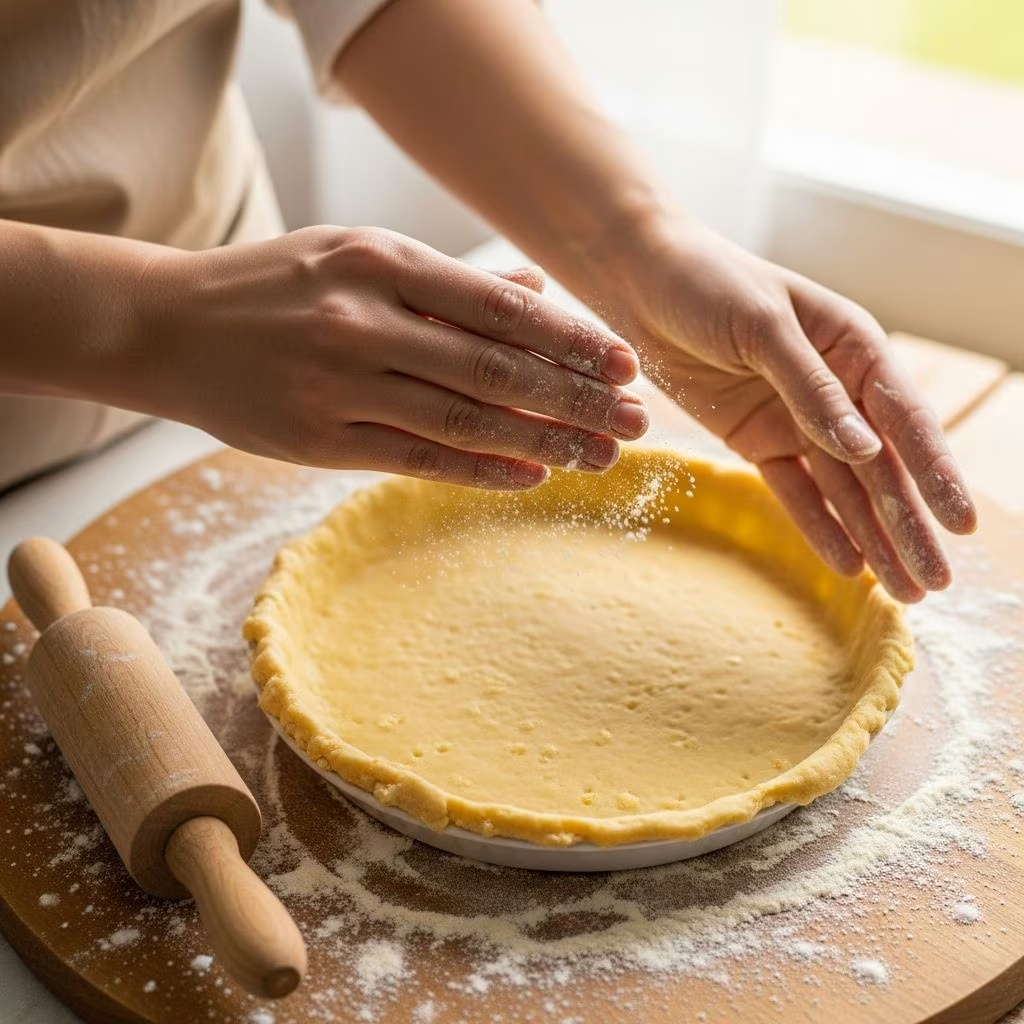
Working on a lightly floured surface prevents sticking without introducing excess flour into the dough. Some bakers prefer parchment paper or silicone mats for easier handling. A sturdy rolling pin with manageable weight distributes pressure evenly. Measuring the final dough thickness—ideally about ⅛ inch—ensures consistent baking results.
Rolling Technique
Beginning from the center of the dough round, roll outward in different directions to create an even circle. Periodic rotation prevents uneven shapes and ensures uniform thickness. Lifting and turning the dough occasionally prevents sticking and allows flour redistribution. When dough becomes warm or soft, refrigeration for 10-15 minutes restores workability and prevents shrinkage during baking.
Pie Pan Fitting
Gently transferring the rolled dough to the pie pan without stretching preserves the dough structure and prevents excessive shrinkage. Draping the dough over the pan and gently pressing into corners minimizes air pockets. Excess dough at the edges can be trimmed or folded under to create a decorative rim. Leaving slightly loose dough rather than pulling tightly prevents shrinkage during baking.
Pre-Baking Preparation: Setting Up for Success
Several steps between dough preparation and baking significantly impact the final crust quality.
Crimping and Edge Finishing
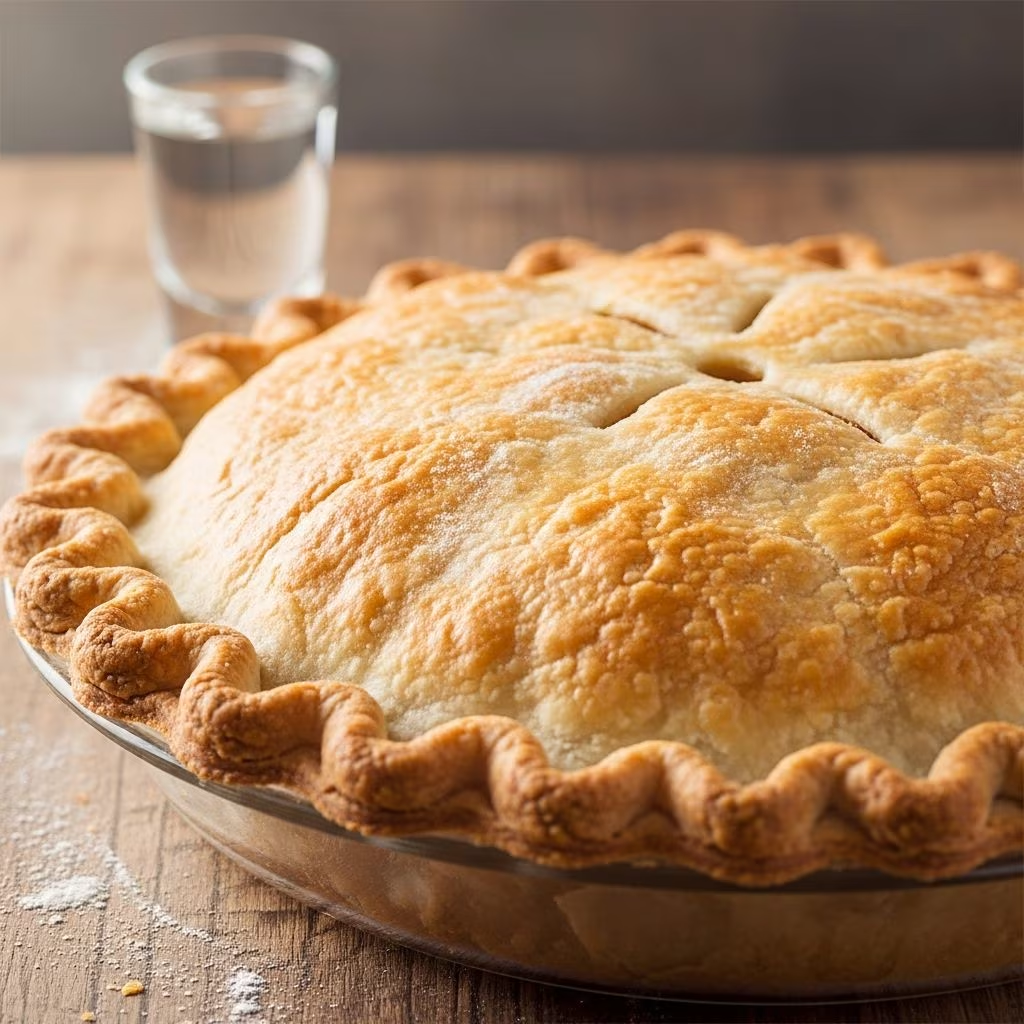
The crust edges require special attention as they cook faster than the bottom and interior due to their thin profile and exposure. Creating a decorative crimp serves both aesthetic and functional purposes. Traditional finger crimping creates visual appeal while sealing any gaps in the dough. Sealed edges prevent filling leakage and promote even browning.
Chilling Before Baking
After fitting and shaping, refrigerating the prepared crust for at least 15-30 minutes (or freezing for 10 minutes) allows gluten relaxation and prevents excessive shrinkage during baking. This resting period proves particularly important after shaping, as rolling and fitting stress the gluten network.
Egg Wash and Surface Treatment
Brushing the crust with egg wash (one egg or egg white beaten with a small amount of water) promotes browning and adds shine. This application should occur just before baking to prevent drying. Some recipes specify egg yolk for richer color or egg white for cleaner appearance. A light coating suffices—heavy application can create an undesirable layer.
Blind Baking: When and How to Pre-Bake
Certain fillings require partially or fully cooked crusts before adding filling to prevent soggy bottoms. Cream pies, custard pies, and other wet fillings benefit from pre-baking.
The blind-baking process involves lining the crust with parchment paper and filling with pie weights or dried beans to prevent puffing. Baking at 375-400°F for 10-15 minutes until the crust appears set but not fully browned creates a partially baked crust suitable for most applications. Removing weights and continuing to bake for several additional minutes achieves a fully baked crust for no-bake fillings.
Baking Temperature and Duration: Achieving Golden Results
Pie crusts bake best at temperatures between 375-425°F, depending on the specific pie and desired browning level. Most fruit pies bake at 375-400°F, allowing the filling to cook through while the crust browns adequately. Higher temperatures risk burning the crust before the filling cooks completely.
Crust edges brown faster than the center due to their thinness and increased surface area exposure. Covering edges with foil or a pie shield for the first 15-20 minutes prevents excessive browning while the interior crust continues cooking.
Troubleshooting Common Crust Issues
| Problem | Likely Cause | Solution |
|---|---|---|
| Tough, dense crust | Overworking dough or excess water | Minimize mixing after liquid addition; reduce liquid slightly next time |
| Crust shrinks excessively | Insufficient resting or stretching during fitting | Chill longer; don’t stretch dough when fitting; use pie weights during blind baking |
| Soggy bottom crust | Insufficient heat or wet filling | Pre-bake crust; place pie on lower oven rack; use thickened fillings |
| Crust burns before filling cooks | Temperature too high or edges exposed too long | Lower temperature; shield edges with foil; ensure pie cooks covered during filling cooking |
| Dough won’t hold together | Insufficient liquid or too much flour | Add liquid gradually; compress dough gently; avoid excess flour during rolling |
| Crust lacks flakiness | Fat too warm or mixed in excessively | Use cold ingredients; pulse briefly in processor; maintain visible fat pieces |
Frequently Asked Questions About Pie Crust
Can pie crust be made in advance?
Yes, pie crust dough improves with advance preparation. Making dough the day before allows maximum gluten relaxation and flavor development. Wrapped tightly in plastic, dough keeps refrigerated for up to three days or frozen for several months. Thaw frozen dough in the refrigerator before using.
What causes crust to puff during baking?
Steam generated within the dough during baking causes puffing, particularly in uncovered portions. Blind baking with weights prevents this issue. Pricking the crust bottom with a fork (excluding areas that will contact filling) allows steam to escape in partial-bake applications.
Is butter essential, or can substitutes work equally well?
While butter provides superior flavor, substitutes like shortening or lard produce equally flaky or tender crusts. All-butter crusts require careful temperature management but reward with exceptional taste. Lard produces remarkably tender results, though some object to its flavor. Vegetable shortening creates superior flakiness but contributes neutral flavor.
Why does my dough tear when I roll it?
Dough tears when overworked, too cold, or insufficiently hydrated. Allow slightly warm dough to rest briefly if it tears consistently. Ensure adequate liquid incorporation without creating a wet dough. Avoid excessive flour additions, which can create dry spots prone to tearing.
How do I achieve even browning on the crust?
Rotating the pie halfway through baking promotes even browning. Shielding edges with foil prevents excessive browning while the crust center continues cooking. Using the lower oven rack positions the crust closer to direct heat for more even baking.
Variations and Adaptations
Basic pie crust recipes adapt easily to various applications and preferences. Whole wheat flour substitutions create nuttier flavors but may require slightly more liquid due to higher water absorption. Herb-infused crusts develop by adding dried herbs, citrus zest, or spice blends to the dry ingredients. Sweet crusts incorporating additional sugar suit dessert applications. Gluten-free adaptations using specialized flour blends allow those with celiac disease or gluten sensitivity to enjoy homemade pie.
Conclusion: Mastering the Fundamentals
Creating exceptional pie crust emerges from understanding core principles, practicing consistent technique, and respecting the dough’s requirements. While recipes provide starting points, successful pie making develops through observation and adjustment. Pay attention to how your specific ingredients and environment respond, adapting techniques accordingly. The investment in mastering pie crust fundamentals pays dividends across countless pies and pastries, establishing confidence in the kitchen and impressing friends and family with homemade creations that rival professional bakeries.
References
- Flour: Water: Salt: Yeast — Ken Forkish. W.W. Norton & Company, 2012. https://www.wwnorton.com/books/Flour-Water-Salt-Yeast/
- The Food Lab: Better Home Cooking Through Science — J. Kenji López-Alt. W.W. Norton & Company, 2015. https://www.wwnorton.com/books/The-Food-Lab/
- Pie: 300 Tried-and-True Recipes for Delicious Homemade Pie — America’s Test Kitchen. America’s Test Kitchen, 2010. https://www.americastestkitchen.com/
- Protein Content in Flours — King Arthur Baking Company. 2024. https://www.kingarthurbaking.com/learn/reference/flour-types
- Professional Baking and Pastry Guide — United States Department of Labor, Bureau of Labor Statistics. 2024. https://www.bls.gov/ooh/production/bakers.htm