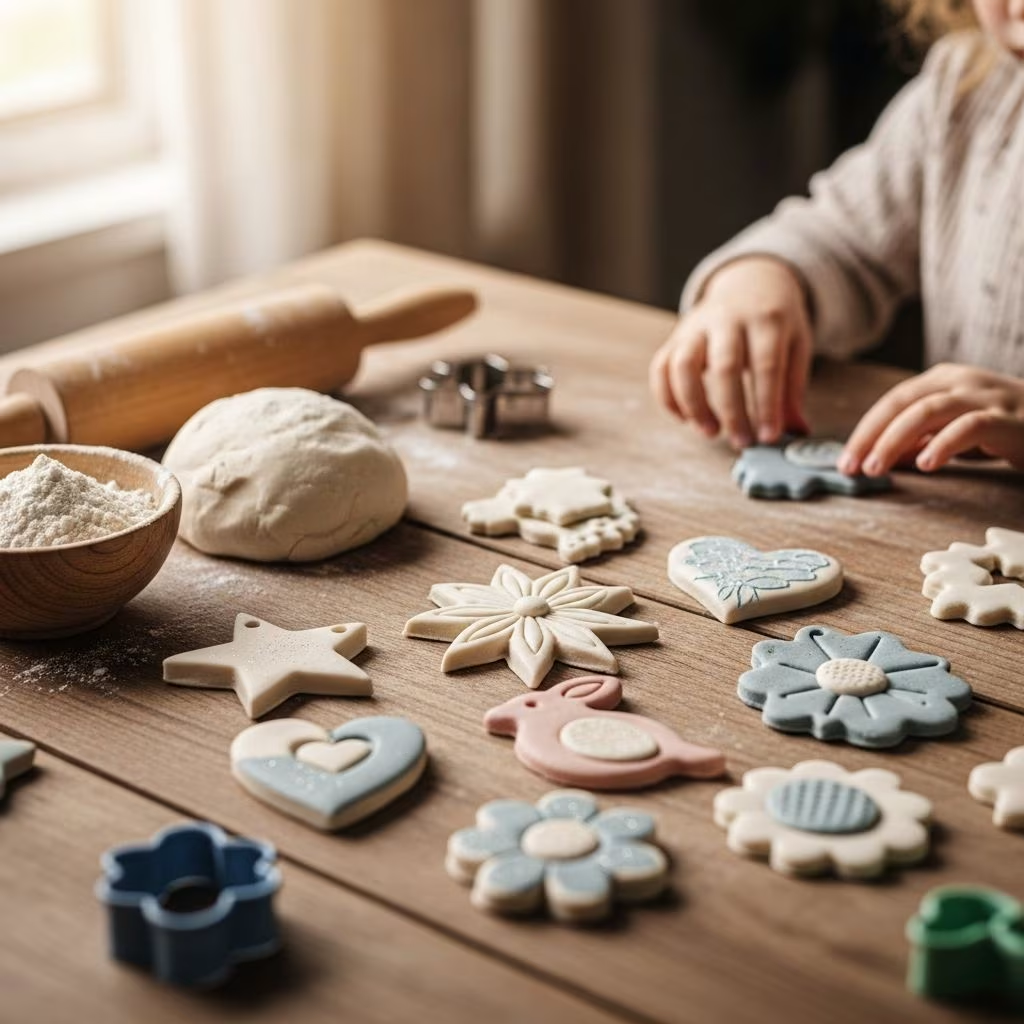
Salt dough offers a timeless, budget-friendly medium for unleashing creativity in homes around the world. This simple mixture of flour, salt, and water hardens into durable pieces ideal for decorations, personalized gifts, and cherished mementos. Families have turned to it for generations due to its non-toxic nature and ease of use, making it suitable for children of all ages. Whether shaping holiday ornaments or capturing tiny handprints, salt dough transforms ordinary kitchen staples into extraordinary art.
Why Choose Salt Dough for Your Projects
Salt dough stands out for its versatility and longevity. The salt acts as a natural preservative, drawing out moisture during baking to create sturdy, crack-resistant results. Unlike playdough, which softens over time, baked salt dough maintains its form for years when properly sealed. It’s also customizable—add food coloring for vibrant hues or spices for scented variations. Projects range from seasonal decor to educational tools, fostering fine motor skills and imaginative play in kids.
- Affordable: Uses pantry essentials, costing pennies per batch.
- Safe: Edible ingredients ensure worry-free crafting sessions.
- Durable: Withstands handling and display when sealed correctly.
- Eco-friendly: Biodegradable and free from plastics.
Essential Ingredients and Proportions
The beauty of salt dough lies in its simplicity: flour provides structure, salt preserves, and water binds. A reliable ratio is 2 parts flour to 1 part salt, with water added gradually to achieve the right consistency. Use all-purpose flour for best results; avoid self-rising types to prevent unwanted rising during baking.
| Ingredient | Amount (for 10-15 pieces) | Notes |
|---|---|---|
| All-purpose flour | 2 cups | Gluten-free options work well too. |
| Table salt | 3/4 – 1 cup | Iodized table salt preserves best; fine grain mixes smoothly. |
| Warm water | 3/4 – 1 cup | Start low; add more if dough crumbles. |
Variations include adding 1-2 teaspoons of food coloring or spices like cinnamon for aroma. For chocolate-scented dough, incorporate cocoa powder, adjusting water as needed.
Tools You’ll Need for Success
Gather basic kitchen items to streamline the process. A sturdy mixing bowl or stand mixer with dough hook saves effort, especially for larger batches. Parchment paper prevents sticking without added grease, and a rolling pin ensures even thickness.
- Mixing bowl or stand mixer
- Rolling pin
- Parchment paper or silicone mat
- Cookie cutters or stamps
- Toothpick or skewer for hanging holes
- Baking sheets
- Optional: Paint, glitter, sealant (Mod Podge or acrylic spray)
Step-by-Step Guide to Perfect Salt Dough
1. Preparing the Mixture
Preheat your oven to 200-250°F (93-121°C), depending on desired drying time. Combine flour and salt in a bowl, stirring to distribute evenly. Gradually pour in warm water while mixing. The dough will initially feel crumbly but smooths with kneading. Aim for a playdough-like texture: pliable but not sticky. Knead for 5-10 minutes on a floured surface. If too dry, add water 1 tablespoon at a time; if sticky, sprinkle in flour.
2. Rolling and Shaping
Divide dough into portions for easier handling. Sandwich between two parchment sheets and roll to 1/8 to 1/4 inch thick—thinner for delicate ornaments, thicker for handprints to avoid breakage. Peel off the top layer, then cut shapes with cookie cutters. For imprints, gently press hands, feet, or paws into the dough before trimming around them. Use a toothpick to poke a hole near the top for ribbon threading. Re-roll scraps for more pieces.
3. Baking for Lasting Results
Transfer shapes on parchment to baking sheets. Bake low and slow: 2-4 hours at 200°F or until fully hardened. Thicker items may need overnight drying. Cool completely on a wire rack. Low temperatures prevent puffing or cracking.
Creative Ideas to Inspire Your Makes
Salt dough adapts to any theme or skill level. Start simple with stars and hearts, then advance to intricate scenes.
- Holiday Ornaments: Cut snowflakes, trees, or bells; paint with acrylics and add glitter.
- Personalized Keepsakes: Hand or footprints dated for annual traditions.
- Seasonal Decor: Pumpkin shapes for fall, eggs for spring.
- Educational Toys: Number tiles, alphabet letters for learning games.
- Gifts: Custom name plaques or fingerprint art trees.
For textured effects, press leaves, lace, or beads into the surface before baking.
Decorating and Finishing Touches
Baked pieces are ready to paint. Use acrylic paints for vibrant, waterproof color—watercolors work for subtle washes. Apply 2-3 thin coats, letting each dry. Add metallic accents or glitter glue for sparkle. Thread ribbon through holes for hanging.
Sealing is crucial for longevity. Brush on Mod Podge (matte, glossy, or glitter varieties) or spray with clear acrylic sealant. Multiple coats protect against humidity and handling. Sealed dough can last decades on trees or walls.
Troubleshooting Common Issues
| Problem | Cause | Solution |
|---|---|---|
| Dough too crumbly | Insufficient water | Add warm water 1 tsp at a time; knead thoroughly. |
| Ornaments puff or crack | Too thick or high heat | Roll thinner; bake at 200°F longer. |
| Soft after baking | Underbaked | Bake additional 1-2 hours or air-dry 24 hours. |
| Mold growth | High humidity, unsealed | Seal promptly; store in dry area. |
Safety and Storage Tips
Supervise young children due to small parts and oven use. Dough is non-toxic but not edible post-baking. Store uncooked dough in airtight containers for up to a week. Finished crafts keep best in cool, dry places away from direct sun.
Advanced Techniques for Pros
Experiment with inclusions like dried flowers or essential oils for fragrance. For glossy finishes, mix in a teaspoon of glue before baking. Create 3D sculptures by building layers, drying between additions. Dye dough by kneading in gel food coloring for marbled effects.
Frequently Asked Questions
Can I use salt dough outdoors?
Sealed pieces withstand weather briefly but fade in prolonged exposure. Best for indoor or covered display.
How long does salt dough last?
Properly baked and sealed, indefinitely—many heirlooms endure 20+ years.
Is it gluten-free?
Yes, with gluten-free flour blends; test small batch for texture.
Can I speed up drying?
Air-dry 2-3 days or use dehydrator at low setting; avoid microwaves to prevent uneven hardening.
What if my dough is sticky?
Incorporate more flour gradually while kneading.
References
- Easy Salt Dough Ornaments Recipe — Homestead and Chill. 2023-12-01. https://homesteadandchill.com/easy-salt-dough-ornaments-recipe/
- Salt Dough Ornaments: Easy Recipe! — Wholefully. 2022-11-15. https://wholefully.com/make-salt-dough-ornaments/
- Easy Salt Dough Recipe for Kids — Kids Eat in Color. 2023-10-20. https://kidseatincolor.com/easy-salt-dough-for-recipe-for-kids/
- How to Make Salt Dough That Lasts Forever — Emma Owl. 2021-09-05. https://emmaowl.com/how-to-make-salt-dough-that-lasts-forever/
- 30+ Salt Dough Crafts for Kids — Red Ted Art. 2024-01-10. https://www.redtedart.com/30-salt-dough-crafts-kids/