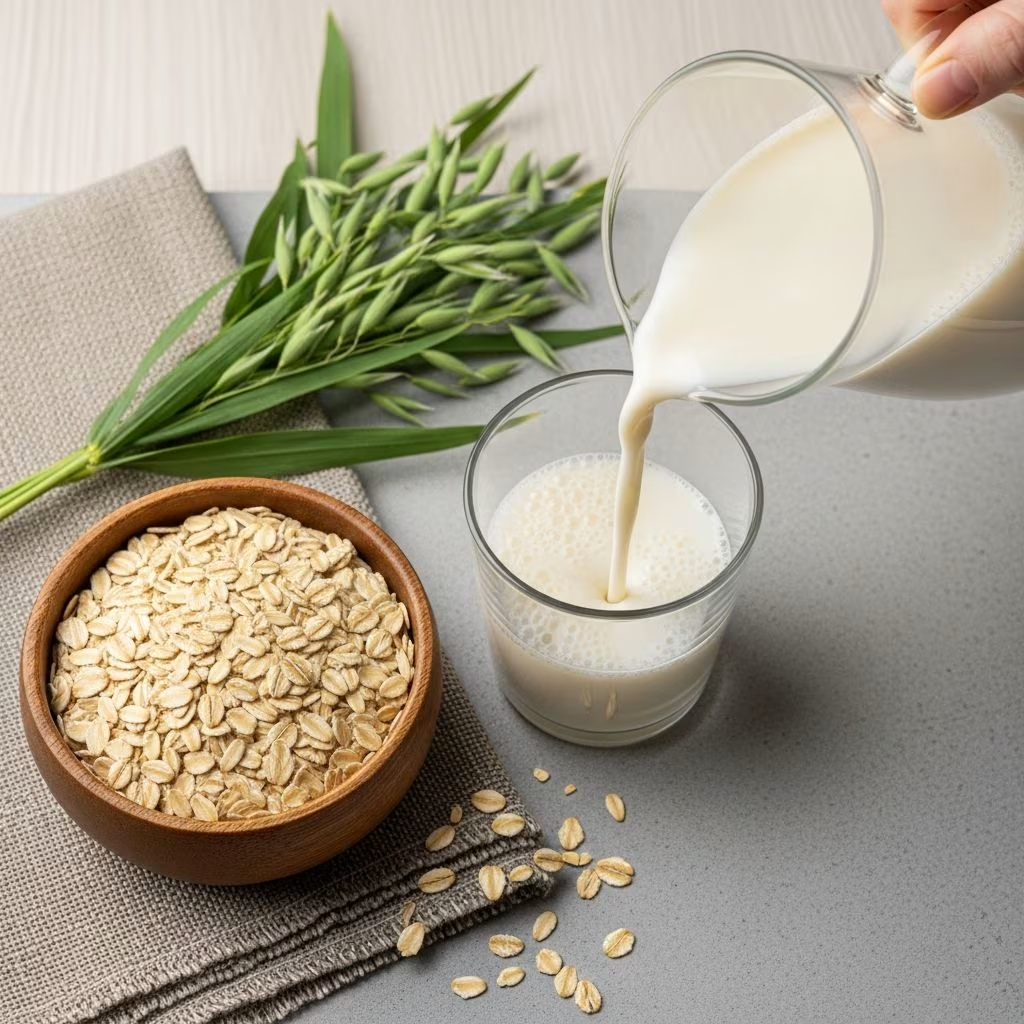
Oat milk has become increasingly popular as a versatile plant-based alternative to traditional dairy milk. What many people don’t realize is that creating your own oat milk at home is remarkably straightforward, requiring minimal equipment and just a handful of ingredients. Whether you’re exploring dairy-free options, reducing your environmental footprint, or simply experimenting with new beverages, homemade oat milk offers a cost-effective and customizable solution. This comprehensive guide will walk you through everything you need to know to produce high-quality oat milk in your own kitchen.
Understanding the Basics of Oat Milk Production
Oat milk is fundamentally a beverage created by combining oats with water and then separating the liquid from the solid material. Unlike commercial versions that often contain thickeners, stabilizers, and other additives, homemade oat milk allows you to maintain complete control over what goes into your glass. The basic principle involves hydrating oats, blending them with liquid, and then filtering out the remaining solids to create a smooth beverage suitable for drinking or cooking.
The appeal of making oat milk at home extends beyond ingredient transparency. Homemade versions typically cost significantly less than store-bought alternatives, especially when you calculate the price per serving. Additionally, you can adjust the thickness, sweetness, and flavor profile to match your personal preferences, something that’s rarely possible with commercial products.
Essential Equipment and Ingredient Selection
Required Equipment
Creating oat milk doesn’t demand specialized or expensive tools. Most people already have the necessary items in their kitchens. A high-powered blender is the primary tool you’ll need, as it must generate sufficient speed to properly break down the oat grains and create a smooth mixture. While standard blenders may work, high-speed versions produce noticeably better results with fewer texture issues.
For straining, you have several options depending on what you have available. A nut milk bag—a specialized mesh cloth designed for filtering plant-based beverages—is ideal but optional. Alternatively, cheesecloth, butter muslin, or even a fine mesh strainer works effectively. Many home cooks successfully use thin kitchen towels or coffee filters when other options aren’t available.
Choosing Your Ingredients
Oats are the foundation of your oat milk, and the type you select matters significantly. Rolled oats, also called old-fashioned oats, are the recommended choice for this application. These oats have been steamed and flattened, making them easier to blend and strain. Crucially, avoid quick oats or instant oat varieties, as these create an undesirably slimy texture in the finished product. If you follow a gluten-free diet, ensure your oats are certified gluten-free, as standard oats may contain cross-contamination.
Water quality and quantity influence your final product’s consistency. Using filtered or purified water produces cleaner-tasting results compared to tap water, though this isn’t absolutely essential. The ratio of oats to water determines whether your oat milk will be thick and creamy or thinner and more milk-like. This is entirely a matter of personal preference and how you plan to use the milk.
Optional additions allow you to customize your beverage. Vanilla extract adds subtle flavor that works well in both savory and sweet applications. Dates provide natural sweetness along with a subtle richness. A small pinch of salt can enhance overall flavor complexity. Some people add maple syrup, honey, or other sweeteners, though the oats themselves contribute a mild natural sweetness.
Step-by-Step Instructions for Optimal Results
The Blending Process
Begin by adding your measured oats, water, and any optional flavorings directly into your blender. This is an important step—the order and method of combining ingredients can influence the final texture. Close the blender lid securely and blend on the highest speed setting. The critical point here is timing: blend for approximately 30 to 40 seconds. This duration is shorter than many might intuitively expect, but it’s crucial for achieving the desired smooth consistency.
Over-blending is the primary culprit behind slimy oat milk. When you process the oats for too long, you break down their cell structure excessively, releasing starches into the liquid. These starches create the unpleasant slimy mouthfeel that many people dislike about homemade oat milk. Conversely, under-blending leaves larger oat particles that don’t fully hydrate, resulting in a grainy texture. Finding the sweet spot at 30-40 seconds takes practice, but soon becomes intuitive.
The Straining Technique
Once blending is complete, position your straining apparatus over a large bowl or pitcher. If using a nut milk bag or cheesecloth, drape it over the bowl’s opening so it creates a pocket for the mixture. Carefully pour the oat-water mixture into the straining device, allowing gravity to do most of the work initially. The liquid will begin flowing through into your collection container while the solid oat material remains in the cloth.
This is where many home cooks make a critical error. The instinct is to squeeze the cloth to extract every drop of liquid, just as you might with nut milk. However, squeezing oat milk causes those starches we mentioned to leach into the liquid, creating that undesirable slimy quality. Instead, allow the liquid to drain naturally. You can gently lift the corners of the cloth to encourage continued draining, but avoid aggressive squeezing. When the majority of liquid has drained and only the oat pulp remains, you can discard the solids or save them for other recipes like baking or smoothies.
Double Straining for Premium Quality
For exceptionally smooth, creamy oat milk with minimal sediment, perform a second straining. Pour your once-strained oat milk back into the blender or through a fresh cloth-lined strainer. This removes any remaining fine particles and produces a noticeably smoother final product. While this extra step requires a few additional minutes, the improvement in texture and mouthfeel is substantial enough that many people consider it worthwhile.
Advanced Techniques for Texture Perfection
The Enzyme Method
For those seeking to replicate commercial oat milk’s smoothness, an advanced technique involves using digestive enzymes. Some large-scale oat milk producers employ enzymes to break down certain starches before processing, resulting in an exceptionally creamy final product. You can replicate this at home using over-the-counter digestive enzyme supplements.
To implement this technique, place your rolled oats in a bowl and cover them with approximately an inch of water. Open two capsules of digestive enzymes and stir the powder into the oat mixture. Allow this to sit undisturbed for about 15 minutes, permitting the enzymes to work on the oat starches. After this resting period, strain the mixture through a fine sieve and rinse the oats thoroughly under running water. Then proceed with your normal blending and straining process. This pre-treatment significantly reduces sliminess while producing a naturally creamy texture.
Adjusting Consistency
The ratio between oats and water directly controls your finished product’s thickness. If you prefer oat milk similar to commercial brands like Oatly—rich and substantial—use four cups of water per 1.25 cups of rolled oats. For a thinner consistency more similar to skim milk, increase water to six cups. Most people find a middle ground with five cups of water produces the ideal balance of creaminess and pourable consistency.
Storage and Longevity
Transfer your completed oat milk into a clean glass bottle or food-grade container, preferably with a tight-sealing lid. Store it in your refrigerator’s coldest section, typically maintaining freshness for five to seven days. The oat milk will naturally separate over time, with denser material settling toward the bottom and clearer liquid rising to the top. Simply shake or stir before each use to redistribute these components.
Some sediment accumulation at the bottom of your container is completely normal and harmless. If you find this aesthetically unpleasing or texturally undesirable, perform another straining before storage.
Practical Applications and Uses
Homemade oat milk works beautifully in coffee and tea, where its natural sweetness and creamy texture complement warm beverages. It performs exceptionally well in baking applications where moisture and fat replacement is needed. Oat milk works in smoothies, cereals, and as a direct dairy milk substitute in most recipes. The mild oat flavor integrates well into both sweet and savory dishes.
Keep in mind that homemade oat milk lacks the stabilizers and thickeners found in commercial versions, so it may behave slightly differently in certain culinary applications. When using in recipes that call for precise measurements, be aware that consistency variations between batches might occur.
Common Questions and Troubleshooting
Why is my oat milk slimy?
Sliminess occurs from over-blending (blend less than 40 seconds), over-squeezing during straining, or using quick oats instead of rolled oats. The enzyme pre-treatment method also helps eliminate this issue.
How thick should oat milk be?
This depends on your preference. Most people prefer consistency somewhere between thin skim milk and whole milk. Adjust your water-to-oat ratio until you achieve your ideal thickness.
Can I use a regular blender instead of a high-speed one?
Standard blenders work, though results may be less smooth and consistent. High-speed blenders produce superior texture with fewer particles.
What can I do with leftover oat pulp?
The nutrient-rich pulp works well in baked goods, granola, energy balls, or added to smoothies for texture and fiber.
Conclusion
Creating oat milk at home combines simplicity with the ability to customize your beverage exactly to your preferences. With minimal equipment and just a few ingredients, you can produce fresh, delicious oat milk that rivals commercial alternatives while avoiding unwanted additives. Whether your motivation is cost savings, ingredient transparency, or environmental consciousness, homemade oat milk represents an accessible entry point into plant-based beverage preparation. Once you’ve mastered the basic technique, you can confidently experiment with variations and applications that align with your dietary needs and flavor preferences.
References
- How to Make Oat Milk (Non-Slimy + Secret Tip!) — Downshiftology. Accessed April 2026. https://downshiftology.com/recipes/how-to-make-oat-milk/
- How to make Oat Milk (that’s NOT slimy! Finally!) — The Banana Diaries. Accessed April 2026. https://thebananadiaries.com/how-to-make-oat-milk-non-slimy/
- Homemade Oat Milk L. Reuteri Yogurt — Cultured Food Life. Accessed April 2026. https://www.culturedfoodlife.com/recipe/homemade-oat-milk-l-reuteri/