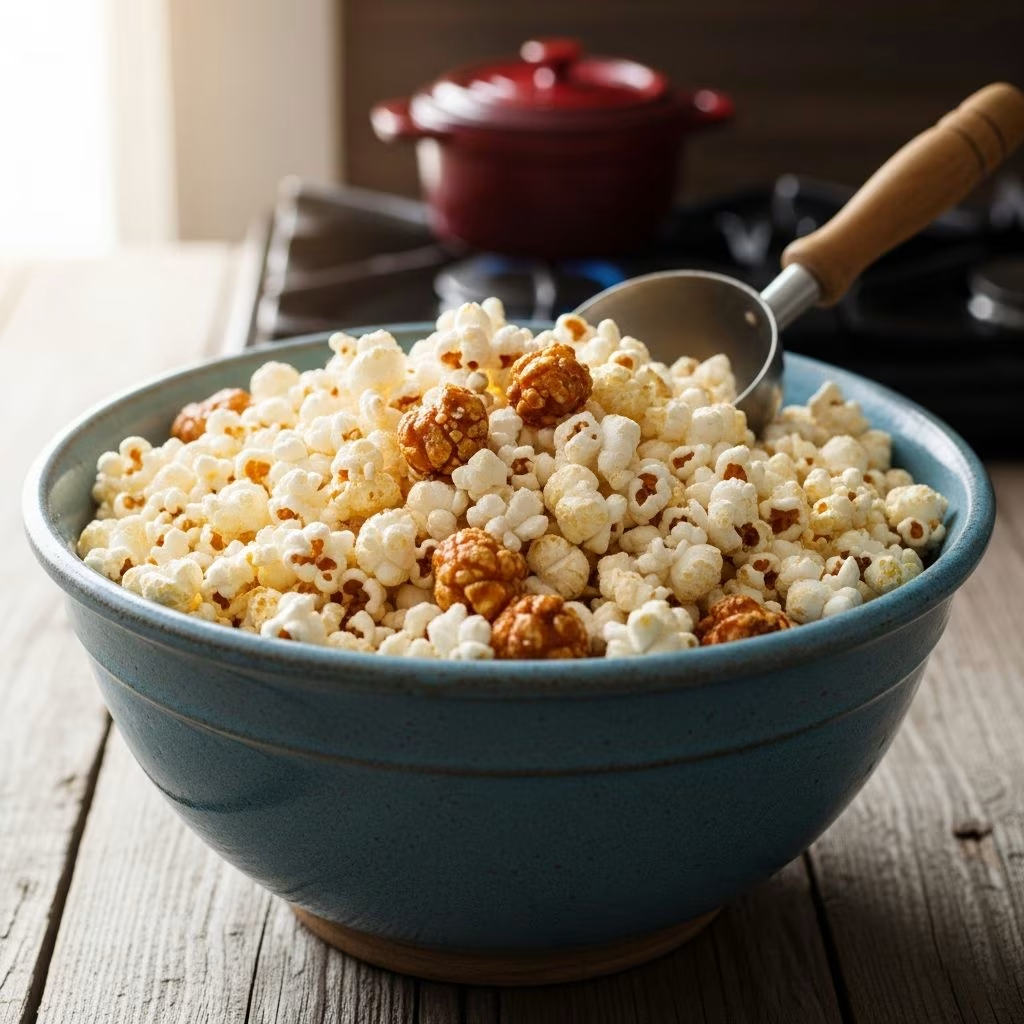
When you think of carnival treats and movie theater snacks, kettle corn immediately comes to mind. This beloved combination of sweet and salty flavors has captivated snack enthusiasts for generations. The beauty of this particular treat lies not only in its irresistible taste profile but also in its remarkable simplicity. What most people don’t realize is that achieving this magical confection at home requires nothing more than a handful of common pantry ingredients and basic stovetop equipment.
The transformation from ordinary popcorn kernels to glistening, candied popcorn happens through a straightforward cooking process that anyone can master. Understanding the fundamental techniques and ingredient ratios will empower you to create batches of kettle corn that rival—and often exceed—commercially produced versions. This guide will walk you through everything you need to know to become proficient at making this delightful snack.
Understanding the Core Ingredients
Creating authentic kettle corn requires precision with your ingredient selection. Unlike some recipes that allow for significant substitutions, kettle corn demands specific components that work together to produce the characteristic coating and flavor profile.
Oil Selection and Its Impact
The foundation of your kettle corn begins with choosing the right cooking oil. Most traditional recipes call for neutral-flavored oils that can withstand medium-high heat without smoking or imparting unwanted flavors. Vegetable oil, canola oil, and light olive oil all serve as excellent choices. The oil’s primary function is twofold: it conducts heat evenly to the popcorn kernels and facilitates the sugar’s ability to distribute uniformly across the popcorn surface. Using approximately 2 to 3 tablespoons of oil per quarter cup of kernels creates the ideal ratio. Some advanced cooks experiment with coconut oil for subtle flavor variations, though this remains optional for traditional kettle corn.
Popcorn Kernels: Quality Matters
Not all popcorn kernels perform identically. The variety and freshness of your kernels directly influence your final product. High-quality, fresh popcorn kernels pop more uniformly and produce fluffier results compared to older kernels that may have lost moisture. A quarter cup to half cup of kernels typically yields enough for 6 to 8 servings, depending on individual preferences. Storing kernels in an airtight container in a cool, dry location preserves their moisture content and ensures consistent popping performance.
Sugar’s Dual Role
Granulated white sugar serves as both a sweetener and a texturing agent in kettle corn. As the sugar heats with the popcorn, it caramelizes slightly and hardens, creating the distinctive crunchy candy coating that makes kettle corn so appealing. Between 2 to 3 tablespoons of sugar per quarter cup of kernels provides the proper sweetness without overwhelming the savory elements. Too much sugar results in overly sweet popcorn that crystallizes excessively, while insufficient sugar fails to create the characteristic coating texture.
Salt: The Flavor Enhancer
Salt plays a crucial role in balancing the sweetness and amplifying overall flavor perception. Fine sea salt or table salt works equally well, though sea salt provides a slightly cleaner taste. A quarter teaspoon to half teaspoon of salt at the beginning of cooking blends with the popcorn, while additional salt sprinkled afterward provides bursts of flavor intensity. The key is achieving balance—too little salt and the snack tastes bland and overly sweet, while excessive salt overpowers the intended flavor harmony.
Essential Equipment and Setup
Before beginning your kettle corn preparation, assembling the proper equipment ensures a smoother cooking process and better results. The most critical piece of equipment is a large, heavy-bottomed pot with a tight-fitting lid. The pot’s weight helps distribute heat evenly, preventing hot spots that can cause burning. A heavy bottom also provides better temperature stability throughout the cooking process.
Additional helpful items include oven mitts or kitchen towels for safely handling the hot pot while shaking, a large mixing bowl or baking sheet for receiving the finished popcorn, and a cooling rack to help separate any unpopped kernels. Some cooks prefer using wire cooling racks to allow airflow around the warm popcorn, which aids in cooling and prevents moisture accumulation.
Preparation extends beyond equipment to ingredient organization. Gathering all components before heating ensures you won’t scramble for missing items once the cooking process begins. This setup approach, known as mise en place in culinary contexts, streamlines your workflow and reduces stress during time-sensitive cooking phases.
Mastering the Cooking Technique
The Test Kernel Method
Professional kettle corn makers employ the test kernel technique to determine when oil reaches optimal popping temperature. This method involves placing 3 to 5 individual popcorn kernels in your pot with oil and covering with the lid. Setting your heat to medium-high, you wait for these test kernels to pop. Once they do, your oil has reached the precise temperature needed for successful popping—approximately 350°F to 400°F. This approach eliminates guesswork and ensures consistent results across multiple batches.
The Critical Shaking Phase
Once you add the remaining kernels and sugar, frequent and vigorous shaking becomes absolutely essential. Every 3 to 5 seconds, remove the pot from heat using oven mitts, holding the lid firmly in place, and shake thoroughly in a back-and-forth motion. This continuous movement accomplishes several important objectives: it prevents kernels from sticking to the pot bottom, ensures the sugar distributes evenly across all popcorn pieces, and reduces the likelihood of burning. The shaking pattern should alternate between 3-second rests and 3-second vigorous shakes. While this does constitute a brief workout for your arms, this effort directly translates to superior final results.
Recognizing the Completion Point
Determining when your kettle corn has finished cooking requires attention to popping patterns. As kernels finish popping, the frequency of pops decreases significantly. When you notice approximately 5 to 10 seconds elapsing between individual pops, your batch has essentially finished. At this critical moment, remove the pot from heat immediately and keep the lid on while shaking gently several more times to distribute heat and prevent any stray pops from occurring. Leaving the pot on heat beyond this point risks burning the sugar coating and creating an acrid taste.
The Finishing Process and Storage
Once you’ve removed the pot from heat, carefully remove the lid while angling the pot away from your face—occasionally, a final kernel may pop unexpectedly. Pour the hot kettle corn onto a prepared surface. Some cooks prefer baking sheets lined with parchment paper for easy transfer, while others use large mixing bowls. If desired, sprinkle additional salt to taste. Breaking up any clumps that form as the mixture cools is optional; many people enjoy the candied clusters.
Allow the kettle corn to cool for 5 to 10 minutes before consuming. This cooling period allows the sugar coating to harden fully, creating optimal texture and preventing mouth burns. Once completely cooled, transfer the snack to airtight containers or resealable bags for storage. Properly stored kettle corn maintains its crispness for up to one week at room temperature, though most batches disappear considerably faster.
Troubleshooting Common Issues
| Issue | Likely Cause | Solution |
|---|---|---|
| Burnt taste or dark brown coating | Heat too high or insufficient shaking | Reduce heat slightly and shake more frequently next time |
| Bland flavor, insufficient sweetness | Too little sugar or salt | Increase sugar by half tablespoon and salt by pinch |
| Excessive unpopped kernels | Oil not hot enough or kernels too old | Wait longer for test kernels and use fresher kernels |
| Sugar crystallization, too grainy | Temperature inconsistency | Maintain consistent medium-high heat and shake regularly |
| Unevenly coated popcorn | Inadequate shaking or sugar distribution | Shake pot more frequently and thoroughly during cooking |
Creative Variations and Flavor Enhancements
Once you’ve mastered the basic kettle corn formula, experimentation becomes possible. Many cooks add spices to create unique flavor profiles. A quarter teaspoon of chili powder introduces subtle heat and complexity. Cinnamon can be added during the cooking process for warmth and depth. Some adventurous cooks incorporate vanilla extract added to the oil before heating for a slightly different aromatic quality.
For those seeking additional sweetness, adding a tablespoon of honey to the oil creates richer flavor dimensions. Alternatively, using brown sugar instead of or in combination with white sugar produces deeper caramel notes. Experimenting with different salt types—such as smoked salt or flavored sea salts—offers subtle variations without significantly altering the recipe structure.
Why Homemade Surpasses Store-Bought Versions
Commercial kettle corn often contains preservatives, artificial flavoring compounds, and oils engineered for shelf stability rather than optimal taste. Homemade versions offer superior flavor quality, fresher ingredient taste, and customizable seasoning levels. Additionally, making kettle corn at home proves significantly more economical than purchasing pre-packaged versions. The time investment—typically under 15 minutes from start to finish—yields several servings at a fraction of retail costs.
Furthermore, controlling ingredient quality ensures you know exactly what goes into your snack. For individuals with dietary restrictions or preferences for organic ingredients, homemade preparation provides the ultimate customization opportunity.
Frequently Asked Questions
Can you make kettle corn without a lid on the pot?
While technically possible, using a lid significantly improves results. The lid traps heat, accelerates popping, and prevents kernels from flying out. Without a lid, popping becomes slower and less controlled.
What type of pot works best for kettle corn?
A heavy-bottomed stainless steel or cast iron pot with a lid provides ideal results. Thin-bottomed pots create hot spots and uneven cooking, resulting in burning.
How do you prevent the sugar from burning?
Frequent shaking is the primary prevention method. Additionally, maintaining medium-high rather than maximum heat and removing the pot immediately when popping slows significantly reduces burning risk.
Can you use honey instead of sugar?
While honey can be incorporated into the oil, using it exclusively instead of granulated sugar produces different results. Honey’s moisture content and different crystallization properties create texture variations.
Why does homemade kettle corn sometimes taste greasy?
Excessive oil or inadequate shaking can result in greasy kettle corn. Ensure you’re using the proper oil quantities and shaking throughout cooking to distribute the oil evenly.
How long does homemade kettle corn stay fresh?
In airtight containers at room temperature, kettle corn maintains optimal crispness for approximately five to seven days, though most batches are consumed within one to two days.
Final Thoughts on Kettle Corn Preparation
Mastering homemade kettle corn opens doors to satisfying snacking that combines simplicity with impressive results. The relatively short preparation time, minimal ingredient list, and negligible cost make this recipe ideal for regular preparation. Whether creating snacks for movie nights, gatherings with friends, or simply satisfying personal cravings, kettle corn delivers consistent satisfaction when proper techniques are followed.
The joy of presenting guests with freshly made, still-warm kettle corn cannot be overstated. This homemade treat inevitably impresses, often leading to surprised reactions about its kitchen origins rather than carnival sourcing. With the techniques outlined in this comprehensive guide, you’re now equipped to create restaurant-quality kettle corn whenever the craving strikes.
References
- Alton Brown’s Homemade Kettle Corn Recipe — Alton Brown. Accessed from https://altonbrown.com/recipes/homemade-kettle-corn/
- Easy Kettle Corn Recipe with Tips — Chew Out Loud. Accessed from https://www.chewoutloud.com/kettle-corn-recipe/
- Easy Kettle Corn: How to Make Without Burning Sugar — Baking Mischief. Accessed from https://bakingmischief.com/easy-homemade-kettle-corn/
- Stovetop Kettle Corn Recipe — Our Best Bites. Accessed from https://ourbestbites.com/stove-top-kettle-corn/