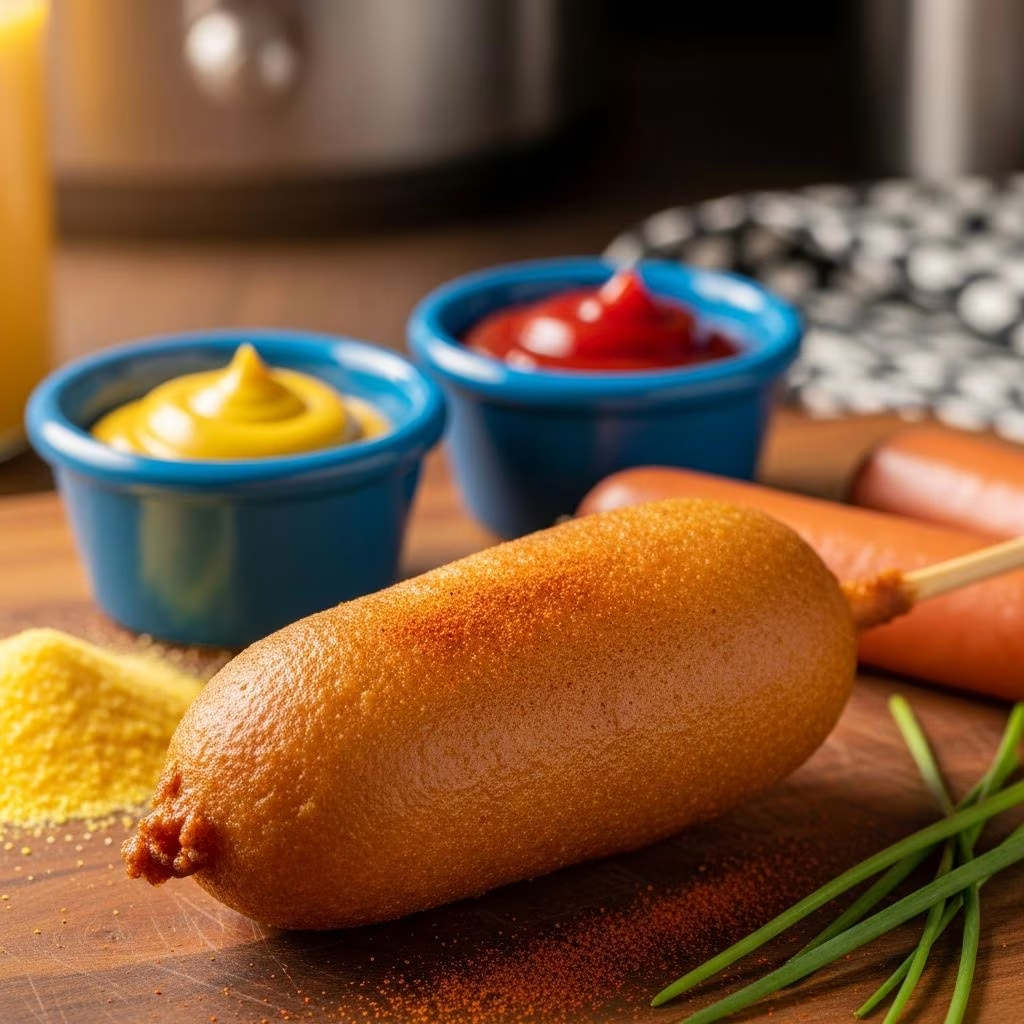
Corn dogs represent one of America’s most beloved fair and carnival treats, combining a savory hot dog with a sweet and satisfying cornmeal-based coating. While most people associate corn dogs with boardwalks and amusement parks, creating them in your own kitchen is entirely achievable and often produces superior results compared to commercially frozen varieties. This comprehensive guide will walk you through every step of the process, from ingredient selection to frying techniques, ensuring your homemade corn dogs rival those found at your local state fair.
Understanding the Foundation: What Makes a Corn Dog
At its core, a corn dog consists of two primary components working in harmony. The first element is the hot dog itself—a protein that serves as the anchor for the entire creation. The second and more distinctive component is the cornbread batter coating, which provides both textural contrast and the characteristic corn flavor that defines the dish. The magic happens when these elements combine during the frying process, creating a crispy exterior that gives way to a tender, flavorful interior.
The batter itself is not simply cornmeal mixed with water. Instead, it represents a carefully balanced combination of cornmeal, flour, leavening agents, and binding ingredients that work together to create a light, airy coating rather than a dense, heavy shell. The inclusion of honey distinguishes superior corn dogs from mediocre ones, adding subtle sweetness that complements both the salty hot dog and the slightly sweet cornmeal.
Essential Ingredients and Their Roles
Creating an exceptional corn dog begins with understanding what each ingredient contributes to the final product:
- Yellow Cornmeal: The star ingredient that gives corn dogs their distinctive character. Finely ground cornmeal works best, as coarser varieties can create an uneven, gritty texture. The cornmeal provides both the iconic corn flavor and contributes to the golden-brown appearance during frying.
- All-Purpose Flour: This ingredient provides structure to the batter while allowing the cornmeal to shine as the primary flavoring agent. The flour helps create a cohesive coating that adheres properly to the hot dog during the dipping and frying process.
- Granulated Sugar: While unexpected in a savory application, sugar enhances the natural sweetness of the cornmeal and creates a more complex flavor profile. This ingredient prevents the corn dog from tasting one-dimensional and adds subtle richness to the coating.
- Baking Powder: This leavening agent creates lift in the batter, resulting in a lighter, airier coating that is less likely to become dense or soggy.
- Kosher Salt: Salt balances the sweetness in the batter and enhances all the flavors present. Its larger crystals dissolve more slowly than table salt, distributing flavor more evenly throughout the coating.
- Eggs: Eggs serve as binders that hold the batter together and help it adhere to the hot dog surface. They also contribute to the structure and richness of the final coating.
- Honey: This ingredient adds moisture, subtle sweetness, and a luxurious mouthfeel to the batter. Honey also promotes browning during frying, contributing to that appealing golden color.
- Buttermilk: The acidity in buttermilk reacts with the baking soda or baking powder to create lift and tenderness in the coating. Buttermilk also contributes a subtle tangy flavor that adds complexity.
- Hot Dogs: Quality matters significantly here. Select hot dogs you genuinely enjoy eating, as this protein represents a substantial portion of the finished product.
- Wooden Skewers: These traditional implements allow for easy handling during dipping and eating. Ensure they are appropriately sized—not so long that they exceed your cooking vessel, but substantial enough to support the weight of a battered and fried corn dog.
Step-by-Step Preparation Process
Preparing Your Ingredients
Begin by assembling all ingredients before starting any mixing. This mise en place approach prevents scrambling for missing items mid-preparation. Pat your hot dogs completely dry with paper towels—this step is crucial, as moisture on the surface prevents the batter from adhering properly and can cause splattering during frying. Once dried, carefully insert wooden skewers halfway into each hot dog, ensuring they penetrate straight through the center for stability and even cooking.
Creating the Batter
Combine all dry ingredients—cornmeal, flour, sugar, baking powder, and salt—in a large mixing bowl. Whisk these together thoroughly, ensuring the baking powder distributes evenly throughout the mixture. In a separate bowl, whisk together the wet ingredients: buttermilk, beaten egg, honey, and a small amount of oil. Pour the wet ingredients into the dry mixture and stir until just combined. The batter should resemble thick pancake batter—pourable but substantial enough to coat the hot dog thoroughly without running off.
At this stage, allow the batter to rest for 10 to 15 minutes. This resting period allows the cornmeal to hydrate fully and permits the leavening agents to begin their work, resulting in a lighter coating when fried. Before proceeding to frying, give the batter one final stir to recombine any ingredients that may have settled.
Mastering the Frying Process
Oil Selection and Temperature
The choice of frying oil significantly impacts your results. Vegetable oil, canola oil, and peanut oil all work well, as they have high smoke points suitable for frying at the necessary temperature. Avoid oils with strong flavors, as these can overpower the delicate corn dog coating.
Temperature control represents perhaps the most critical factor in achieving perfectly fried corn dogs. Heat approximately 2 to 4 inches of oil in a large pot or Dutch oven to precisely 350 degrees Fahrenheit. Use a reliable thermometer to verify temperature, as inaccurate readings lead to either greasy, undercooked corn dogs or burnt exteriors with cold interiors. If you lack a thermometer, test the oil by dropping a small piece of batter into it; proper temperature is indicated by immediate, vigorous sizzling and the batter rising to the surface within a few seconds.
The Dipping and Frying Technique
Pour your prepared batter into a tall drinking glass or similar container—not too full, as you need room to maneuver the skewered hot dog. Hold the corn dog by the skewer and submerge it into the batter, using a gentle twisting motion to ensure complete coverage. Give the stick a slight twirl as you lift the corn dog from the batter, allowing excess coating to drip away. For optimal adhesion, ensure some batter coats the skewer itself, as this prevents the coating from sliding off during cooking.
Carefully lower the battered corn dog into the hot oil at a slight angle, holding it there for 5 to 7 seconds before releasing it completely. This angled approach allows the batter to set slightly before the corn dog sinks, preventing it from sticking to the bottom of the pot. Fry two to three corn dogs simultaneously, ensuring they don’t crowd the vessel and cause the oil temperature to drop dramatically.
Fry for approximately 2 to 3 minutes, until the coating achieves a deep golden-brown color. The exterior should appear crispy and appetizing, with no pale or undercooked areas. Using a slotted spoon or spider skimmer, carefully remove each corn dog from the oil and transfer it to a cooling rack or paper towel-lined plate to drain excess oil.
Achieving Consistent Excellence
| Common Issue | Cause | Solution |
|---|---|---|
| Greasy, undercooked coating | Oil temperature too low | Use a thermometer and maintain 350°F exactly |
| Burnt exterior, cold interior | Oil temperature too high | Reduce heat and allow oil to cool slightly |
| Coating slides off hot dog | Insufficient batter adhesion or moisture on hot dog surface | Pat hot dogs completely dry; ensure batter coats skewer |
| Dense, heavy coating | Overmixing batter or too long resting period | Mix gently just until combined; use within 30 minutes |
| Batter doesn’t stick to hot dog | Oil too hot, causing immediate setting before adhesion | Lower temperature to 350°F or test with small batter piece first |
Serving and Storage Considerations
Corn dogs taste best when served warm, shortly after frying. Offer classic condiments such as ketchup, mustard, and mayonnaise alongside your creation. Some diners enjoy additional condiments like relish, hot sauce, or barbecue sauce for personalization.
If you’ve prepared corn dogs ahead of time, store them in an airtight container in the refrigerator for up to three days. Reheat them in a 350-degree oven for approximately 8 to 10 minutes, which restores crispiness without overcooking the hot dog interior. Avoid using a microwave, as this typically results in a soggy, unappealing coating.
Frequently Asked Questions
Can I use a deep fryer instead of a pot?
Absolutely. A dedicated electric deep fryer provides more precise temperature control and often produces more consistent results than stovetop frying. Follow your fryer’s instructions regarding oil volume and temperature settings.
What if I don’t have wooden skewers?
Popsicle sticks work well as substitutes, provided they are sufficiently sturdy to support the weight of a battered and fried corn dog. Ensure whatever implement you choose is heat-safe and long enough to provide comfortable handling.
Can I make corn dogs ahead and freeze them?
Yes. Prepare and fry corn dogs, then allow them to cool completely before placing them in a freezer-safe container or bag. They will keep for up to two months. Reheat from frozen in a 375-degree oven for 12 to 15 minutes.
Are there healthier alternatives to deep frying?
Air fryer models have become increasingly popular for preparing corn dogs with reduced oil content. While results differ slightly from traditional deep-fried versions, many home cooks report satisfactory outcomes using these appliances at 380 degrees for approximately 10 minutes.
What type of hot dog produces the best results?
All-beef hot dogs are considered premium choices by many enthusiasts, though turkey or chicken varieties also work well. Select a brand you genuinely enjoy, as the hot dog quality directly impacts the finished product.
References
- Easy Homemade Corn Dogs Recipe — SheSaved. Accessed April 7, 2026. https://www.shesaved.com/homemade-corn-dogs/
- Homemade Corn Dog Recipe — Lil’ Luna. Accessed April 7, 2026. https://lilluna.com/corn-dogs-recipe/
- Best Homemade Corn Dog Recipe — Delish. Accessed April 7, 2026. https://www.delish.com/cooking/recipe-ideas/a27470888/homemade-corn-dog-recipe/
- Homemade Corn Dogs Recipe — NatashasKitchen.com. Accessed April 7, 2026. https://natashaskitchen.com/corn-dogs-recipe/