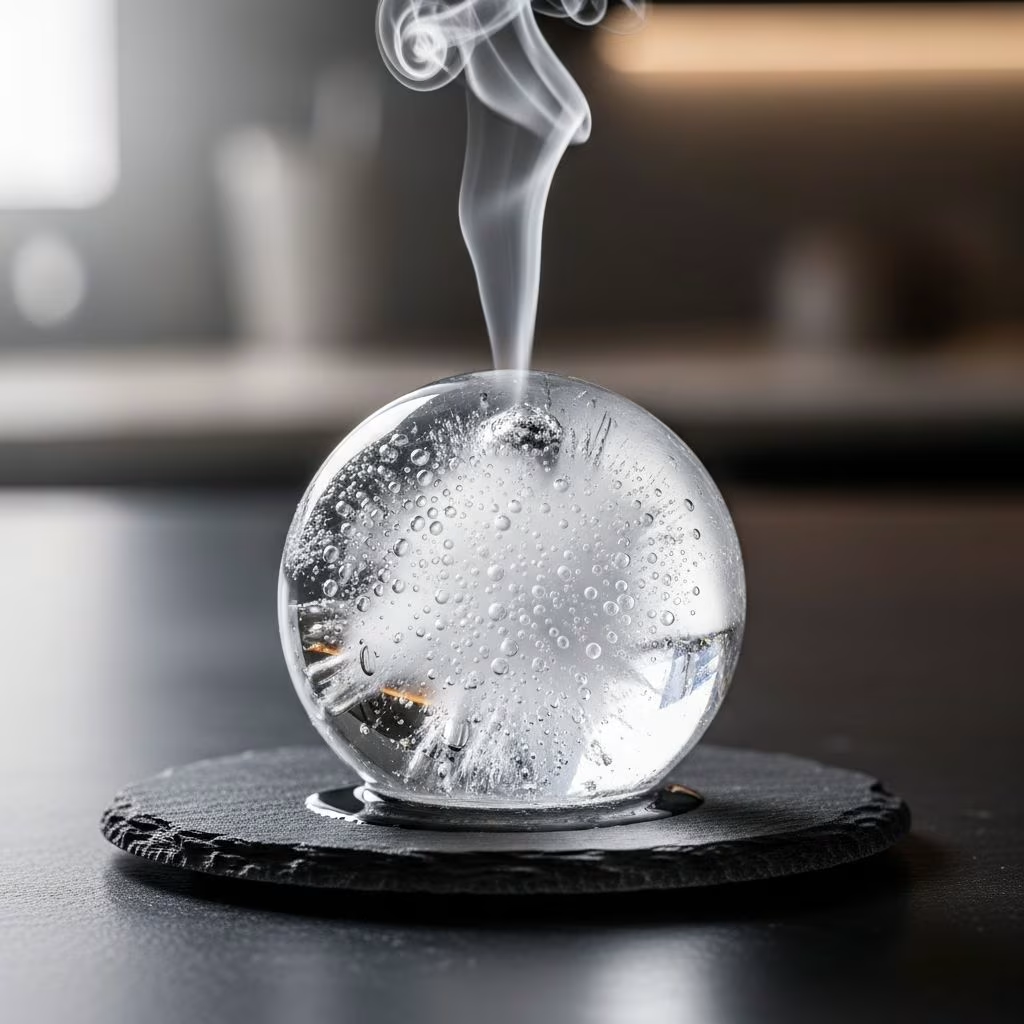
Clear ice elevates cocktails by melting slowly and avoiding dilution from trapped air bubbles, which cloud regular ice and release off-flavors. Achieving this transparency relies on controlling the freezing process to expel impurities.
Understanding Why Ice Clouds and Clears
Cloudy ice forms when water freezes quickly from all sides, trapping air and minerals in the center. Clear ice, however, freezes directionally—typically from one side—pushing gases and particles to the unfrozen portion, which can be discarded. This principle mimics natural ice formation on lakes, where surface layers freeze clear while deeper water remains liquid longer.
Scientific studies on ice crystallization confirm that unidirectional freezing minimizes bubble inclusion, resulting in denser, more pure structures. Home methods replicate this by insulating sides and tops, allowing cold air to freeze only the exposed surface progressively downward.
Preparing the Perfect Water Base
Start with high-quality water to minimize initial impurities. Distilled water is ideal as it lacks minerals that cause cloudiness. Alternatively, boil tap water twice: the first boil releases dissolved gases, and cooling then reboiling further purifies it by precipitating solids.
- Distilled water: Purest option, directly from stores or home distillers.
- Twice-boiled tap water: Budget-friendly; boil, cool to room temperature, boil again, then use warm.
- Filtered water: Removes chlorine and particulates; no boiling needed if using advanced filters.
Avoid tap water straight from the faucet unless filtered, as minerals like calcium create hazy results. Test small batches to find what works best in your freezer environment.
Essential Tools for Home Clear Ice Production
You don’t need commercial machines; everyday items suffice for professional results.
| Tool | Purpose | Why It Works |
|---|---|---|
| Insulated cooler or styrofoam box | Container for large blocks | Prevents side freezing, directs cold from top only. |
| Silicone ice molds | Shaped cubes | Flexible for easy removal; cut holes for air escape. |
| Bread knife or hacksaw | Cutting blocks | Precise slicing of clear layers. |
| Towels or insulation wrap | DIY insulation | Mimics cooler effect around trays. |
Fit your freezer space: a small cooler for minis, larger for party batches. Pre-chill tools in the freezer to maintain consistent temperatures around 32°F (0°C).
Mastering the Directional Freezing Technique
Directional freezing is the cornerstone method, pioneered in mixology circles around 2009. It controls freeze direction to segregate impurities.
- Select and prep container: Choose an open-top insulated box. Line with towels if using trays for added insulation.
- Add water: Fill to 75-80% capacity with prepared water, leaving space for expansion.
- Freeze uncovered: Place in freezer for 16-24 hours. Top freezes first, pushing bubbles down.
- Harvest: Remove when top 60-70% is solid; opaque bottom indicates impurities.
For cubes, insert perforated silicone molds halfway into water; air escapes through holes as ice forms.
Method 1: Large Block Freezing in a Cooler
This yields the purest ice for carving spheres or slabs.
Fill a lidless cooler with distilled water. Freeze 18-20 hours until a thick clear layer forms atop murky bottom. Unmold by running warm water on the exterior briefly. Score and chisel off the clear top with a serrated knife—let partially thaw for easier cutting. Store wrapped in plastic.
Pro Tip: Wear gloves to avoid freezes; cut on a towel to absorb meltwater.
Method 2: Mold-Based Cube Production
Perfect for consistent shapes without carving.
Pre-chill molds, cut 4-6mm holes in each compartment. Submerge molds halfway in a snug container inside your styrofoam box, using spacers like upside-down bowls to hold position. Fill with room-temp filtered water—no boiling needed. Freeze 20+ hours. Pop out cubes, trim any cloudy edges.
- Advantages: Pre-shaped, scalable for batches.
- Time: Longer initial setup, but faster per cube.
Method 3: Quick Tray Hack with Insulation
Ideal for beginners with minimal gear.
Double-boil water, pour warm into silicone tray. Place tray in a larger dishpan lined thickly with towels on all sides (top open). Freeze 8-12 hours. Insulation slows side freezing, approximating directionality. Results have minor clouding but outperform standard cubes.
Advanced Variations and Troubleshooting
Scaling Up: Use multiple stacked trays or larger boxes for events. Monitor freezer load to avoid temp spikes.
Common Issues:
- Cracks on addition to drinks: Let ice temper 1-2 minutes at room temp for a thin melt layer.
- Persistent cloudiness: Increase insulation, use purer water, or extend freeze time.
- Uneven freezing: Ensure no air gaps; seal container sides tightly.
Experiment with additives like a pinch of salt in the bottom water (discarded layer) to enhance purity, though unnecessary with good prep.
Storing and Using Your Clear Ice
Store in airtight zip bags or sealed containers in the freezer to prevent odor absorption. Use within a week for peak clarity. In cocktails, clear ice chills longer without watering down—ideal for old fashioneds, whiskeys, or neat pours.
Handling: Avoid thermal shock; add to glass first, then liquor. For crushed clear ice, pulse in a processor post-thawing slightly.
Why Clear Ice Transforms Cocktails
Beyond aesthetics, clear ice’s density slows melt, preserving flavor balance. Bartenders note it reduces dilution by 20-30% compared to cloudy cubes, maintaining cocktail strength.
In experiments, clear ice keeps drinks colder 15 minutes longer, crucial for stirred classics.
Frequently Asked Questions (FAQs)
Can I use tap water for clear ice?
Yes, if filtered; otherwise, boil twice to remove gases and minerals.
How long does clear ice take to make?
16-24 hours freezing, plus 10-20 minutes prep and harvest.
Do I need special equipment?
No—coolers, trays, and knives work; molds optional for shapes.
Why does my ice crack in drinks?
Temperature shock; temper first.
Is clear ice safe to eat?
Absolutely, purer than fridge ice due to impurity removal.
Conclusion: Elevate Your Home Bar
Mastering clear ice brings pro-level polish to drinks with accessible science. Practice refines results—soon, your cocktails will rival any bar.
References
- How to Make Clear Ice for Whisky Cocktails — Pendleton Whisky. 2023. https://pendletonwhisky.com/news-story/how-to-make-clear-ice-at-home/
- Making Clear Ice at Home with Tap Water and Directional Freezing — Liquor Labs. 2022. https://liquorlabs.tv/making-clear-ice-at-home-with-tap-water-and-directional-freezing
- How to Make Clear Ice at Home | The Cocktail Lab — YouTube (Serious Eats). 2021-10-15. https://www.youtube.com/watch?v=jRFfPxNydmo