Preparing shrimp properly is essential for creating restaurant-quality dishes at home. One of the most critical steps in shrimp preparation is removing the intestinal vein that runs along the creature’s back. While this task might seem intimidating to beginners, understanding the various techniques available makes the process straightforward and efficient. Whether you’re preparing shrimp for a special dinner or a casual weeknight meal, mastering these skills will elevate your cooking and ensure your guests enjoy perfectly prepared seafood.
Understanding the Shrimp Vein and Why Removal Matters
The dark line visible along the back of a shrimp is actually the creature’s intestinal tract, not a true vein as commonly called. This digestive channel contains waste material that can impart an unpleasant sandy or gritty texture and bitter flavor to your finished dish. The intensity of this effect depends on the shrimp’s size and diet, making the removal decision contextual rather than universal.
For smaller and medium-sized shrimp, many home cooks find the vein barely noticeable, especially once the shrimp is cooked and incorporated into a flavorful dish. However, when preparing larger varieties like jumbo shrimp, the vein becomes more pronounced and more likely to detract from the eating experience. Additionally, if you’re serving shrimp raw—such as in nigiri or sashimi presentations—removing the vein becomes particularly important to prevent that gritty sensation and maintain the delicate flavor profile that raw preparations demand.
Timing Your Deveining: Pre-Cooking vs. Post-Cooking
The optimal time to devein shrimp is before cooking rather than after. Raw shrimp offers several advantages for this task: the flesh remains translucent, making the vein clearly visible for precise removal, and the texture is more pliable, allowing for easier cutting and manipulation without tearing or damaging the meat. The shell, if still attached, also maintains its structural integrity, making it easier to work with.
Once shrimp has been cooked, the flesh turns opaque, creating difficulty in locating exactly where to cut. Additionally, the cooked vein becomes significantly more fragile and prone to breaking apart during removal, making it nearly impossible to extract in one complete piece. For these practical reasons, planning your deveining step before heat application ensures better results and less frustration in the kitchen.
Preparing Your Work Station and Gathering Tools
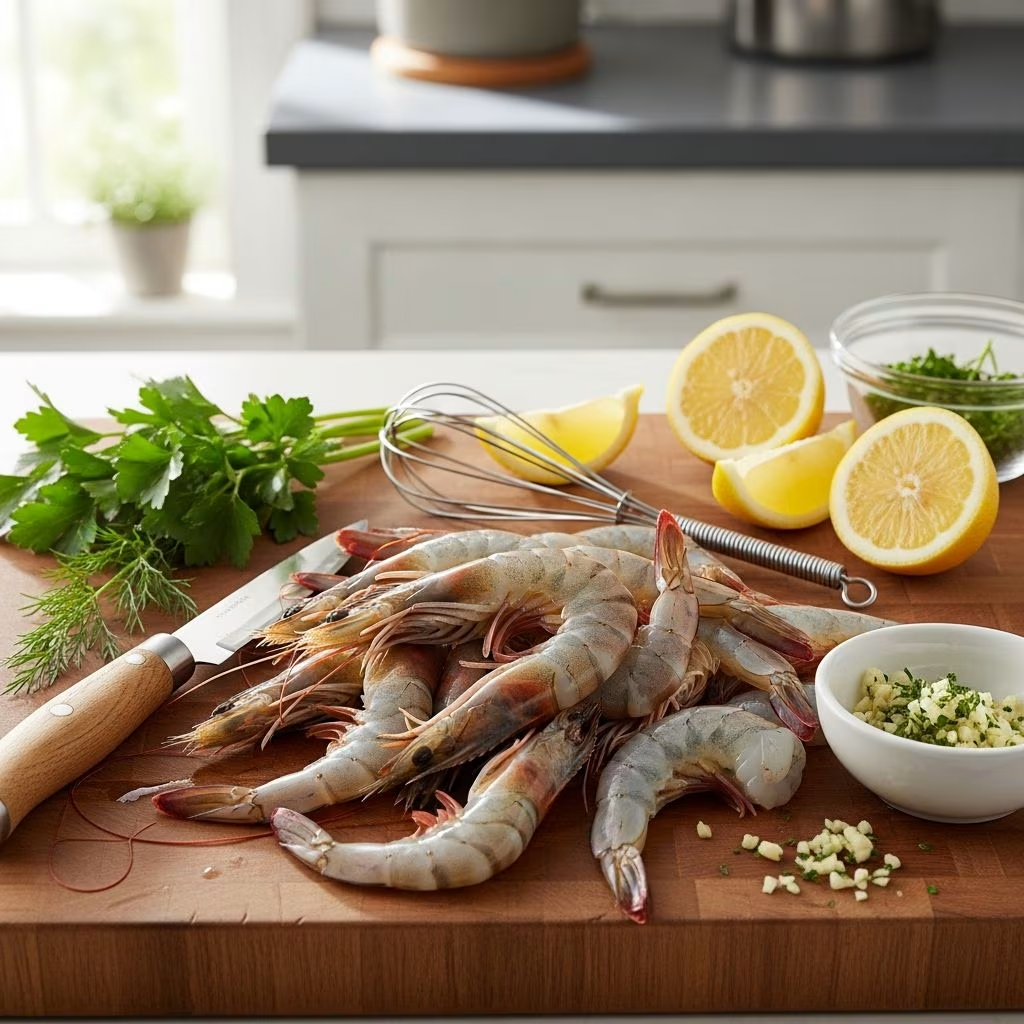
Before beginning any deveining method, organize your workspace efficiently. You’ll need a clean cutting board or work surface, ideally one designated for seafood preparation. Gather your chosen deveining tool—whether that’s a sharp paring knife, kitchen shears, toothpick, or wooden skewer—and have a small bowl of cool water nearby for rinsing finished shrimp.
Keep paper towels or a clean kitchen cloth accessible for drying shrimp and wiping your hands between specimens. If you’re processing a large quantity, consider setting up an assembly-line style station with separate areas for peeling, deveining, and final rinsing. This organized approach increases efficiency and reduces cross-contamination risks.
Method One: The Knife Technique for Peeled Shrimp
For shrimp that have already been peeled and deheaded, the knife method represents the most straightforward approach. This technique works particularly well because you have unobstructed access to the meat and clear visibility of the vein’s location.
Step-by-step process:
- Lay your peeled shrimp on its side on a clean cutting board
- Using a sharp paring knife, make a shallow incision along the back of the shrimp, cutting from head-end to tail
- The cut should penetrate only ⅛ to ¼-inch deep—deep enough to expose the vein but not so deep that you damage the underlying meat
- Once exposed, gently lift and remove the vein using the knife tip or your fingers
- Rinse the shrimp under cool running water to ensure complete removal
This method creates a visible channel along the back, which is perfectly acceptable for most cooked preparations. If aesthetics matter for your specific application—such as presentation in a composed dish—you might prefer an alternative technique that doesn’t require opening the back.
Method Two: The Toothpick Technique for Shell-On Shrimp
One of the cleanest methods for deveining shrimp while keeping shells intact involves using a simple toothpick. This approach is particularly valuable when preparing shrimp for boils or when maintaining the shell-on presentation matters for your recipe.
Executing the toothpick method:
- If desired, twist and pull off the shrimp head, though this step is optional
- Locate the second and third shell segments from the head end—this is where the vein lies just beneath the surface
- Position your toothpick at the joint between these segments
- Gently pierce through the shell, inserting the toothpick between ⅛ and ¼-inch deep
- Slowly lift the toothpick upward—the vein should emerge with it
- Pull the entire vein out in one smooth motion
The advantage of this technique lies in its minimal damage to the shell exterior. The shrimp maintains its visually appealing appearance while being thoroughly cleaned internally. This makes the method ideal for seafood boils, shrimp scampi served with shells intact, or any presentation where appearance matters.
Method Three: The Skewer or Wooden Pick Approach
Similar to the toothpick method but often faster when processing larger quantities, the wooden skewer technique uses a slightly thicker tool to extract the vein. Professional seafood chefs frequently employ this method in commercial kitchens due to its speed and reliability.
Insert a wooden skewer or thick pick into the same location as the toothpick method—at the joint between the second and third shell segments. The slightly larger diameter of the skewer means you can apply gentle upward pressure more effectively, and the vein grips the tool better as you lift, ensuring clean removal in a single action.
Method Four: The Kitchen Shears Approach
For rapid processing of shell-on shrimp, kitchen shears offer an efficient alternative. This technique combines peeling and deveining in a streamlined process, though it does expose the back of the shrimp.
Using shears effectively:
- Remove the head by twisting and pulling it away from the body
- Position your shears along the center top of the shrimp where the shell is hardest and the vein lies directly beneath
- Cut along this centerline from head toward tail
- Keep your cut shallow—ideally no deeper than ¼-inch into the flesh
- Once cut, peel away the shell halves and remove the exposed vein
- Rinse under cool water
This method works particularly well if you plan to peel the shrimp anyway. The single cut with shears is often faster than hand-peeling the entire shell, and deveining happens simultaneously with the cutting action.
Peeling Shrimp: Hand Method vs. Tools
Before or alongside deveining, you may need to remove the shell. Two primary approaches exist: manual hand-peeling and tool-assisted methods.
Hand-peeling technique: Twist and remove the head first, then pull off the legs along the belly. Use your thumbnail to release the shell segments from the underside of the meat, working from head end toward the tail, peeling away each shell section as you go. This method requires no special equipment and gives you good tactile feedback about the shrimp’s condition.
Tool-assisted peeling: Kitchen shears accelerate shell removal, especially for large quantities. Cut along the center back or belly and peel the shell halves away. This method trades the simplicity of hand-peeling for greater speed.
Comparison of Deveining Methods
| Method | Best For | Difficulty Level | Speed | Shell Damage |
|---|---|---|---|---|
| Knife | Peeled shrimp, presentation-ready dishes | Easy | Moderate | None (creates controlled channel) |
| Toothpick | Shell-on presentation, boils | Moderate | Slow to Moderate | Minimal |
| Wooden Skewer | Large batches, commercial quantities | Easy | Fast | Minimal |
| Kitchen Shears | Combined peeling and deveining | Easy | Fast | Creates opening |
Practical Considerations for Different Shrimp Sizes
Shrimp sizing affects both the necessity and ease of deveining. Smaller varieties (60-70 count per pound) have veins so minimal that deveining is purely optional. Medium shrimp (31-40 count) present a middle ground where deveining depends on personal preference and the specific recipe. Large and jumbo varieties (15-25 count) possess clearly visible, thicker veins that definitely warrant removal for optimal eating experience.
The depth of your cut also varies by size: smaller shrimp require only ⅛-inch penetration, while jumbo specimens might need ¼-inch to fully expose the vein.
Sanitation and Food Safety Guidelines
Always keep your work surface clean and use a cutting board designated for seafood or thoroughly sanitize it before use. Wash your hands before and after handling raw shrimp. Keep deveined shrimp cool, either processing them immediately before cooking or storing them in the coldest part of your refrigerator until ready to use. If you’ve removed shrimp from the freezer, work with them while still cold for easier handling and optimal food safety.
Frequently Asked Questions
Does the vein taste bad if left in?
The vein itself doesn’t taste inherently bad, but it can impart a sandy, gritty texture and slightly bitter flavor due to its digestive contents. In smaller shrimp, this effect is negligible. In larger specimens, especially those served raw, it becomes noticeable.
Can you devein shrimp after cooking?
Technically yes, but it’s significantly more difficult. Cooked shrimp is opaque, making vein location harder, and the vein becomes fragile and breaks easily. Pre-cooking deveining is vastly superior.
Which deveining method is fastest?
The wooden skewer method typically ranks fastest for experienced cooks, followed by the knife technique for peeled shrimp. Both can process shrimp in seconds per piece once you develop the muscle memory.
Do frozen shrimp need deveining?
Yes, if you desire deveined shrimp, apply the same deveining process to frozen specimens. Thaw them slightly first for easier handling, or work with them while still partially frozen for firmness.
Is special equipment required?
No. A toothpick, kitchen knife, or wooden skewer accomplishes deveining effectively. No specialized tools are necessary, though they may be useful for processing large quantities.
Final Thoughts on Shrimp Preparation
Mastering shrimp deveining removes a barrier to cooking this versatile protein with confidence. Whether you choose the knife technique for its simplicity, the toothpick method for its aesthetic advantages, or the skewer approach for its speed, you now possess the knowledge to prepare shrimp properly for virtually any application. With practice, these techniques become second nature, transforming a task that initially seems daunting into a quick, routine part of your seafood cooking process.
References
- How to Peel & Devein Shrimp (3 Easy Methods) — Hungry Huy. 2024. https://www.hungryhuy.com/how-to-devein-shrimp/
- The Quick and Easy Way to Devein and Peel Shrimp — Food Chain TV. YouTube. https://www.youtube.com/watch?v=8MAPbLHWUTU
- Shrimp Preparation: Anatomy and Processing — U.S. Food and Drug Administration. https://www.fda.gov/food/seafood-haccp-alliance/seafood-hazards-controls-guide