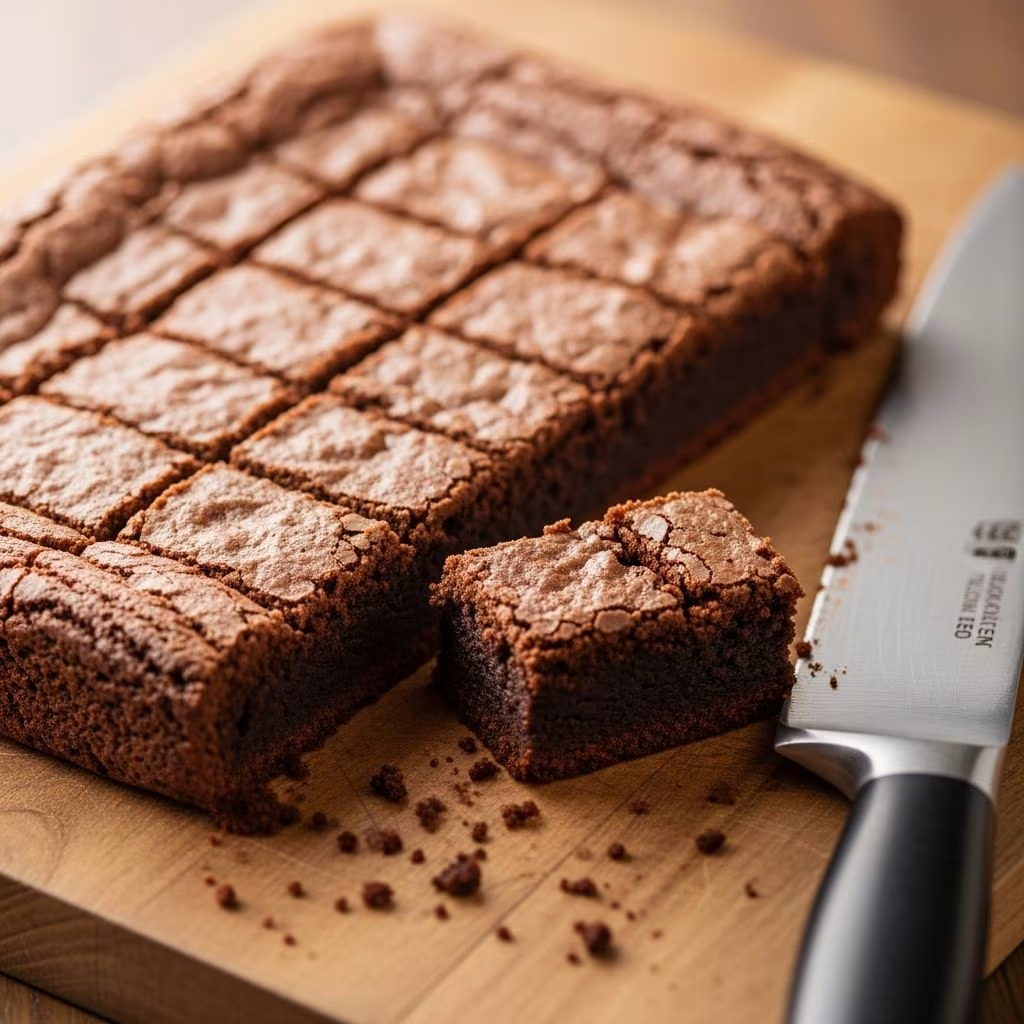
Achieving neat, professional-looking brownie squares transforms a simple bake into an impressive treat. The key lies in preparation, patience, and the right tools to prevent crumbling, sticking, or uneven edges. This guide explores comprehensive methods drawn from baking expertise to ensure your brownies slice cleanly every time.
Essential Preparation for Flawless Results
Success starts before the brownies even hit the oven. Proper pan setup and cooling are foundational to clean cuts.
Choosing and Lining the Ideal Baking Pan
Select a square metal pan with sharp 90-degree corners, typically 8×8 inches, to yield uniform squares. Avoid pans with rounded edges, as they distort shapes. Line the pan with two strips of parchment paper, each slightly narrower than the pan’s width, placed crosswise. This creates an overhang on all sides for easy removal without damaging edges.
- Secure loose parchment with oven-safe metal binder clips to prevent shifting during baking.
- Skip aluminum foil, which can imprint bumpy textures on brownie sides.
This lining method allows lifting the entire slab intact, minimizing in-pan cutting mishaps.
The Critical Cooling Process
Resist cutting warm brownies; they must cool fully to room temperature. As they cool, chocolate and butter solidify, firming the structure to withstand slicing without falling apart. Premature cuts expose gooey interiors, leading to smears and crumbles.
- Allow 2-4 hours or overnight for complete setting, depending on recipe fudginess.
- Refrigerate only if specified in the recipe, as it can alter texture unevenly.
Cooling maximizes fudginess by recrystallizing cocoa butter, ensuring sharp edges post-slice.
Selecting the Right Cutting Tools
The tool you use dramatically impacts cut quality. Opt for precision over convenience.
Superior Knife Choices
A chef’s knife or thin-bladed santoku, at least 8 inches long, covers the full brownie length for single, smooth passes. Straight edges prevent dragging, unlike serrated knives that tear fudgy surfaces.
| Knife Type | Pros | Cons |
|---|---|---|
| Chef’s Knife (8+ inches) | Clean, full-length cuts; versatile | Requires hot water method |
| Santoku Knife | Thin blade glides smoothly | May need sharpening for sticky batters |
| Plastic Disposable Knife | Warm brownie friendly; no sticking | Less precise for cooled slabs |
| Serrated Knife | Avoid | Tears and crumbles edges |
Avoid small paring knives, which demand multiple sawing motions, increasing mess.
Alternative Implements for Specific Scenarios
For still-warm brownies, a plastic table knife excels by flexing slightly and resisting adhesion. Bench scrapers paired with a ruler offer straight-line control without blade damage to good knives.
Mastering the Hot Knife Technique
The hallmark method for pristine slices involves heat to melt surface chocolate momentarily, allowing glide-through cuts.
- Lift the brownie slab: Use parchment overhang to transfer to a cutting board.
- Measure evenly: A ruler ensures uniform portions; mark lightly if needed.
- Heat the blade: Dip or run under scalding water until hot, then wipe dry with a towel.
- Slice vertically: Press straight down and pull up—no sawing—to avoid drag.
- Repeat and clean: Reheat and wipe between each cut to remove residue.
Pro tip: Fill a tall mug with hot water for quick dips, keeping the process efficient. Wipe from the spine toward the edge to protect fingers.
Advanced Tips for Professional Presentation
Elevate your brownies beyond basic cuts with these refinements.
- Chill selectively: For ultra-fudgy recipes, a brief freezer stint firms edges without over-hardening.
- Grid first: Lightly score lines before full cuts to guide the knife.
- Serve smartly: Use an offset spatula to lift pieces, preserving shape.
Store unsliced brownies wrapped to limit air exposure, staving off staleness until serving.
Troubleshooting Common Cutting Pitfalls
Even seasoned bakers encounter issues; here’s how to fix them.
| Problem | Cause | Solution |
|---|---|---|
| Crumbly edges | Insufficient cooling | Wait longer or chill briefly |
| Sticky smears | Cool knife or residue buildup | Hot water rinse every slice |
| Uneven sizes | No measurement | Use ruler for spacing |
| Torn surfaces | Sawing motion | Straight up-and-down pressure |
Adjust based on brownie type: cakey versions slice easier than dense fudgy ones.
Recipe Pairing: Ideal Brownies for Clean Slicing
Not all brownies slice equally. Fudgy recipes with high fat content benefit most from these techniques.
Quick Fudgy Brownie Base
- 1 cup melted butter
- 2 cups sugar
- 4 eggs
- 1 cup cocoa powder
- 1.5 cups flour
- Pinch salt
Mix wet and dry ingredients, bake at 350°F for 25-30 minutes in lined pan. Cool completely before slicing as outlined.
FAQs: Brownie Slicing Essentials
Can I cut brownies straight from the pan?
Possible with plastic knives for warm batches, but lifting out yields superior results by allowing full knife access.
How long should brownies cool before cutting?
At least 2 hours to room temperature; overnight for optimal firmness.
Does refrigeration help?
Yes for fudgy types, but thaw slightly to avoid overly hard slices.
What if my brownies are very gooey?
Freeze 30 minutes post-cooling to set surfaces without altering core texture.
Best serving tool?
A thin offset spatula lifts cleanly without squishing.
Why Clean Cuts Matter
Neat slices enhance visual appeal, making brownies party-worthy. They also ensure even portioning and professional presentation, impressing guests and simplifying sharing.
References
- How to Cut Brownies Cleanly in 5 Steps — Handle the Heat (Tessa Arias). Accessed 2026. https://handletheheat.com/how-to-cut-brownies/
- How to Cut Brownies Cleanly — Scientifically Sweet. Accessed 2026. https://scientificallysweet.com/how-to-cut-brownies/