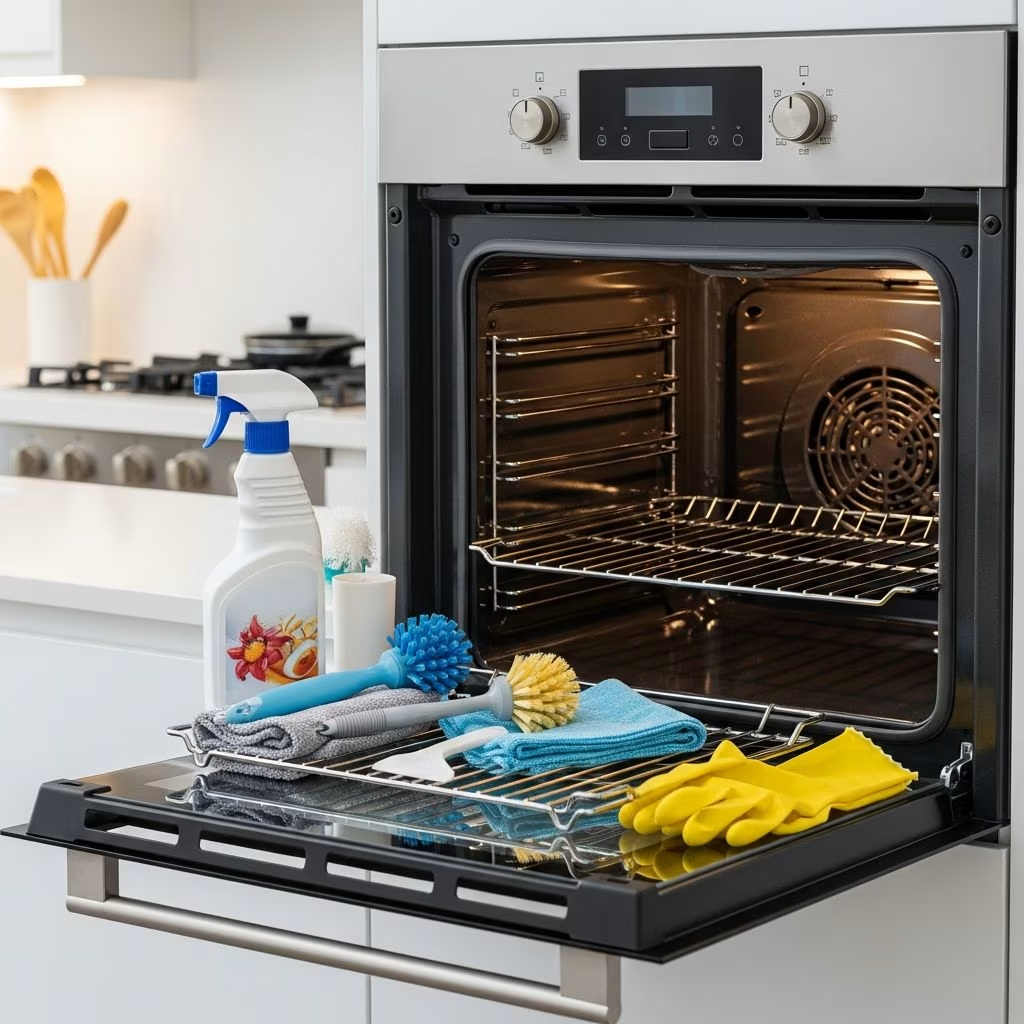
The oven is one of the most challenging appliances to maintain in any kitchen. Over time, splatters, spills, and burnt residue accumulate on interior surfaces, creating stubborn stains that seem impossible to remove. Regular cleaning not only keeps your oven looking presentable but also helps it function more efficiently and safely. Understanding the right approach to oven maintenance can save you time, money, and frustration.
Why Consistent Oven Maintenance Matters
Many homeowners postpone oven cleaning, hoping the mess will somehow disappear on its own. However, buildup inside your oven can affect cooking performance and create potential safety hazards. Grease and food particles that accumulate over time can produce smoke during cooking and may impact temperature distribution within the appliance. Additionally, excessive buildup makes future cleaning exponentially harder, as dried residue becomes increasingly difficult to remove.
Establishing a regular cleaning schedule prevents severe accumulation and keeps your oven in optimal working condition. Whether you prefer natural cleaning solutions or commercial products, understanding your options empowers you to choose the method that best suits your needs and preferences.
Preparing Your Oven for Cleaning: The Essential First Steps
Before diving into any cleaning method, proper preparation ensures safety and effectiveness. Start by allowing your oven to cool completely if it has been recently used. This prevents burns and allows cleaning solutions to work more effectively on cooled surfaces.
Remove the oven racks and set them aside for separate cleaning. This step is crucial because racks accumulate significant grease and grime in their crevices and edges, making them difficult to clean while inside the oven. Additionally, removing racks provides access to hard-to-reach areas of the oven’s interior that require thorough attention.
Clear any loose debris from the oven floor using a damp cloth or small brush. This initial sweep removes particles that could interfere with your cleaning solution’s effectiveness. Pay special attention to corners and crevices where food particles tend to accumulate.
The Rack Restoration Process: Detailed Instructions
Oven racks deserve dedicated attention due to their accumulation of stubborn grease. The soak-and-scrub method proves highly effective for removing buildup without damaging the rack’s finish.
Soaking Your Racks Effectively
Fill a large container—such as a utility sink, bathtub, or large outdoor tub—with hot water sufficient to cover the racks completely. If your bathtub is your chosen vessel, line it with old towels to prevent scratching the surface. Add either ½ cup of mild dish soap or ¾ to 1 cup of laundry detergent to the water. Alternatively, sprinkle 3 cups of baking soda directly into the water for a natural cleaning approach.
Allow the racks to soak for at least two hours, though overnight soaking proves more effective for heavily soiled racks. The extended soak time allows the solution to penetrate dried grease and loosen burnt-on food particles, making scrubbing significantly easier.
Scrubbing and Finishing Racks
After soaking, use a stiff-bristled brush or steel wool pad to scrub away loosened residue. Work methodically across each rack, paying extra attention to grooves and edges where grease typically concentrates. For particularly stubborn spots, apply additional pressure or let the area soak for several more hours before scrubbing.
Rinse the racks thoroughly under running water to remove all soap and debris. Dry them completely using soft cloth towels to prevent rust or corrosion. If racks feel difficult to reinsert into the oven, apply a light coating of cooking oil to the rack guides to restore smooth movement.
Interior Oven Cleaning: Natural and Effective Methods
The Baking Soda and Vinegar Approach
This natural method harnesses the chemical reaction between baking soda and vinegar to break down grease and burnt residue. Begin by combining ½ cup of baking soda with 3 tablespoons of water to create a thick, spreadable paste. For tougher buildup, increase the baking soda ratio slightly to achieve a consistency that adheres to vertical surfaces.
Using a brush or flexible silicone spatula, spread this paste throughout the oven’s interior, coating the top, sides, bottom, and door surfaces. Ensure complete coverage of all affected areas, but avoid contact with heating elements. Allow the paste to rest for 20 minutes to overnight, depending on the level of soiling. Extended rest periods work better for heavily burnt areas.
Once the waiting period ends, spray the treated surfaces with white vinegar or fresh lemon juice. The acid reacts with the baking soda, creating a fizzing action that lifts remaining residue. Using a damp cloth or plastic scraper, wipe away the foaming mixture. Repeat this spraying and wiping process until all baking soda paste is removed. Follow up with a final vinegar or lemon juice spray, then dry with a soft cloth.
For Stubborn Burnt-On Spots
Particularly challenging burnt areas may require extended treatment. Apply an additional layer of baking soda paste directly over the stubborn spot and allow it to sit for 12 to 24 hours. This prolonged contact time allows the alkaline paste to further break down hardened residue. Afterward, wet the area and scrub gently with a non-scratch scrubbing sponge or plastic scraper.
Cleaning the Glass Door
The oven’s glass door requires special attention, as visible grime detracts from your kitchen’s appearance. Spray the glass surface with white vinegar or lemon juice and wipe thoroughly with a damp cloth. Repeat this process multiple times until all baking soda residue is gone. A final spray followed by drying with a soft cloth leaves the glass streak-free and transparent.
Exterior and Surface Care Strategies
Stainless Steel Exteriors
Stainless steel oven exteriors require specific care to maintain their appearance and protective finish. Start by wiping away surface food and water deposits using a microfiber cloth dampened with warm water, following the grain direction of the steel. This simple step removes most loose debris and water spots.
For deeper cleaning and fingerprint removal, apply a dedicated stainless steel cleaner following the product and appliance guidelines. This specialized cleaner removes residue while restoring the characteristic shine of stainless steel. Always work in the direction of the grain to avoid scratching or streaking.
Porcelain and Painted Finishes
Porcelain enamel surfaces or models with metallic paint require gentler handling than stainless steel. Spray these surfaces with a glass cleaner or mild liquid cleaner and scrub with a non-abrasive pad. Avoid using bleach, rust removers, ammonia, or sodium hydroxide on metallic painted models, as these substances can cause surface staining.
When cleaning around the model, serial, and rating plates, use extra caution to avoid scrubbing away important identification numbers.
Leveraging Self-Cleaning Functions Safely
Many modern ovens feature built-in self-cleaning cycles that use extreme heat—typically between 800-1000°F—to incinerate accumulated grease and food particles. If your oven includes this feature and you prefer not to clean manually, using the self-cleaning function can be highly effective.
Before activating a self-cleaning cycle, remove racks and any other removable items from the oven. Ensure adequate ventilation in your kitchen, as the process may produce smoke and odors. After the cycle completes and the oven cools, wipe the interior with a damp cloth to remove ash residue.
Professional Cleaning Alternatives and Commercial Products
While natural methods work well for moderate buildup, commercial oven cleaners offer powerful alternatives for severe cases. These products are specifically formulated to break down particularly stubborn grease that baking soda alone cannot penetrate.
When using commercial cleaners, follow all manufacturer instructions carefully, ensure proper ventilation, and wear protective gloves. Many commercial options require spraying, waiting, and then scrubbing or wiping away the product and residue.
Specialized Tools for Optimal Results
Investing in the right tools makes oven cleaning significantly more efficient and effective. Non-scratch scouring pads prevent damage to interior surfaces while removing stubborn residue. Plastic scrapers provide leverage for lifting burnt material without scratching metal or glass. Stiff-bristled brushes effectively work cleaning solutions into crevices and grooves.
Microfiber cloths excel at final wiping stages, removing residue without leaving lint or streaks. A flexible silicone spatula allows precise application of baking soda paste to vertical surfaces. For stubborn spots, some professionals use razor blade scrapers at shallow angles to gently lift hardened residue without gouging the oven’s interior.
Safety Considerations During Oven Cleaning
Always prioritize safety when cleaning your oven. Allow the appliance to cool completely before beginning work to avoid burns. Wear protective gloves to shield your hands from cleaning solutions, especially when using commercial products. Ensure adequate kitchen ventilation when using chemical cleaners or running self-cleaning cycles.
Never apply cleaning solutions to active heating elements. If solution contact occurs, allow the element to cool and clean gently with a damp towel. Avoid mixing different cleaning products, as chemical combinations can produce toxic fumes.
Maintenance Schedule for Long-Term Oven Care
Establishing a regular cleaning routine prevents severe buildup and reduces overall effort. Light monthly wiping of visible spills prevents them from becoming baked-on stains. Quarterly deep cleaning using your preferred method maintains the oven in good working condition. After particularly messy cooking projects, perform immediate cleanup to prevent splatters from setting.
This proactive approach means you’ll never face an oven so heavily soiled that professional intervention becomes necessary. Regular maintenance keeps your oven looking presentable, functioning efficiently, and ready for your next culinary endeavor.
Comparing Cleaning Methods: Quick Reference Guide
| Cleaning Method | Best For | Time Required | Cost | Effort Level |
|---|---|---|---|---|
| Baking Soda & Vinegar | Moderate buildup, natural preference | 30 minutes to overnight | Minimal ($) | Low to Moderate |
| Commercial Oven Cleaner | Heavy buildup, stubborn grease | 15-30 minutes | Moderate ($$) | Low |
| Self-Cleaning Cycle | All buildup types, hands-off preference | 2-4 hours | None ($) | Minimal |
| Professional Service | Severe buildup, time constraints | Varies | High ($$$) | None |
Troubleshooting Common Oven Cleaning Challenges
Glass Door Remains Cloudy
If the oven door glass remains cloudy after cleaning, the baking soda residue may not be fully removed. Repeat the vinegar spray and wiping process several additional times. For persistent cloudiness, allow a baking soda paste to sit on the glass for several hours, then repeat the vinegar treatment.
Grease Seems Resistant to All Methods
Extremely hardened grease may require extended soaking or multiple cleaning applications. Apply your chosen cleaning solution, allow 24 hours of rest, then reapply and scrub. Consider switching to a commercial product if natural methods prove insufficient after two applications.
Racks Won’t Slide Smoothly After Cleaning
This common issue results from dried soap residue or moisture causing friction. Ensure racks are completely dry before reinserting them. Apply a light coating of cooking oil to the rack guides to restore smooth movement without affecting food safety.
Environmental and Health Considerations
Natural cleaning methods using baking soda and vinegar eliminate exposure to harsh chemical fumes and are safer for households with children and pets. These methods produce no toxic byproducts and are completely biodegradable. For those sensitive to commercial cleaning product odors or concerned about indoor air quality, natural alternatives prove ideal.
When commercial cleaners become necessary, ensure proper ventilation during and after application. Wear gloves and follow all safety instructions on product labels. Store cleaning products safely away from children and pets.
Conclusion: Maintaining Your Oven for Optimal Performance
Oven cleaning need not be an overwhelming chore. Whether you prefer natural solutions, commercial products, or built-in self-cleaning functions, multiple effective approaches exist to restore your oven to pristine condition. The key to long-term oven maintenance lies in establishing a regular cleaning schedule that prevents severe buildup from accumulating.
By implementing these techniques and maintaining consistent care, your oven will remain in excellent working condition, supporting all your culinary endeavors while maintaining a clean, presentable kitchen appearance.
References
- How to Clean an Oven Inside and Out — Whirlpool Corporation. 2024. https://www.whirlpool.com/blog/kitchen/how-to-clean-an-oven.html
- How to Clean an Oven — Seventh Generation. 2024. https://www.seventhgeneration.com/blog/how-to-clean-your-oven