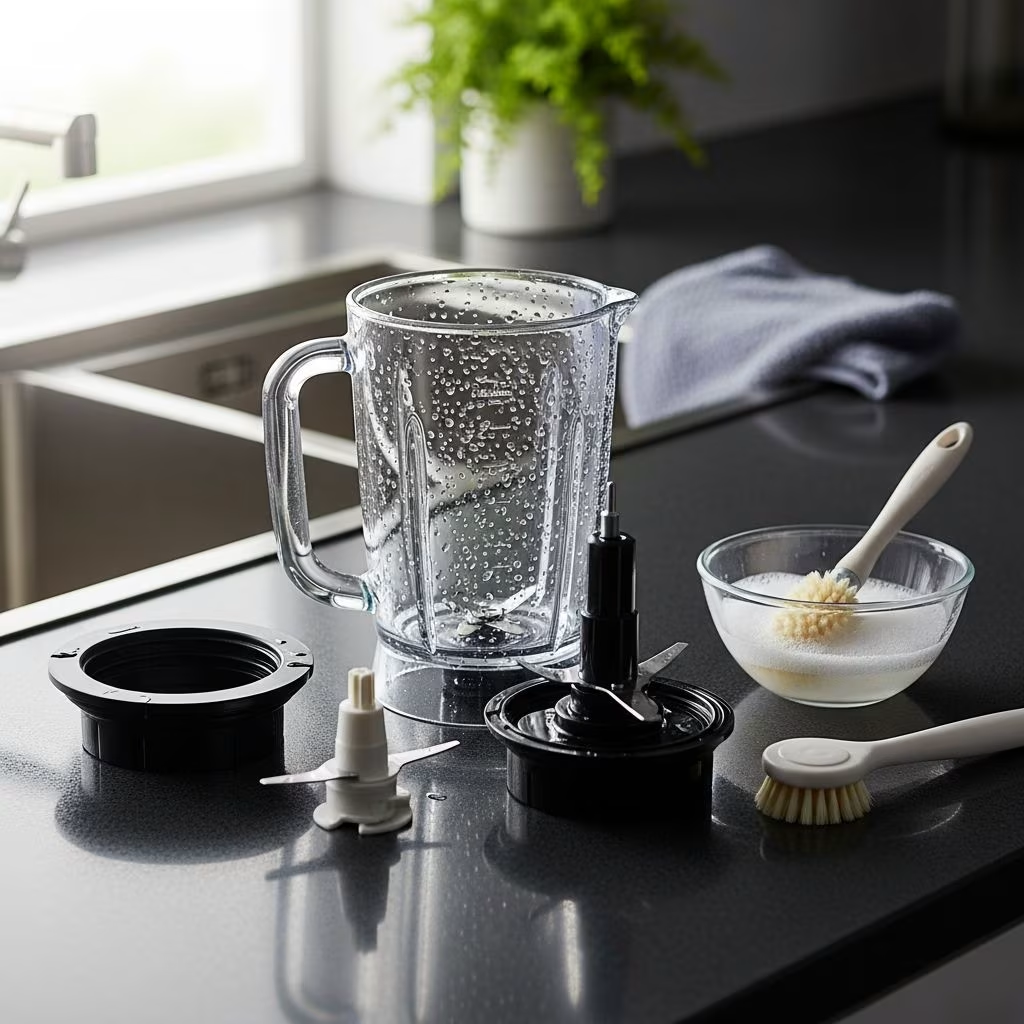
Keeping your blender clean is essential for food safety, performance, and longevity. Regular maintenance prevents buildup of residues that can harbor bacteria or affect taste in future blends. This guide provides practical, tested methods for everyday cleaning, intensive sanitizing, and troubleshooting common issues like persistent smells.
Essential Tools for Blender Maintenance
Before starting any cleaning process, gather these basic supplies to make the task efficient and safe:
- Warm water
- Dish soap or detergent
- Soft sponge or cloth
- White vinegar or baking soda for deep cleans
- Cleaning toothbrush for tight spots
- Lemon for natural deodorizing
- Dishwasher (if model-compatible)
Always unplug the blender first and handle blades cautiously to avoid injury. These items ensure thorough cleaning without damaging components.
Daily Quick-Clean Routine
For frequent use, a fast self-cleaning method saves time while removing most residues immediately after blending.
- Empty remnants: Scrape out large pieces of food into the sink or trash.
- Add solution: Fill the jar halfway with warm water and add 1-2 drops of dish soap.
- Reassemble: Secure the lid, place on base, and plug in.
- Blend: Run on high speed or pulse for 20-30 seconds.
- Rinse: Dump soapy water, rinse jar and lid under running water, and air dry.
This approach, recommended by appliance experts, leverages the blender’s power to scrub interior surfaces effectively. It takes under 2 minutes and prevents sticky buildup from smoothies, soups, or nut butters.
Base and Exterior Care
The non-removable base collects splatters and dust, requiring gentle handling to protect electronics.
- Wipe with a damp cloth soaked in warm soapy water.
- For stubborn spots, use a soft toothbrush dipped in all-purpose cleaner.
- Dry immediately to avoid moisture damage.
- Avoid submerging or using excessive water.
Perform this weekly or after spills. KitchenAid guidelines emphasize wiping only, as bases aren’t waterproof.
Advanced Deep Cleaning Techniques
Weekly or after heavy use like grinding nuts or pureeing fibrous veggies, opt for deeper methods to eliminate grease, stains, and bacteria.
Vinegar and Baking Soda Method
This natural combo breaks down tough residues and sanitizes without harsh chemicals.
- Combine ¾ cup white vinegar, ¼ cup baking soda, and ¼ cup warm water in the jar.
- Blend on high for 30 seconds.
- Scrub with a sponge, rinse thoroughly, and dry.
Vinegar’s acidity dissolves mineral deposits, while baking soda provides abrasion.
Lemon Power Clean
For a fresh scent and antibacterial action:
- Juice one lemon into the jar, add 2 tablespoons baking soda and 1 cup water.
- Blend 30 seconds, scrub, rinse, and dry.
Lemons contain citric acid that cuts grease naturally.
Detergent Powder Soak
Ideal for oily residues:
- Add 2 tablespoons dish detergent powder and hot water.
- Soak 2 hours, agitate with sponge, rinse.
This method softens caked-on bits effectively.
Blade Cleaning Strategies
Blades trap fine particles, demanding careful attention.
| Method | Best For | Steps |
|---|---|---|
| Self-Clean Cycle | Fixed blades | Soap + water, blend 20s, rinse. |
| Soak & Scrub | Removable blades | Remove, soak in vinegar, brush gently. |
| Dishwasher | Compatible models | Top rack only, no base. |
Many modern blenders like KitchenAid have non-removable blades designed for self-cleaning, simplifying the process. Never use metal tools to avoid dulling edges.
Eliminating Odors and Stains
Garlic, fish, or strong spices leave lingering smells if not addressed.
Odor-Neutralizing Blend
- Slice a lemon, add to jar with ½ cup water.
- Blend 30 seconds, rinse well.
The citrus oils absorb and replace odors.
Stain Removal
For discoloration from berries or turmeric:
- Soak in vinegar-water mix overnight.
- Blend with baking soda solution.
Regular upkeep prevents permanent staining on plastic jars.
Dishwasher Compatibility
Not all blenders suit dishwashers—check your manual.
- Safe parts: Jars, lids, gaskets (top rack).
- Never: Base or blades if not specified.
KitchenAid models confirm dishwasher-safe jars and lids. Hand washing preserves seals longer.
Safety Protocols During Cleaning
Prioritize injury prevention:
- Unplug always.
- Remove jar before handling blades.
- Use rubber gloves for sharp edges.
- Avoid running water over plugged units.
YouTube demos stress unplugging and dry hands.
Maintenance Schedule
| Frequency | Task |
|---|---|
| After each use | Quick soap blend + rinse |
| Weekly | Base wipe + deep clean jar |
| Monthly | Odor treatment + full disassembly |
| Quarterly | Inspect seals/gaskets, sanitize |
Consistent scheduling extends appliance life.
Common Mistakes to Avoid
- Overfilling during self-clean (max halfway).
- Using abrasive pads (scratches surfaces).
- Storing wet (promotes mold).
- Ignoring base spills (leads to corrosion).
Avoid these for optimal results.
Frequently Asked Questions
Can I put my blender in the dishwasher?
Depends on the model; jars and lids often yes (top rack), but bases no. Consult manual.
How do I clean under the blades?
Self-blend soapy water or soak removable blades. Brush gently.
What removes blender smells?
Lemon-water blend or vinegar soak works best.
Is bleach safe for blenders?
No; it damages plastic. Use vinegar instead.
How often should I deep clean?
Weekly for heavy use, monthly otherwise.
Storage Best Practices
After drying fully, store disassembled in a dry area. Cover to prevent dust. Replace worn gaskets promptly for airtight seals.
References
- How to clean a blender in 6 steps — KitchenAid. Accessed 2026. https://www.kitchenaid.com/countertop-appliances/pinch-of-help/how-to-clean-a-blender
- How to Clean Your Blender — Clean My Space. Accessed 2026. https://cleanmyspace.com/how-to-clean-your-blender/
- Here’s how to quickly and easily clean a blender #shorts — YouTube. Accessed 2026. https://www.youtube.com/shorts/gBtHC5qPYTU
- How to Clean a Blender Safely — YouTube. Accessed 2026. https://www.youtube.com/shorts/rOGMK9r0S9g