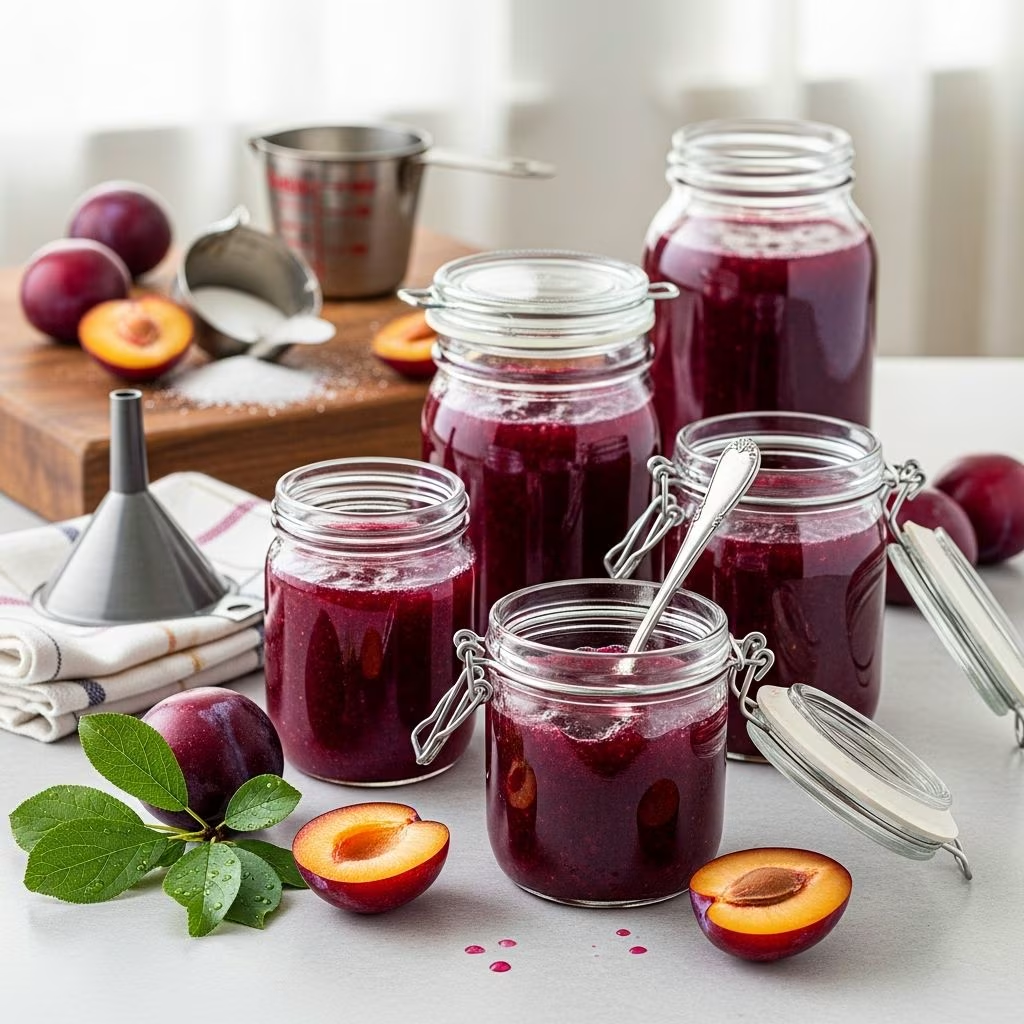
Creating jelly at home is a rewarding culinary tradition that transforms fresh seasonal fruit into a shelf-stable delicacy. Plum jelly, in particular, offers a beautiful deep ruby color and sophisticated flavor profile that elevates breakfast tables and makes an excellent gift for friends and family. Unlike other fruit preserves that require lengthy cooking times or complicated equipment, plum jelly represents an accessible entry point into home canning for both beginners and experienced preservationists.
Understanding the Foundation: Choosing Quality Plums
The foundation of exceptional plum jelly begins with selecting the right fruit. Fully ripe plums are essential because ripeness directly impacts the natural pectin content and juice yield of your final product. Look for plums that are dark in color, emit a fragrant aroma, and yield slightly to gentle pressure—indicators of optimal ripeness and flavor concentration.
The variety of plum you choose matters less than the ripeness level. Red plums, purple plums, and other varieties all produce excellent jelly, though darker varieties typically yield deeper, more visually appealing results. Avoid using underripe plums, as they will produce insufficient juice and may result in a jelly that fails to set properly. Conversely, overripe plums, while flavorful, may have compromised structural integrity and could introduce unwanted fermentation elements.
For a typical batch producing six to seven half-pint jars, plan to acquire between five to seven pounds of fresh plums, depending on your recipe proportions and the juice content of your specific fruit selection.
Essential Ingredients and Their Roles
Plum jelly requires surprisingly few ingredients, each serving a specific purpose in the final product:
- Fresh plums: The primary ingredient providing flavor, color, and natural sugars
- Water: Facilitates juice extraction and helps achieve proper cooking consistency
- Pectin: A naturally occurring plant fiber that transforms liquid juice into spreadable gel
- Granulated sugar: Preserves the jelly and contributes to the setting process
- Butter: A small amount reduces surface foaming during cooking, which improves clarity and appearance
Pectin deserves special attention because it fundamentally determines whether your mixture achieves the desired gel-like consistency. Powdered pectin, specifically designed for fruit preserves, comes in standardized packages and provides predictable results. The pectin works by bonding with sugar and the natural acids in plums to create the gel structure that characterizes jelly, distinguishing it from syrup or juice.
Preparing Plums and Extracting Juice
Proper preparation of plums sets the stage for successful juice extraction. Begin by thoroughly rinsing your plums under cool running water to remove dirt, debris, or any remaining stems. This cleaning step is crucial for food safety and ensures a pure, clean-tasting final product.
Next, cut each plum in half around the pit. Many recipes instruct home canners to leave the pits and skins intact during this initial stage—a seemingly counterintuitive approach that actually serves important purposes. The skins contain much of the plum’s color and flavor compounds, while the pits and surrounding fruit tissue release pectin during cooking, which naturally aids the gelling process. The pits and skins will be removed later during straining, so leaving them in now streamlines the process.
Place your prepared plums into a large stockpot and add water—typically between one and four cups depending on the recipe and the moisture content of your fruit. Bring the mixture to a boil, then reduce heat to medium and simmer covered for approximately ten to thirty minutes, stirring occasionally. During this simmering phase, the plums will soften and release their deep, flavorful juices. Many cooks use a potato masher to gently crush the fruit as it cooks, accelerating the juice release process and ensuring even extraction.
Once the plums have fully broken down and released their liquid, it’s time to extract the juice. Line a colander or large strainer with several layers of damp cheesecloth, then carefully pour the fruit mixture through this makeshift filter. Allow the juice to drain naturally for at least thirty minutes—patience here yields clearer, higher-quality jelly. For maximum juice extraction, gently gather the cheesecloth corners and press the remaining fruit and pulp against the sides of the colander, being careful not to force pulp through the cloth, which would cloud your jelly.
Discard the solids (pits, skins, and pulp) and measure your extracted juice. Most recipes call for approximately five to six cups of plum juice.
The Critical Cooking Phase
Return your measured plum juice to a clean pot and add the powdered pectin, stirring thoroughly to distribute it evenly throughout the liquid. Add a small amount of unsalted butter—typically one tablespoon or less—which helps minimize foam formation on the surface during cooking.
Increase heat to high and bring the mixture to a hard rolling boil—one that maintains vigorous bubbling even when stirred. This rapid, sustained boiling is essential because pectin requires specific temperature conditions to activate and bond properly with the fruit juice and sugar.
Once you achieve this rolling boil, add all of your granulated sugar at once and stir constantly to help it dissolve. For a typical batch, this means adding between six and seven cups of sugar, though follow your specific recipe for exact measurements. Return the mixture to a full rolling boil and maintain it for exactly one minute while stirring continuously. This one-minute boil time is not arbitrary—it represents the precise duration needed for the pectin to fully activate and begin the gelling process without overcooking the fruit flavor.
Remove the pot from heat immediately after the one-minute boiling period concludes. Using a metal spoon, quickly skim off any foam that has accumulated on the surface. This foam is harmless but affects the appearance and mouthfeel of the finished jelly, making this step important for achieving professional-quality results.
Jarring, Sealing, and Processing
Working quickly while the jelly is still hot, ladle the mixture into sterilized canning jars, leaving approximately one-quarter inch of headspace at the top of each jar. This headspace allows for proper heat processing and lid sealing without overflow. Wipe the rims of each jar clean with a damp cloth to remove any residual jelly, which could interfere with the seal.
Position prepared two-piece canning lids on each jar according to manufacturer instructions. For immediate, short-term storage (up to six months in the refrigerator), no further processing is strictly necessary. However, for longer-term shelf storage and maximum safety, many home canners prefer to process their jars using a boiling water canner, following established guidelines from trusted canning authorities.
Allow the jars to cool completely at room temperature before storing. As the jelly cools, the pectin will complete its gelling transformation, and you’ll observe the characteristic firm, spreadable texture developing over several hours.
Ingredient Ratio Variations and Yield Information
| Recipe Version | Plums Required | Water | Sugar | Pectin | Expected Yield |
|---|---|---|---|---|---|
| Standard Recipe | 5 pounds | 1.5 cups | 6.5 cups | 1 package | 6-7 half-pint jars |
| Large Batch | 7 pounds | 4 cups | 6 cups | 1 package | 8 half-pint jars |
| Expert Version | 11.5 cups juice | Included in juice | 17 cups | 2.5 packages | Multiple batches |
Troubleshooting Common Issues
Jelly that doesn’t set: This typically results from insufficient pectin activation, which occurs when the mixture hasn’t reached a proper rolling boil or hasn’t been boiled for the full required duration. Ensure you’re using fresh pectin within its expiration date, as aged pectin loses potency. If your jelly remains too soft after cooling, you can recook it with additional pectin following package directions.
Cloudy appearance: Cloudiness usually indicates that pulp has passed through the cheesecloth during straining. To prevent this, strain patiently without pressing the fruit, allowing gravity to do the work naturally. For future batches, use additional layers of cheesecloth or a dedicated jelly bag.
Excessive foam: While some foaming is normal, excessive foam suggests the fruit wasn’t fully broken down before straining or that butter wasn’t added at the beginning. Ensure adequate simmering time and always include the small butter portion to minimize foam formation.
Storage Guidelines and Shelf Life
Properly made and sealed plum jelly stores well under various conditions. Unopened jars kept in a cool, dark cupboard typically maintain quality for up to one year. Refrigerated jelly lasts approximately six months after opening, while freezer storage extends shelf life to one year or longer. Always use clean utensils when accessing jelly to prevent contamination, and discard any jelly showing signs of mold or fermentation.
Creative Uses Beyond Breakfast Spreads
While plum jelly excels as a traditional breakfast condiment, its versatility extends throughout the kitchen. Use it as a glaze for roasted meats, a filling for pastries and desserts, or a flavor component in cocktails and beverages. The deep, slightly tart flavor profile complements both sweet and savory applications, making homemade plum jelly a valuable pantry staple for creative cooks.
Frequently Asked Questions
Can I make plum jelly without pectin?
While possible using high-pectin plums and extended cooking times to reach gel point (220 degrees Fahrenheit), powdered pectin provides more reliable, consistent results with shorter cooking times that better preserve plum flavor.
What’s the difference between jelly, jam, and preserves?
Jelly is made from clear fruit juice strained free of pulp, resulting in a smooth, translucent spread. Jam contains crushed fruit pulp, while preserves contain larger fruit pieces. Plum jelly’s clear, jewel-like appearance distinguishes it from thicker jam or preserve preparations.
How do I know when jelly has set properly?
After cooling completely (which takes several hours), properly set jelly should hold its shape on a spoon without running, though it should still be soft enough to spread easily. If too soft after twenty-four hours, the batch can be recooked with additional pectin.
Can I substitute liquid pectin for powdered pectin?
Yes, but use slightly different proportions—liquid pectin typically requires less volume than powdered and is added at a different point in the cooking process. Follow the package instructions for your specific pectin product.
Is it necessary to sterilize jars?
For short-term refrigerated storage, regular washing suffices. For shelf storage, sterilization through boiling or oven heating eliminates microorganisms and ensures safety during extended storage periods.
References
- Homemade Plum Jelly — Mommy’s Kitchen. 2018. https://www.mommyskitchen.net/2018/08/homemade-plum-jelly.html
- Homemade Plum Jelly — The Cooking Bride. https://cookingbride.com/homemade-plum-jelly/
- SURE.JELL Plum Jelly — Kraft Heinz. https://www.kraftheinz.com/sure-jell/recipes/500182-sure-jell-plum-jelly
- Plum Jelly Powdered Pectin — National Center for Home Food Preservation, University of Georgia. https://nchfp.uga.edu/how/make-jam-jelly/jellies/plum-jelly-powdered-pectin/
- Opa’s Plum Jelly — Laylah’s Lovin’ Oven. https://laylahslovinoven.com/opas-plum-jelly/