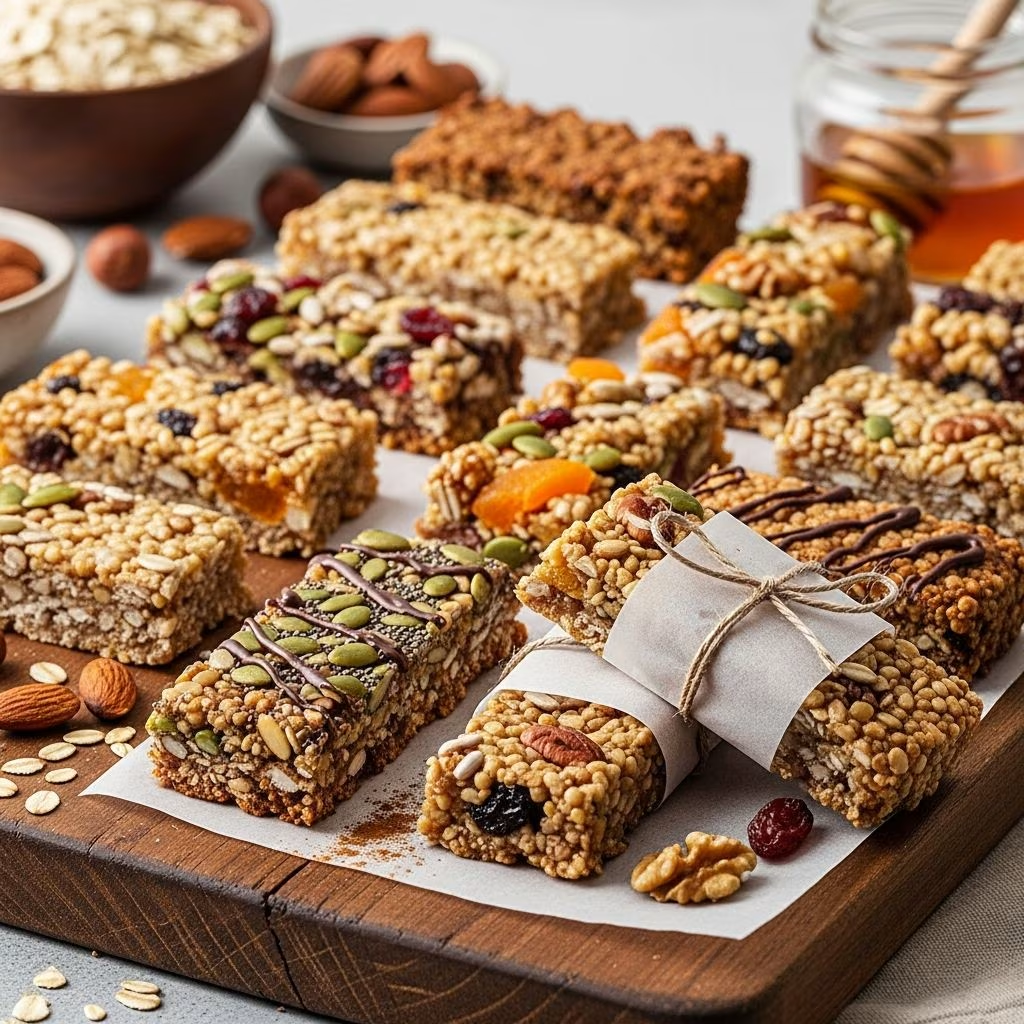
Homemade granola bars offer a delicious way to enjoy a nutritious snack without the additives found in many store-bought versions. These versatile treats can be chewy, crunchy, or no-bake, allowing you to tailor them to your taste and dietary needs. With basic pantry staples like oats, nut butters, and natural sweeteners, you can whip up batches that are healthier and often more cost-effective.
Why Choose Homemade Over Store-Bought?
Making your own granola bars gives you control over ingredients, ensuring they align with your health goals. You can reduce sugar, add superfoods, or make them gluten-free. Common recipes use whole rolled oats for fiber, nut butters for protein, and honey or dates for natural sweetness, creating balanced snacks that sustain energy levels.
Store versions often contain preservatives and excessive sugars, while homemade ones freshen up lunchboxes, hiking packs, or desk drawers with real flavors from nuts, seeds, and dried fruits.
Essential Ingredients for Success
The foundation of great granola bars starts with quality components. Here’s a breakdown:
- Oats: Whole rolled oats provide chewiness and texture; opt for certified gluten-free if needed.
- Nut or Seed Butter: Peanut, almond, or cashew butter binds everything with healthy fats and protein.
- Sweeteners: Honey, maple syrup, or pitted dates offer natural binding and flavor without refined sugars.
- Add-Ins: Chocolate chips, nuts, seeds like pepitas, or dried fruits boost taste and nutrition.
- Flavor Boosters: Vanilla extract, sea salt, cinnamon, or citrus zest enhance depth.
These elements ensure bars hold together while delivering crunch or chew based on preparation.
Mastering the No-Bake Method
No-bake granola bars are ideal for quick prep without heating the kitchen. They rely on the stickiness of nut butter and sweeteners to set in the fridge.
- Warm nut butter and honey (or maple syrup) in a saucepan over low heat until smooth.
- Mix with oats, chopped nuts, and add-ins in a bowl until fully coated.
- Press firmly into a parchment-lined 8×8-inch pan using a second parchment sheet and measuring cup for evenness.
- Chill for 1-2 hours, then slice into bars.
This approach yields soft, chewy results in under 10 minutes of active time. For firmer bars, freeze briefly before cutting.
Baking for Crunchy Texture
Baked bars develop a crisp exterior while staying tender inside. Preheat your oven to 325-350°F.
- Combine dry ingredients: oats, nuts, seeds, and any puffed rice for lightness.
- Stir in wet binders like melted butter, honey, and vanilla.
- Press into a lined pan and bake 15-25 minutes until edges brown lightly.
- Cool completely on a wire rack to set before slicing to avoid crumbling.
Watch closely to prevent over-baking, which can dry them out. This method toasts flavors for nutty depth.
| Texture Type | Bake Time | Key Binder | Best For |
|---|---|---|---|
| Chewy No-Bake | None (Chill 1hr) | Nut Butter + Honey | Quick Snacks |
| Soft-Baked | 15-17 min @350°F | Peanut Butter + Egg | Kids’ Lunches |
| Crunchy Baked | 25 min @325°F | Honey + Oil | Hiking Fuel |
Flavor Variations to Try
Customize with these ideas for variety:
- Peanut Butter Chocolate: Classic combo with mini chips and peanuts.
- Tropical Twist: Coconut flakes, dried mango, and macadamia nuts.
- Nutty Seed: Pepitas, sunflower seeds, and tahini for omega-3s.
- Berry Blast: Chopped dried cranberries, blueberries, and white chocolate.
- Spiced Pumpkin: Pumpkin puree, cinnamon, and pecans for fall vibes.
Swap sweeteners like dates for honey in date-based recipes by processing them into paste first. Always taste the mix before pressing for balance.
Step-by-Step Peanut Butter Chocolate Chip Recipe
This reliable version serves 12 and takes 15 minutes plus chilling.
Ingredients:
- 2½ cups rolled oats
- 1 cup creamy natural peanut butter
- ⅔ cup honey
- ⅓ cup mini chocolate chips
- 3 tbsp pepitas or chopped nuts
- 1 tsp vanilla extract
- ½ tsp sea salt
Directions:
- Line an 8×8 pan with parchment.
- Stir peanut butter, honey, vanilla, and salt until smooth.
- Fold in oats, chips, and pepitas; mixture firms up with stirring.
- Press evenly into pan; chill 1 hour.
- Cut into bars and store in fridge up to a week.
Nutrition per bar (approx.): 200 calories, 8g protein, 5g fiber—making it a solid snack choice.
No-Bake Date and Nut Bars
For a refined-sugar-free option, use dates as the base.
Ingredients:
- 1 cup pitted Medjool dates
- 1½ cups quick oats
- ½ cup chunky peanut butter
- ¼ cup walnuts
- ¼ cup honey
- ½ tsp cinnamon, ¼ tsp salt
Directions:
- Process dates to dough-like consistency.
- Mix with remaining ingredients by hand.
- Press into lined pan; freeze 30 minutes.
- Slice and enjoy chewy, sticky bars.
These hold up well in warm weather without melting.
Tips for Perfect Bars Every Time
- Press Firmly: Use body weight on a glass for compact bars that don’t fall apart.
- Room Temp Ingredients: Soften nut butter for even mixing.
- Cool Fully: Rushing slicing leads to crumbles; patience is key.
- Storage: Airtight container in fridge for 1-2 weeks or freezer for months.
- Gluten-Free: Verify oats and check add-ins.
Common Mistakes and Fixes
Issue: Bars too crumbly. Solution: Increase binder or press harder next time.
Issue: Too sticky. Solution: Chill longer or add more oats.
Issue: Bland flavor. Solution: Boost salt or vanilla for contrast.
Experiment in small batches to dial in your ideal ratio.
Nutrition and Health Benefits
Granola bars provide sustained energy from complex carbs in oats, protein from nuts, and antioxidants from fruits. A typical bar offers fiber for digestion and healthy fats for satiety. Customize for low-sugar diets using dates or for vegan with maple syrup. They’re great post-workout or as breakfast on-the-go.
Pairing and Serving Ideas
Serve with yogurt for breakfast bowls, alongside fruit for kids’ snacks, or dipped in chocolate for dessert. Pack for travel—they’re mess-free and satisfying.
Frequently Asked Questions
Can I make these vegan?
Yes, use maple syrup or agave instead of honey and ensure nut butter is vegan.
How long do they last?
Fridge: 1-2 weeks; freezer: 3 months in wrapped portions.
Substitute for peanut butter?
Almond, sunflower seed, or cashew butter works equally well.
Are they gluten-free?
Use certified GF oats; most recipes adapt easily.
Why won’t my bars stick together?
Increase honey/nut butter or chill longer before cutting.
Scaling and Gifting
Double recipes for 9×13 pans. Wrap individually for gifts—add tags with ingredients for allergies. They’re thoughtful, homemade presents.
References
- Homemade Granola Bars Recipe — Love and Lemons. 2023-05-15. https://www.loveandlemons.com/granola-bars-recipe/
- Homemade Granola Bars (4 flavor variations) — Crowded Kitchen. 2022-08-10. https://www.crowdedkitchen.com/homemade-granola-bars-4-flavor-variations/
- Master Granola Bar Recipe — Gluten Free on a Shoestring. 2021-11-20. https://glutenfreeonashoestring.com/master-granola-bar-recipe/
- 5-Ingredient Granola Bars — Minimalist Baker. 2023-02-28. https://minimalistbaker.com/healthy-5-ingredient-granola-bars/
- Homemade Peanut Butter Granola Bars — The Real Food Dietitians. 2024-01-12. https://therealfooddietitians.com/5-ingredient-peanut-butter-granola-bars/