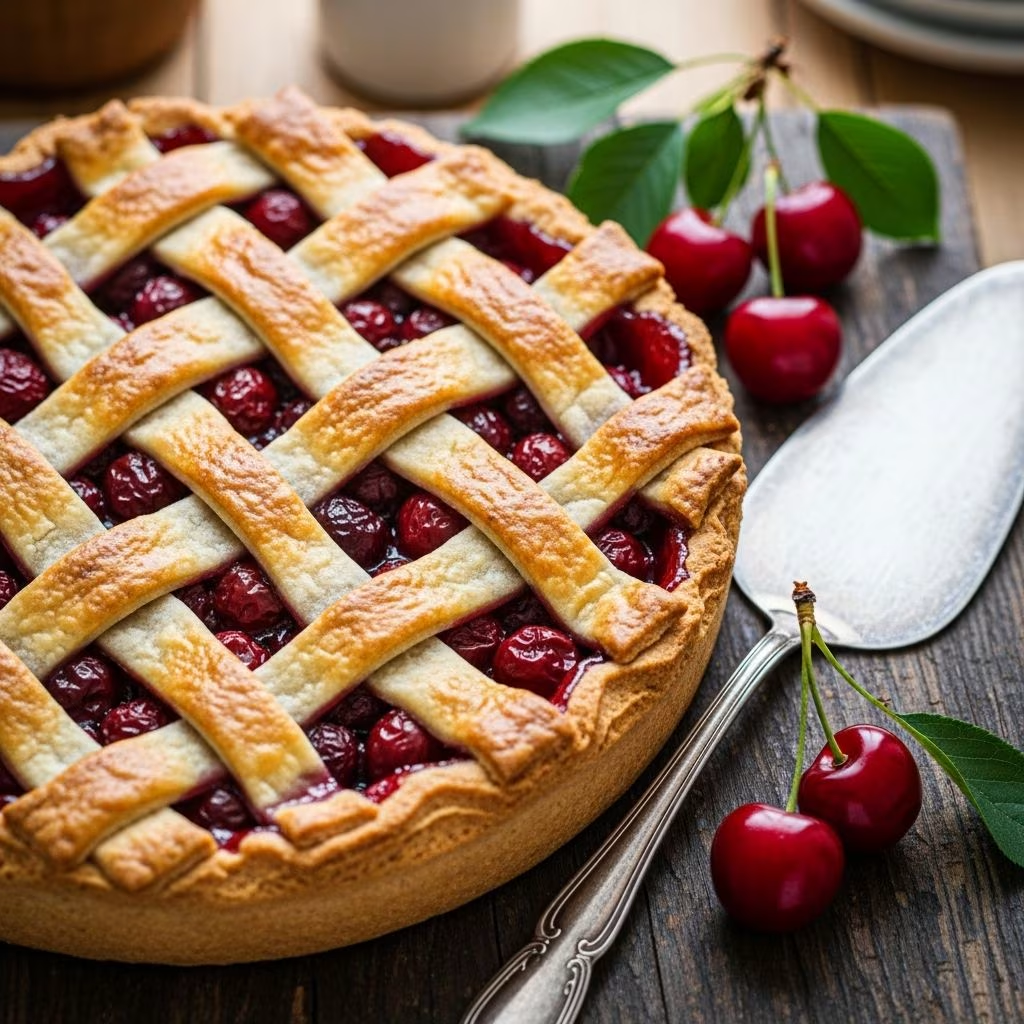
Creating your own cherry pie filling transforms a simple dessert into something truly special. Store-bought versions often contain additives and lack the vibrant fruit flavor that homemade versions deliver. By understanding the fundamental components and techniques involved, you can produce a filling that rivals professional bakeries while maintaining complete control over sweetness levels, consistency, and ingredient quality.
Understanding the Essential Components
The foundation of excellent cherry pie filling rests on understanding what each ingredient contributes to the final product. When combined strategically, these everyday pantry staples work together to create a filling with the perfect texture, flavor profile, and appearance.
The Role of Fresh Fruit
Cherries are the heart of this dessert component, and selecting the right type makes a significant difference. Fresh or frozen pitted cherries both work excellently, with frozen cherries offering the advantage of year-round availability. Tart or sour cherries provide superior flavor complexity compared to sweet varieties, creating a balanced filling that isn’t overly sugary. A typical recipe requires between 4 to 6 cups of pitted cherries, depending on desired thickness and volume.
When choosing between fresh and frozen, consider that frozen cherries have already been pitted and will release their juices readily during cooking. Fresh cherries require pitting beforehand, which demands extra preparation time but offers superior texture control and fresher appearance in the finished pie.
Thickening Agents and Their Properties
Cornstarch serves as the primary thickening agent in most homemade cherry pie fillings. This ingredient works by absorbing liquid and creating a glossy, jam-like consistency that holds together beautifully when the pie is sliced. The typical ratio calls for 3 to 4 tablespoons of cornstarch per 4 to 6 cups of fruit.
The thickening process follows a specific progression. Initially, the cornstarch mixture appears opaque and pinkish. As cooking continues, this translucent quality transforms into a clear, deep red appearance, signaling that the thickening process has completed successfully. This visual cue helps determine the precise moment to remove the filling from heat.
Sweetening Your Filling
Sugar content requires careful calibration, as too little results in a tart, unpalatable filling while excessive sugar masks the fruit’s natural flavor. Most recipes call for between ½ cup and ¾ cup of granulated sugar per 4 to 6 cups of cherries. Those preferring sweeter results can increase this to 1 cup of sugar.
The sugar serves multiple functions beyond simple sweetening. It draws out moisture from the fruit through osmosis, helps develop the filling’s body and texture, and contributes to browning and flavor development during cooking.
Building Your Recipe Foundation
Ingredient Selection Strategy
Beginning with quality ingredients ensures superior results. Pitted cherries—whether fresh, frozen, or canned—should be the primary component. Freshly squeezed lemon juice adds brightness and balances sweetness, with the amount adjusted based on cherry type. For canned cherries, reduce lemon juice to 1 teaspoon and omit salt entirely.
Water serves a critical function by jumpstarting the cooking process and providing liquid for the cornstarch to absorb and transform into a thickening agent. Typically, ½ cup of water proves sufficient. As the cherries cook, they release substantial amounts of natural juice, so additional liquid isn’t necessary once cooking begins.
Flavor Enhancement Components
Beyond the basic components, several optional ingredients elevate the filling’s complexity. Vanilla extract (1 teaspoon) adds warmth and depth. Almond extract (¼ teaspoon) creates a sophisticated pairing, as cherries and almonds complement each other naturally in flavor. Lemon zest (1 teaspoon) provides additional citrus brightness without excess acidity.
A small pinch of salt (⅛ teaspoon) enhances overall flavor perception, though omit this if using canned cherries that already contain added sodium.
Step-by-Step Preparation Method
Initial Combination and Heating
Begin by combining your cherries, water, lemon juice, sugar, and cornstarch in a medium saucepan over medium heat. Some cooks prefer whisking cornstarch and sugar together first to eliminate lumps before adding remaining ingredients. This preventive step ensures a smooth, lump-free final product.
Stir the mixture frequently as it heats, allowing the sugar and cornstarch to dissolve fully. Within 5 minutes, the cherries will begin releasing their natural juices, adding substantial liquid to the pan.
Achieving the Perfect Consistency
Continue heating until the mixture reaches a full boil. Once bubbling, immediately reduce the heat to low and maintain a gentle simmer. At this stage, stir frequently to prevent sticking and ensure even cooking throughout the 5 to 10 minute simmering period.
Monitor the filling’s visual progression carefully. The mixture will gradually transform from an opaque, pinkish liquid into a clear, deep red color. This transformation indicates that the cornstarch has fully activated and the filling has reached its optimal thickness. Test consistency by dipping a spoon into the mixture—properly thickened filling should coat the spoon with a glossy, jammy texture that clings rather than runs off immediately.
Final Flavor Development
Remove the saucepan from heat and immediately stir in vanilla extract, lemon zest, and almond extract if desired. These additions should be incorporated while the filling is still hot to distribute their flavors evenly throughout.
Allow the filling to cool for 10 to 15 minutes before using as a pie topping or baking in a pie. This cooling period allows flavors to meld and the filling to set slightly, making it easier to handle without losing texture.
Critical Technique Considerations
Temperature Management
Proper heat control prevents overcooking and ensures the filling develops correctly. Medium heat during the initial phase allows the ingredients to combine gradually without burning. Reducing to low heat after boiling prevents the filling from becoming too thick or developing a scorched flavor on the bottom of the pan.
Stirring and Monitoring
Frequent stirring accomplishes multiple objectives: it distributes heat evenly, prevents sticking, aids in flavor distribution, and allows observation of the thickening process. Continuous monitoring ensures you remove the filling from heat at precisely the right moment—not too early when it’s still runny, nor too late when it becomes overly thick.
Storage and Preservation
Refrigeration Guidelines
Properly stored cherry pie filling maintains quality for up to one week when refrigerated in an airtight container. This extended shelf life makes advance preparation practical for busy bakers who want to prepare components ahead of time.
Freezing for Future Use
Cherry pie filling freezes exceptionally well, extending usability for several months. Transfer cooled filling to freezer-safe containers, leaving slight headspace for expansion. Label containers with the date for easy tracking. Thaw overnight in the refrigerator before using, or reheat gently on the stovetop if preferred warm.
Frequently Asked Questions
Can I substitute fresh cherries with canned varieties?
Yes, canned cherries work effectively, though adjustments are necessary. Reduce lemon juice to 1 teaspoon and sugar to ¼ cup due to the cherries’ pre-sweetening and additional liquid. Omit salt entirely, as canned products typically contain added sodium.
What if my filling isn’t thick enough?
If the filling remains too thin after the recommended cooking time, create a cornstarch slurry by mixing 1 tablespoon cornstarch with 2 tablespoons cold water. Stir this mixture into the simmering filling and continue cooking for an additional 2 to 3 minutes until thickening occurs.
Does almond extract really improve the flavor?
Almond extract creates a sophisticated flavor pairing with cherries, enhancing natural fruit notes without overwhelming the palate. While optional, most bakers recommend trying it at least once to experience the complementary flavor profile.
How do I know when the filling is properly thickened?
Watch for the color transformation from opaque pink to clear deep red, and test consistency using the spoon method—the filling should coat a spoon and drip slowly rather than running off immediately.
Advanced Variations and Adaptations
Flavor Profile Modifications
Experiment with complementary flavors by adding ½ teaspoon of cinnamon, ¼ teaspoon of nutmeg, or a splash of amaretto liqueur. These additions should be incorporated during the final flavoring stage to preserve their subtle characteristics.
Cherry Type Considerations
Tart or sour cherries provide superior flavor complexity and create more balanced fillings. Sweet cherries produce acceptable results but may require reduced sugar to prevent excessive sweetness. Bing cherries, a popular sweet variety, work well for those preferring a sweeter filling.
Why Homemade Filling Surpasses Commercial Alternatives
Commercial pie fillings often contain thickeners that produce an overly gel-like texture and artificial taste. Homemade versions allow complete control over all components, resulting in a filling that tastes authentically fruity rather than processed. The ability to adjust sweetness levels means you can create fillings that complement rather than overpower your pie crust and other components.
Making your own filling proves surprisingly economical, especially when using seasonal fresh cherries or frozen varieties available year-round. The entire process requires minimal equipment—just a saucepan and basic kitchen tools—and typically takes fewer than 20 minutes from start to finish.
References
- Homemade Cherry Pie Filling — Eat Dessert Snack. Accessed April 9, 2026. https://eatdessertsnack.com/homemade-cherry-pie-filling/
- Homemade Cherry Pie Filling Recipe — My Baking Addiction. Accessed April 9, 2026. https://www.mybakingaddiction.com/homemade-cherry-pie-filling-recipe/
- Homemade Cherry Pie (With Thick Filling) — Sally’s Baking Addiction. Accessed April 9, 2026. https://sallysbakingaddiction.com/cherry-pie/
- Homemade Cherry Pie Filling — Chocolate with Grace. Accessed April 9, 2026. https://chocolatewithgrace.com/cherry-pie-filling/
- Easy Cherry Pie Filling Recipe for Delicious Desserts — Cherry Republic. Accessed April 9, 2026. https://www.cherryrepublic.com/blogs/recipes/easy-cherry-pie-filling-recipe-for-delicious-desserts