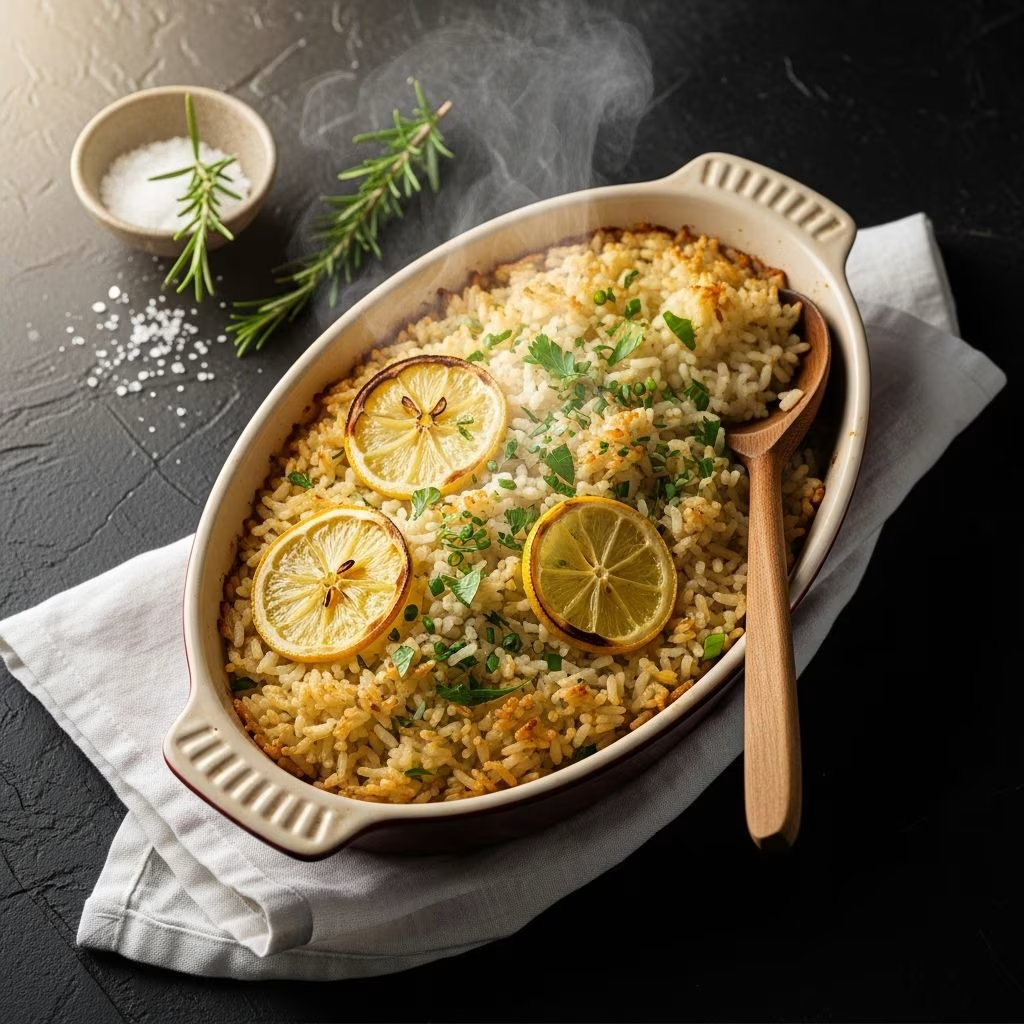
Cooking rice on the stovetop requires constant attention and precise timing to avoid burning or creating mushy results. An alternative method that has gained popularity among home cooks is baking rice in the oven—a technique that eliminates guesswork and produces reliably fluffy, tender grains. This hands-off approach transforms rice preparation from a potentially frustrating process into a straightforward, foolproof procedure that works consistently across various rice varieties.
Why Oven-Baking Changes Your Rice Game
The oven method represents a fundamental shift in how cooks approach grain preparation. Rather than monitoring a pot on the stovetop, the oven maintains consistent, even heat from all directions, creating an environment where rice cooks uniformly without requiring stirring or frequent lid adjustments. This uniform heating environment eliminates common stovetop problems such as uneven cooking, scorching on the bottom, or water boiling over unexpectedly.
Professional and home cooks have embraced this technique for its reliability and the freedom it provides during meal preparation. While rice bakes unattended, you can prepare other components of your meal, set the table, or attend to other kitchen tasks. The method works equally well for simple preparations and elaborate seasoned variations, making it adaptable to any culinary need.
Essential Equipment and Basic Ingredients
Success with oven-baked rice depends on having appropriate equipment and understanding how each ingredient contributes to the final result.
Equipment Requirements
- Baking dish: A standard 8-inch square dish, 9×13-inch casserole, or any vessel approximately 1.5 to 2 quarts in capacity works well. The size should allow ingredients to cook with adequate space while maintaining proper liquid-to-rice ratios.
- Aluminum foil: Essential for creating a tight seal that traps steam, preventing excess moisture loss during cooking.
- Oven thermometer: While optional, helps verify your oven maintains the required temperature for consistent results.
- Kettle: For rapidly boiling water before adding to rice, ensuring proper cooking temperature from the start.
Core Ingredients
| Ingredient | Typical Amount (serves 4-6) | Purpose and Notes |
|---|---|---|
| White rice (long-grain) | 1.5 cups dry | Primary component; basmati and jasmine varieties work particularly well, producing fluffy results |
| Water or broth | 2.5 to 3.5 cups | The 2:1 liquid-to-rice ratio is standard; using broth adds flavor complexity |
| Fat (butter or oil) | 1 to 4 tablespoons | Adds richness and prevents grains from sticking; olive oil or butter work interchangeably |
| Salt | 1 to 2 teaspoons | Enhances natural grain flavor; use kosher salt for better distribution |
Fundamental Cooking Process
Step-by-Step Basic Method
Temperature Setup: Preheat your oven to between 350°F and 430°F. Different recipes call for varying temperatures, with lower settings (350°F) extending cooking time to approximately 40 minutes, while higher temperatures (375-430°F) reduce the process to 20-28 minutes. Both approaches yield excellent results; choose based on your schedule and how you prefer to manage your cooking timeline.
Rice Preparation: Rinse dry rice under cool running water until the water runs clear, removing excess starch that can create gumminess. This step is particularly important when using white rice varieties. Drain thoroughly using a fine-mesh strainer before transferring to your baking dish.
Initial Assembly: Combine the drained rice, fat, salt, and any seasonings in the bottom of your prepared baking dish. Stir to distribute these ingredients evenly throughout the rice grains, ensuring uniform flavor and fat distribution.
Liquid Addition: Bring your chosen liquid to a rolling boil using a kettle or covered saucepan. Immediately pour the hot liquid over the rice and stir briefly to combine. This hot-liquid start ensures proper cooking from the beginning without the false start that sometimes occurs when cold liquid is used.
Sealing and Baking: Cover the baking dish tightly with aluminum foil, pressing the edges firmly to create a seal that prevents steam from escaping. Transfer the covered dish to the preheated oven on the middle rack for the duration specified by your recipe (typically 20-40 minutes depending on temperature).
Completion and Resting: Remove from the oven and let stand, still covered with foil, for approximately 5 minutes. This resting period allows residual moisture to distribute evenly. Uncover, fluff the rice gently with a fork to separate grains, and serve.
Timing Variations and Rice Type Considerations
Different rice varieties require adjusted cooking times due to variations in grain size and starch content. Long-grain white rice (basmati, jasmine) typically cooks in 20-25 minutes at 375-430°F. Medium-grain white rice may require similar timeframes. Short-grain varieties, which naturally contain more starch and absorb more liquid, may need slightly longer at lower temperatures.
Brown rice and other whole-grain varieties require substantially longer cooking times—often 40-45 minutes at lower temperatures—because the bran layer requires extended moisture exposure to soften adequately. Arborio rice and other specialty varieties have their own optimal parameters.
Flavor Enhancement Through Ingredient Variations
Aromatic Additions
Transform basic oven-baked rice by incorporating aromatics directly into the dry rice before adding liquid. Minced garlic, grated fresh ginger, chopped scallions (both white and green parts), and fresh herbs add complexity without requiring extra cooking steps. These aromatics infuse the cooking rice with subtle flavor as moisture gradually absorbs through the grains.
Cheese Integration
Incorporating cheese creates richness and adds savory depth. Freshly grated sharp cheddar, creamy feta, parmesan, and even blue cheese work effectively. Scatter cheese pieces throughout the rice mixture before adding liquid, allowing them to distribute unevenly for textural interest, or mix thoroughly for uniform cheese flavor throughout every spoonful. Using strong-flavored cheeses ensures their presence isn’t diluted during cooking.
Spice Layering
Ground cumin, turmeric, coriander, and paprika add warmth and visual appeal. Mix these spices into the dry rice and fat before adding liquid, allowing flavors to bloom as rice cooks. This technique creates more developed, integrated spice flavor compared to adding seasonings after cooking.
Protein and Vegetable Components
For complete one-dish meals, brown ground meat on the stovetop before mixing into the rice, or incorporate pre-cooked vegetables and legumes. Jalapeños add spicy bite, sautéed onions provide sweetness and depth, and fresh herbs scattered on top after cooking contribute brightness and textural contrast to the finished dish.
Advanced Finishing Techniques
Basic baked rice becomes restaurant-quality with thoughtful finishing approaches. Drizzle warm rice with chili oil for spicy richness, scatter crispy shallots or breadcrumbs for textural contrast, or top with fresh cilantro, mint, or parsley for herbal brightness. Dukkah—an Egyptian spice and nut blend—adds complex flavor and visual interest when sprinkled generously across the top.
These finishing techniques should be added immediately after uncovering the rice while residual heat is present, allowing flavors to partially absorb while maintaining their distinct character.
Common Questions About Oven-Baked Rice
Can I use leftover rice for this method?
The oven-baking method specifically works with dry, uncooked rice because the precise liquid-to-grain ratio and controlled cooking environment are essential. Pre-cooked rice would overcook and become mushy. Instead, pre-cooked rice works better for fried rice applications or reheating in a skillet.
What if my rice turns out crunchy?
Crunchy rice indicates insufficient cooking time or liquid evaporation. Return the covered dish to the oven for an additional 5-10 minutes. Alternatively, for future batches, slightly increase your liquid ratio or extend baking time by a few minutes.
Why is my rice mushy?
Excessive liquid or extended cooking time causes mushiness. Verify your liquid measurement is accurate and follow the prescribed timing. Ensure your oven temperature is correct using an oven thermometer, as inconsistent heat can prolong cooking unexpectedly.
Can I prepare components in advance?
Yes—measure dry rice, combine it with salt and seasonings in the baking dish, and refrigerate covered for several hours or overnight. When ready to cook, bring liquid to a boil, pour over the rice, and proceed with baking as normal. Add a few extra minutes to cooking time since the rice mixture starts cold.
How far ahead can I make this?
Baked rice keeps refrigerated for up to 4 days in an airtight container. Reheat gently in a covered baking dish at 325°F for 10-15 minutes, adding a tablespoon of water or broth to restore moisture without creating excessive heat exposure.
Scaling Recipes for Different Serving Sizes
The fundamental 1:2 rice-to-liquid ratio scales reliably. For 1 cup rice, use 2 cups liquid. For 3 cups rice, use 6 cups liquid. Adjust your baking dish size to accommodate the volume while maintaining roughly the same depth. Cooking times remain consistent when following this ratio, though very large batches may require an additional few minutes. When scaling significantly upward, verify your oven can accommodate larger dishes and that heat circulates properly.
Why This Method Deserves a Place in Your Kitchen Routine
Oven-baked rice represents an elegant solution to reliable grain cookery. Its consistency, versatility, and minimal active engagement make it particularly valuable for weeknight meals, dinner parties, or meal preparation. The technique adapts to simple preparations or elaborate flavor combinations, making it suitable for any culinary skill level. Once mastered, this straightforward method becomes an indispensable foundation for countless meals.
References
- How to Make Baked Rice, Your New Favorite Quick Dinner — Guideposts. https://guideposts.org/positive-living/entertainment/recipes/dinner/how-to-make-baked-rice-your-new-favorite-quick-dinner/
- Oven Baked Rice – Spend With Pennies — Spend With Pennies. https://www.spendwithpennies.com/baked-rice/
- Baked White Rice Recipe — Fountain Avenue Kitchen. https://fountainavenuekitchen.com/baked-white-rice/
- Life Changing Loaded Baked Rice — Dished by Kate. https://dishedbykate.com/loaded-baked-rice/
- Deliciously Cheesy Oven Baked Rice — No Crumbs Left. https://nocrumbsleft.net/2024/12/20/baked-rice/