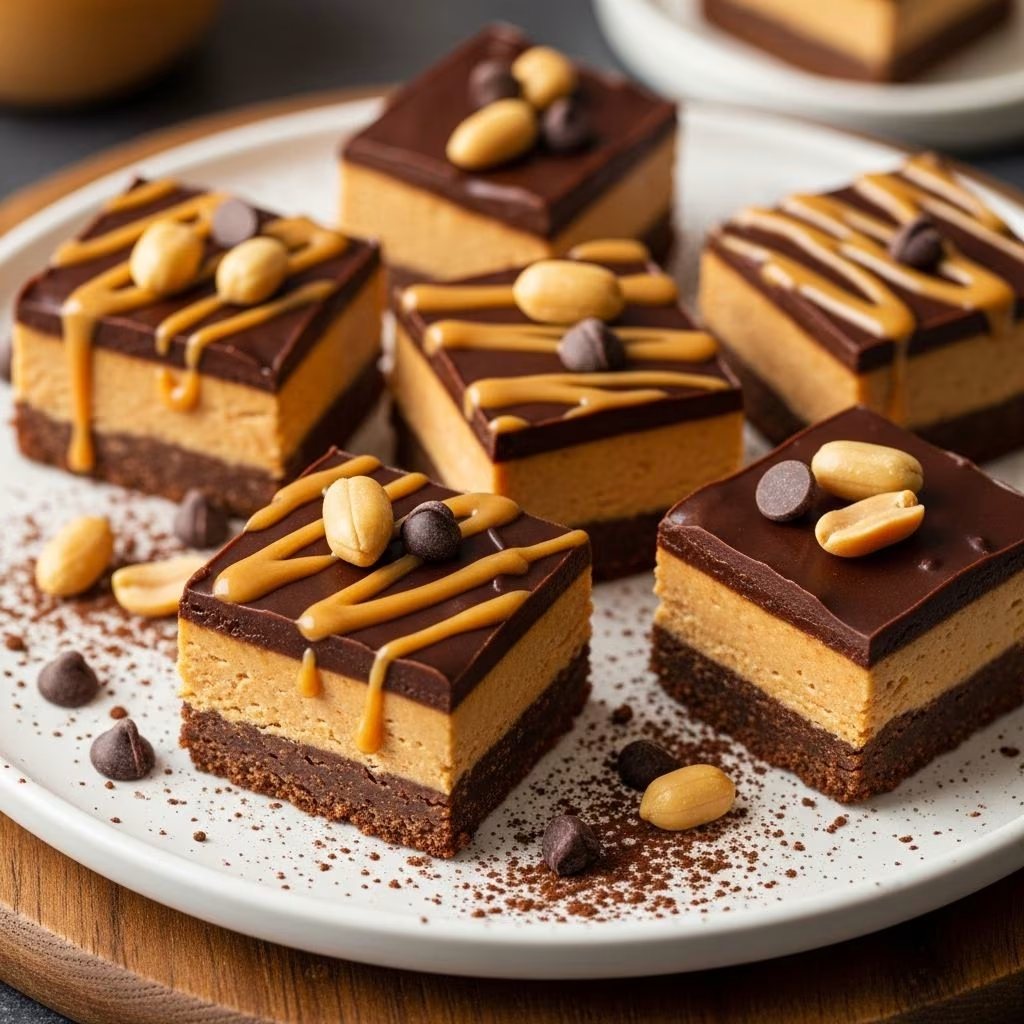
Craving a decadent dessert that comes together in minutes without heating up the kitchen? No-bake peanut butter bars deliver the perfect blend of creamy peanut butter filling and glossy chocolate topping. These crowd-pleasing treats mimic the joy of peanut butter cups but in oversized, shareable form. With minimal ingredients and effortless assembly, they’re ideal for beginners and busy home cooks alike.
Why No-Bake Peanut Butter Bars Are a Must-Make
These bars stand out for their simplicity and flavor punch. The base combines sweet, salty peanut butter with a crumbly texture from graham crackers or similar binders, creating a fudgy layer that’s easy to slice. A melted chocolate layer seals it all in, offering crunch on top if you add nuts. No oven means less cleanup, and they store beautifully for days.
- Quick prep: Ready in under 20 minutes, plus chilling time.
- Customizable: Swap ingredients for dietary needs like gluten-free or vegan.
- Versatile: Serve as snacks, party bites, or lunchbox surprises.
- Make-ahead friendly: They improve in flavor after a night in the fridge.
Essential Ingredients for Perfect Bars
The beauty lies in everyday pantry items. Core components include peanut butter for creaminess, powdered sugar for sweetness, butter for binding, graham cracker crumbs for structure, and chocolate for the crown.
| Ingredient | Role | Best Choices |
|---|---|---|
| Peanut Butter | Main flavor and binder | Creamy or chunky; avoid natural for smoother texture |
| Butter | Moistens and holds crumbs | Salted or unsalted (add salt if unsalted) |
| Powdered Sugar | Sweetens without graininess | Confectioners’ sugar, sifted for lumps |
| Graham Cracker Crumbs | Adds crunch and structure | 8 full sheets per cup; gluten-free options work |
| Chocolate Chips | Topping layer | Semi-sweet, milk, or dark; 1-2 cups |
Quantities vary by recipe size, but a standard 9×13 pan uses about 1-1.5 cups peanut butter, 1 cup butter, 2 cups powdered sugar, 1.5-2 cups crumbs, and 1.5 cups chips.
Step-by-Step Recipe Guide
Follow these instructions for foolproof results. Yields 20-24 bars in a 9×13-inch pan.
Prepare the pan: Line a 9×13-inch pan with parchment or foil for easy removal. Lightly grease for insurance.
Mix the base: Soften or melt 1 cup butter. Combine with 1.5 cups peanut butter, 2 cups powdered sugar, and 2 cups graham cracker crumbs. Stir until a thick, dough-like mixture forms. Press firmly into the pan using a spatula or greased hands.
Make the topping: Melt 1.5 cups chocolate chips with 1/4-1/2 cup peanut butter (and optional 1-2 tbsp coconut oil for shine). Microwave in 30-second bursts, stirring between, or use a double boiler.
Assemble: Pour chocolate over the base, spreading evenly. Sprinkle sea salt, chopped peanuts, or flakes for texture.
Chill: Refrigerate 1-3 hours until firm. For faster set, freeze 30 minutes.
Cut and serve: Let sit 10 minutes at room temp for clean slices. Store covered in fridge up to 1 week.
Pro Tips for Bar Perfection
Achieve bakery-quality results with these hacks.
- Press the base hard to avoid crumbly bars.
- Melt chocolate slowly to prevent seizing.
- Chill fully before cutting; warm knife helps.
- Taste the base and adjust sugar or salt.
- For thinner bars, use 8×8 pan; thicker in 9×9.
Flavor Variations to Try
Keep it classic or experiment endlessly.
- Chunky style: Use chunky peanut butter and add mini chips to base.
- Gluten-free: Swap graham crackers for gluten-free version or almond flour.
- Vegan: Use plant-based butter, PB, and dairy-free chips.
- Nutty boost: Mix in chopped peanuts or pretzels.
- Dark chocolate: For less sweet, richer profile.
- Reese’s copycat: Layer extra PB cups on top before chocolate.
Storage and Freezing Guide
These bars stay fresh longer than baked goods.
- Fridge: Up to 7-10 days in airtight container.
- Freezer: Wrap individually; freeze up to 3 months. Thaw in fridge.
- Room temp: 1-2 days max in cool spot.
Pro tip: Freeze sliced bars for grab-and-go treats.
Nutrition Snapshot
Per bar (1/20th of 9×13 pan, approx.): 350-400 calories, 25g fat, 30g carbs, 6g protein. Values vary by ingredients. High in healthy fats from PB, but enjoy moderately.
Frequently Asked Questions
Can I use natural peanut butter?
Natural PB works but may make bars softer due to oil separation. Stir well and chill longer.
How do I prevent a soggy bottom?
Ensure base is pressed densely and fully chilled before topping.
What if I don’t have graham crackers?
Substitute vanilla wafers, crushed pretzels, or oats for similar texture.
Can I bake them instead?
Yes, at 350°F for 10-12 min, but no-bake keeps them chewier.
How to make them thinner?
Use 9×13 pan fully; double recipe for thicker stacks.
Pairing Ideas
Serve with vanilla ice cream, fresh berries, or coffee. Great for potlucks, holidays, or kids’ parties.
References
- No-Bake Peanut Butter Bars Recipe — The Pioneer Woman. 2023-10-01. https://www.thepioneerwoman.com/food-cooking/recipes/a57631/no-bake-peanut-butter-bars/
- No-Bake Chocolate Peanut Butter Bars — Sally’s Baking Addiction. 2023-05-15. https://sallysbakingaddiction.com/no-bake-chocolate-peanut-butter-bars/
- Easy No Bake Peanut Butter Bars — Six Sisters’ Stuff. 2022-08-20. https://www.sixsistersstuff.com/recipe/easy-no-bake-peanut-butter-bars/
- No Bake Peanut Butter Bars (Naturally Gluten Free) — Let Them Eat GF Cake. 2023-02-10. https://www.letthemeatgfcake.com/buckeye-bars/
- No Bake Peanut Butter Bars — Sammi Brondo. 2024-01-12. https://sammibrondo.com/no-bake-peanut-butter-bars/