Few dishes command the table during holiday gatherings quite like a beautifully prepared ham. Among the various preparation methods, a cola-glazed ham stands out as an elegant yet surprisingly simple choice that delivers impressive results with minimal effort. The combination of sweet cola, caramelized brown sugar, and savory mustard creates a complex flavor profile that appeals to diverse palates while remaining accessible to cooks of all skill levels.
The origin of cola-based ham glazes traces back to American home cooking traditions, where resourceful cooks discovered that the natural sweetness and acidity of cola complemented the salty, smoky characteristics of cured ham. This technique has evolved into a beloved classic that appears on tables from casual family dinners to formal holiday celebrations. Understanding the principles behind this preparation method allows you to execute it flawlessly while adapting it to your preferences and available ingredients.
Understanding Your Primary Ingredient: Selecting the Right Ham
The foundation of any successful cola-glazed ham begins with selecting an appropriate ham for your gathering. The market offers several varieties, each with distinct characteristics that influence cooking time, texture, and flavor absorption.
Spiral-cut hams represent the most convenient option for home cooks, as the slicing is already completed by the butcher. These hams cook evenly and allow the glaze to penetrate between the slices, creating a cohesive flavor throughout. They typically require less preparation time and yield more usable portions with less waste.
Bone-in hams contribute richer flavor and moisture during the cooking process. The bone acts as a natural heat conductor, promoting even cooking and helping maintain juiciness. These hams generally provide superior results for those willing to invest additional preparation time.
Boneless varieties offer convenience and uniform cooking but may lack the depth of flavor and moisture retention that bone-in options provide. They work well for those prioritizing ease and consistent results over maximum flavor complexity.
For a standard serving of eight to ten people, a ham weighing between nine and twelve pounds provides adequate portions while remaining manageable for typical home ovens. This size range ensures reasonable cooking times ranging from two to three hours, depending on your oven’s characteristics and the ham’s initial temperature.
Essential Ingredients and Their Roles in Flavor Development
The brilliance of the cola-glazed ham technique lies in its reliance on a surprisingly short ingredient list. Understanding what each component contributes helps you appreciate the method and troubleshoot if adjustments become necessary.
Cola Selection and Preparation
The choice of cola matters more than many home cooks realize. Full-strength cola, preferably a well-known brand like Coca-Cola, provides the optimal balance of sweetness, carbonation, and acidity. The carbonation creates a subtle effervescence during cooking that helps break down the ham’s surface, allowing better glaze penetration. Diet versions should be avoided, as they lack the sugar content necessary for proper caramelization and glaze formation.
Typically, recipes call for a twelve-ounce can or approximately one and one-half cups of cola. Some preparations use a portion for the glaze mixture while reserving the remainder to create moisture in the roasting pan. This dual approach ensures the ham remains juicy throughout the cooking process while building a concentrated, flavorful crust.
Brown Sugar: Building the Caramelized Crust
Brown sugar forms the visible glaze layer that gives this dish its characteristic appearance and adds textural complexity. The molasses content in brown sugar creates deeper caramel flavors compared to white sugar, while the moisture it contains helps the glaze adhere to the ham’s surface. Firmly packing the brown sugar when measuring ensures consistent results across different batches.
Most recipes employ between half and three-quarters cup of brown sugar, depending on personal preference for sweetness intensity. The sugar partially dissolves into the cola mixture, creating a syrup-like consistency, while the remainder remains somewhat granulated, eventually forming a slightly crunchy exterior layer when exposed to direct heat during the final cooking stages.
Mustard: Adding Savory Complexity
Mustard provides crucial savory balance to the sweetness of cola and brown sugar. Two primary varieties appear in cola-glazed ham recipes: Dijon mustard, which offers a sharp, slightly tangy profile, and whole-grain mustard, which contributes texture and a milder flavor. Ground mustard powder serves as an alternative, distributing more evenly throughout the glaze mixture.
Quantities typically range from one-quarter cup of prepared mustard to one teaspoon of ground powder. The amount affects the final flavor intensity considerably; less aggressive cooks might start toward the lower end, while those preferring pronounced mustard notes can increase the quantity.
Supporting Ingredients for Enhanced Depth
Several optional additions elevate the basic formula. Butter contributes richness and helps emulsify the glaze, typically added in quantities of four to six tablespoons. Salt enhancement through seasoned salt or additional kosher salt amplifies the overall flavor profile. Some variations incorporate orange wedges, citrus zest, or vinegar for added brightness and complexity.
Preparation Techniques That Ensure Success
Scoring Your Ham
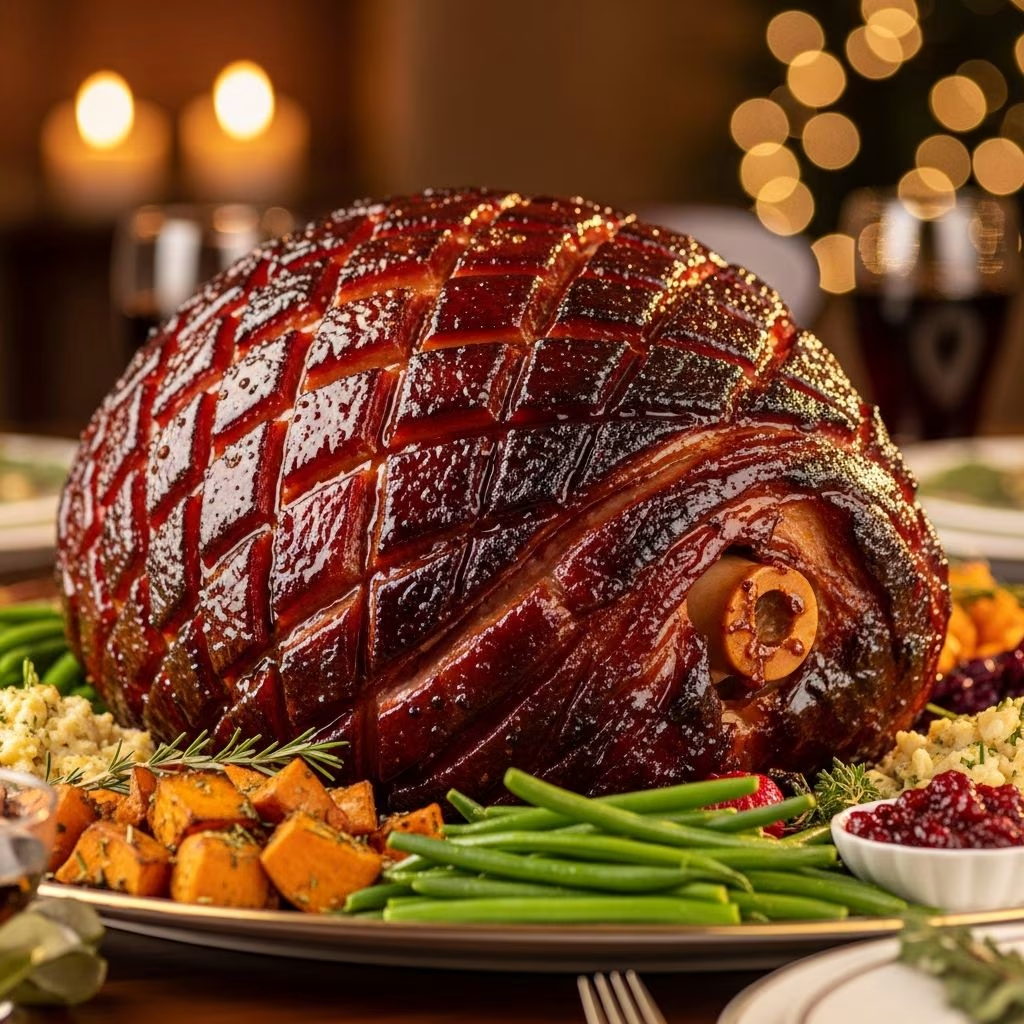
Before glazing, most hams benefit from scoring—creating shallow cuts across the surface in either a diagonal crosshatch or diamond pattern. These incisions, typically one-quarter inch deep, serve multiple purposes: they provide visual appeal, create crevices where the glaze collects and caramelizes, and allow heat to penetrate more efficiently toward the center.
Scoring requires a sharp knife and a gentle hand. The cuts should be visible but not so deep that they compromise the ham’s structural integrity. Many experienced cooks acknowledge that scoring rarely produces perfect patterns, and excessive concern about perfection can distract from the actual cooking process.
Positioning and Pan Selection
The ham’s orientation within the roasting pan significantly impacts cooking evenness and glaze development. Spiral-cut hams should rest with the cut side facing down to prevent juices from escaping and to allow the flat surface to develop an attractive glaze. Uncut or bone-in hams benefit from a fat-side-up positioning, which allows the fatty layer to baste the meat throughout cooking.
Select a roasting pan large enough to accommodate the ham comfortably without crowding. Adequate space allows air circulation and prevents the ham from steaming excessively. Many cooks prefer heavy-duty stainless steel or aluminum pans that conduct heat evenly and withstand repeated basting without warping.
Step-by-Step Cooking Method
Temperature and Timing Foundation
Most cola-glazed ham recipes employ an oven temperature of 325 to 350 degrees Fahrenheit. This moderate temperature promotes gradual, even cooking while preventing excessive browning of the exterior before the interior reaches the appropriate temperature. Lower temperatures result in longer cooking times but may produce more tender results, while higher temperatures accelerate cooking but risk creating a burnt-looking exterior.
Cooking time generally follows the guideline of fifteen to twenty minutes per pound for bone-in hams. A nine-pound ham typically requires two to two-and-a-half hours, while a larger twelve-pound ham may need three to three-and-a-half hours. Internal temperature should reach 140 degrees Fahrenheit when measured with an instant-read meat thermometer inserted into the thickest part without touching bone.
The Foil-Covered Initial Phase
Begin by placing the prepared ham in your roasting pan with the cola mixture poured around the base. Cover the entire pan tightly with heavy-duty aluminum foil, creating a seal that traps steam and moisture. This covered phase typically lasts about three-quarters of the total cooking time, during which the ham cooks gently in a moist environment.
Every thirty minutes, carefully remove the foil and baste the ham generously with the accumulated pan juices. This repetitive basting accomplishes multiple tasks: it keeps the exposed surface moist, distributes flavor evenly, and allows you to monitor cooking progress. Each time you re-cover the pan, ensure the foil seals tightly to maintain the steaming environment.
The Uncovered Finishing Phase
During the final fifteen to thirty minutes of cooking, remove the foil completely and allow the ham to brown. At this stage, if using a glaze mixture rather than pan juices alone, brush or spoon the glaze mixture over the ham’s surface. This exposed cooking time allows the glaze to caramelize and develop that characteristic glossy, slightly crusty appearance.
During this final phase, monitor the ham closely to prevent excessive browning. Some darkening is desirable and indicates proper caramelization, but nearly black surfaces suggest the oven temperature may be too high or the cooking time has extended too long.
Critical Resting Period
After removing the ham from the oven, allow it to rest for at least fifteen minutes before carving. This resting period allows residual heat to distribute throughout the meat and permits juices to reabsorb into the tissue rather than running onto the carving surface. Skipping this step results in noticeably drier ham, regardless of how well the cooking process proceeded.
Alternative Cooking Methods for Modern Kitchens
Slow Cooker Preparation
For those prioritizing convenience, slow cooker methods offer viable alternatives to traditional oven cooking. Place the ham in a six-quart or larger slow cooker and cook on HIGH for one hour, then reduce to LOW for four to five hours. The glaze mixture can be prepared similarly but applied in stages to prevent excessive dilution from condensation.
Oven Bag Technique
Some cooks prefer using large oven bags designed to contain moisture and heat efficiently. After placing the ham and glaze components in the bag, the entire assembly cooks in the oven at standard temperatures. This method reduces the need for frequent basting and typically produces moister results, though the final glaze may be less caramelized without an uncovered finishing phase.
Troubleshooting Common Challenges
| Issue | Likely Cause | Solution |
|---|---|---|
| Dry, tough texture | Overcooking or insufficient basting | Reduce oven temperature by 25 degrees; baste more frequently |
| Burnt exterior before interior reaches temperature | Oven temperature too high during uncovered phase | Tent loosely with foil during final phase; reduce oven temperature |
| Pale, unappealing glaze | Insufficient uncovered cooking time | Extend uncovered cooking; increase oven temperature slightly |
| Glaze sliding off during carving | Glaze applied too thickly or unevenly | Apply glaze in thin layers; use a basting brush for even distribution |
Serving Suggestions and Complementary Dishes
A properly prepared cola-glazed ham deserves thoughtful presentation and complementary accompaniments. Serve the ham on a heated platter surrounded by fresh herbs like parsley or thyme for visual interest. Slice the ham just before serving to maintain moisture and appearance.
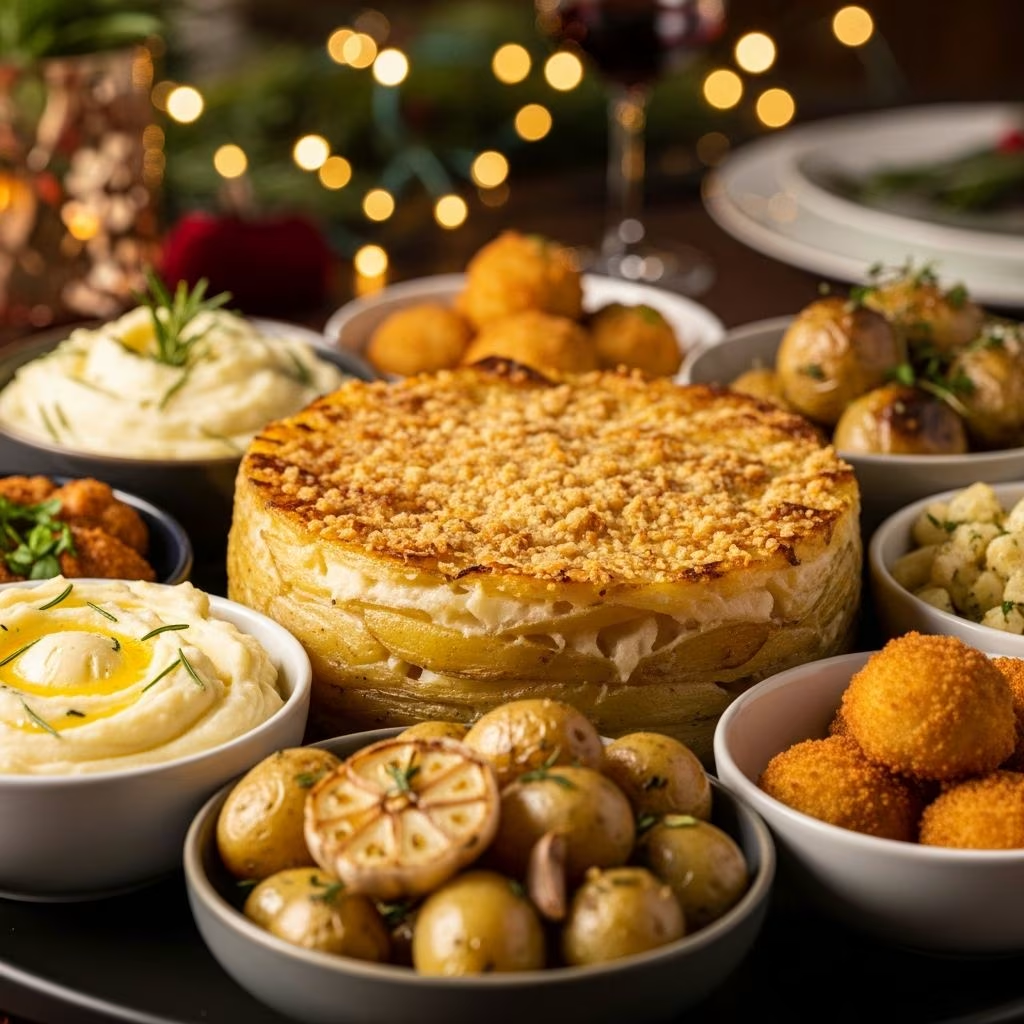
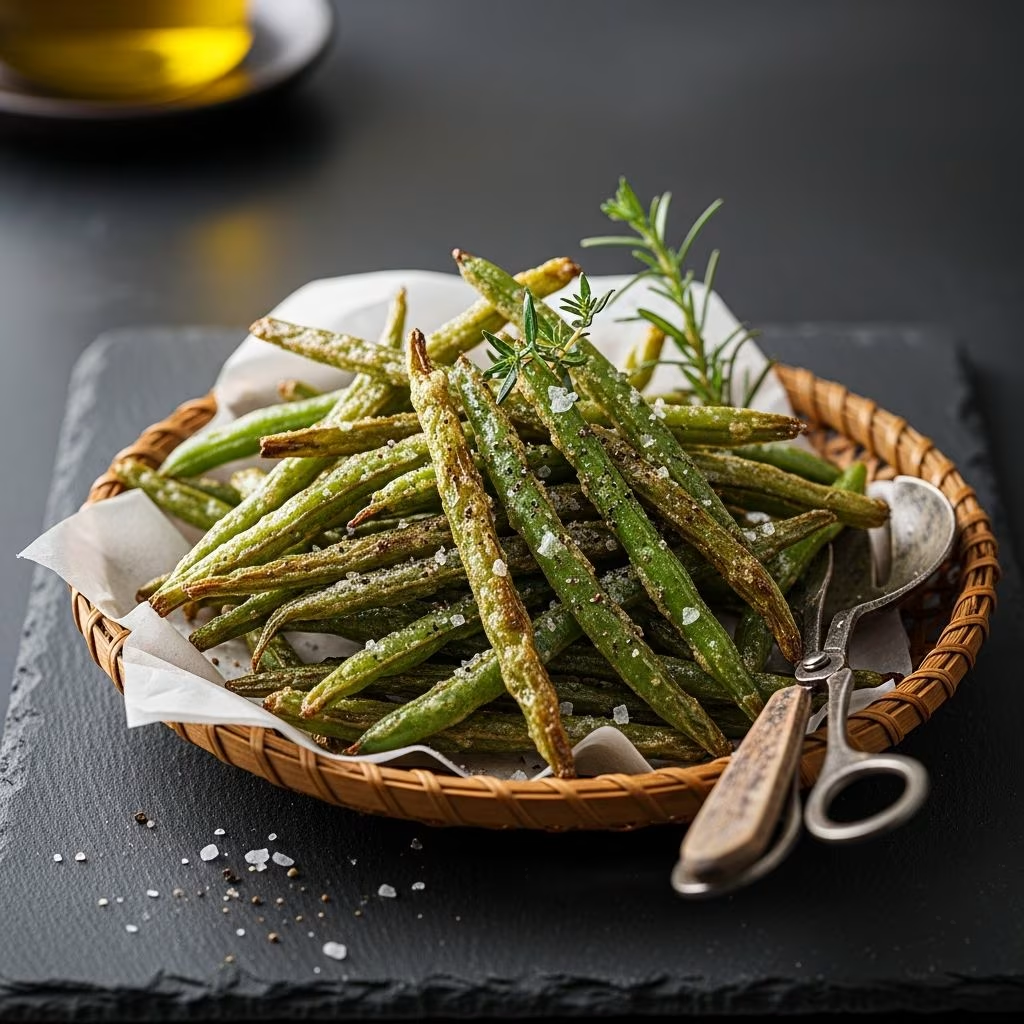
Traditional accompaniments include honey-mustard glaze for additional dipping options, roasted root vegetables, scalloped potatoes, and fresh green bean casseroles. The sweet-savory profile of cola-glazed ham pairs exceptionally well with simple salads dressed in vinaigrette, which provide palate cleansing between bites.
Frequently Asked Questions
Can I prepare cola-glazed ham in advance?
Hams can be fully cooked the day before serving and reheated gently in a low oven with light foil coverage. Reheating takes approximately thirty to forty minutes at 325 degrees Fahrenheit. However, the glaze often develops better appearance and texture when applied fresh just before final serving.
What if I cannot find full-strength cola?
While substitutions like root beer or ginger ale can work in emergencies, they produce noticeably different flavor profiles. Full-strength cola’s specific balance of sweetness and acidity is difficult to replicate, so purchasing it specifically for this recipe yields superior results.
How should I store leftover cola-glazed ham?
Sliced ham stores in an airtight container in the refrigerator for up to five days. Whole hams or large portions keep slightly longer. Freezing is possible but may affect texture slightly; wrap tightly in plastic wrap and then foil before freezing for up to three months.
Can I use this glaze for other meats?
The cola-mustard-brown sugar glaze works well on pork chops, ribs, and even chicken. Adjust cooking times according to the specific meat’s requirements and thickness.
References
- The Coca-Cola Company Official Website — The Coca-Cola Company. 2024. https://www.coca-cola.com
- USDA FoodData Central: Brown Sugar, packed — U.S. Department of Agriculture. 2024. https://fdc.nal.usda.gov
- Food Safety and Inspection Service: Ham and Food Safety — United States Department of Agriculture. 2023. https://www.fsis.usda.gov
- Taste of the South Magazine: Cola-and-Mustard-Glazed Ham — Taste of the South Magazine. 2015. https://tasteofthesouthmagazine.com/cola-and-mustard-glazed-ham/
- Food Above Gold: Glazed Coca Cola Ham — Food Above Gold. 2024. https://www.foodabovegold.com/glazed-coca-cola-ham/