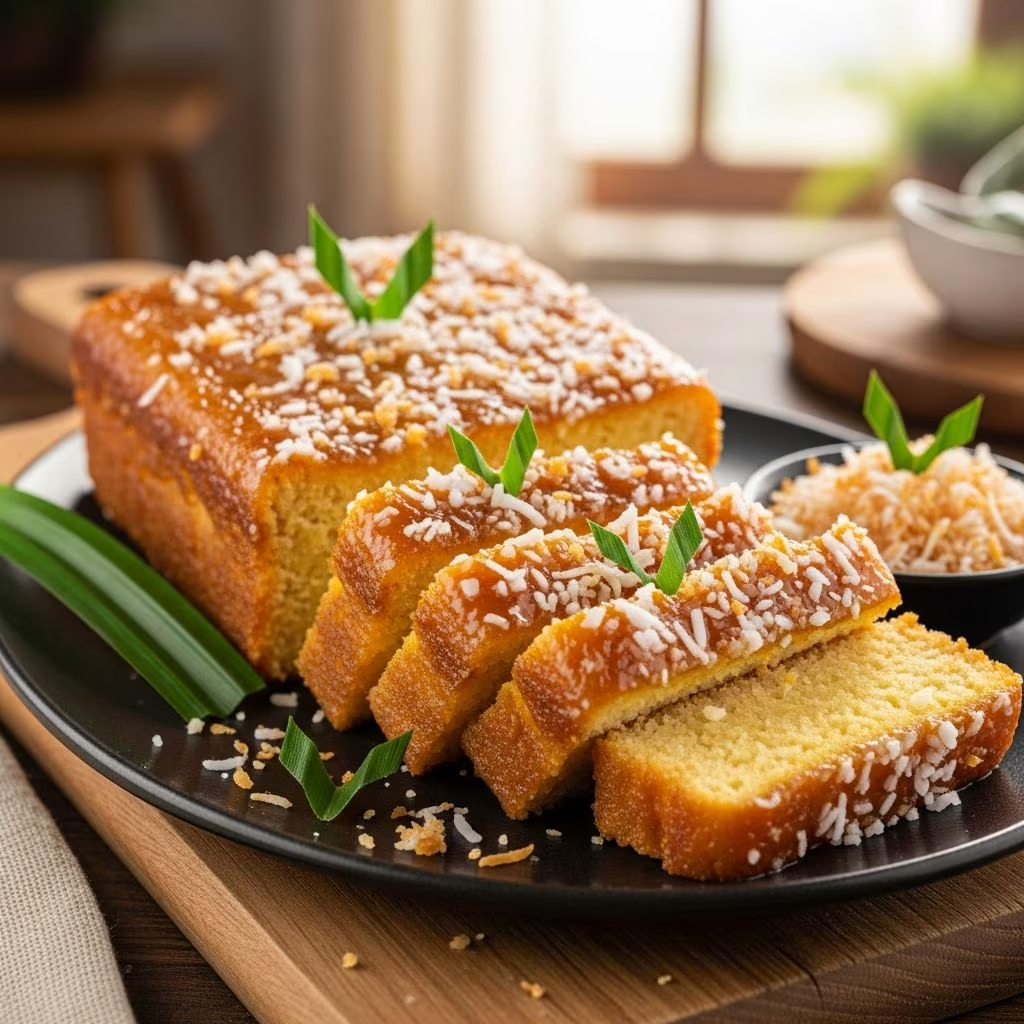
Cassava cake represents one of the most cherished desserts in Filipino culinary tradition, beloved for its unique texture and rich, creamy flavor profile. This traditional treat combines the earthy sweetness of grated cassava root with the tropical warmth of coconut milk and condensed milk, resulting in a moist cake with an indulgent custard topping. Whether you’re preparing this dessert for a special celebration or simply craving something delicious, understanding the fundamentals of cassava cake preparation will help you achieve bakery-quality results at home.
Understanding Cassava Cake Origins and Cultural Significance
Cassava cake has deep roots in Filipino cuisine, reflecting the archipelago’s rich agricultural heritage and creative approach to using locally available ingredients. The dish showcases how Filipino cooks have traditionally transformed simple root vegetables into elegant desserts through careful layering of flavors and textures. The combination of cassava with coconut products demonstrates the influence of tropical ingredients on Filipino baking, creating a dessert that feels both comforting and sophisticated. This dessert has evolved beyond home kitchens to become a staple at celebrations, holidays, and special family gatherings throughout the Philippines and Filipino communities worldwide.
Essential Ingredients and Their Functions
Creating an authentic cassava cake requires understanding how each component contributes to the final product’s taste and texture. The foundation begins with fresh or frozen grated cassava, which provides the distinctive earthy flavor and moist crumb structure that defines this dessert.
Primary Cake Components
- Grated Cassava: The star ingredient that gives the cake its characteristic texture and subtle, starchy sweetness. Use fresh cassava that has been peeled and finely grated, or conveniently use pre-grated frozen cassava that has been thawed.
- Coconut Milk: Adds richness, moisture, and that distinctive tropical flavor that makes cassava cake so memorable. Full-fat coconut milk works best for achieving the desired creamy consistency.
- Condensed Milk: Provides sweetness, moisture, and contributes to the cake’s dense, fudgy texture. This ingredient also helps create the characteristic golden-brown color.
- Evaporated Milk: Balances the sweetness while adding additional moisture without making the batter too thin. It creates a less chewy texture compared to using only condensed milk.
- Butter: Enhances flavor and contributes to the cake’s richness. Melted butter distributes evenly throughout the batter, ensuring consistent texture.
- Eggs: Bind ingredients together and help the cake set during baking while adding protein structure.
- Sugar: Adjusts sweetness levels and helps develop the golden crust during baking.
Optional Flavor Enhancers
- Desiccated Coconut: Adds texture variety and intensifies the tropical coconut flavor without adding extra liquid.
- Macapuno Strings: Sweet young coconut strips that provide pockets of additional sweetness and unique texture throughout the cake.
- Vanilla Extract: Adds subtle depth and complexity to the overall flavor profile.
- Grated Cheese (Optional): Some variations include grated cheddar cheese, which adds a slightly savory element and complexity to the custard topping.
Preparation Techniques and Step-by-Step Instructions
Preparing Your Cassava
If working with fresh cassava, proper preparation is essential for achieving the best results. Begin by selecting firm cassava roots free from soft spots or blemishes. Peel away the thick brown skin using a vegetable peeler or sharp knife, being careful to remove the thin layer underneath as well. Rinse the peeled cassava thoroughly under running water to remove any remaining dirt or debris. Using a box grater or food processor with the grating attachment, reduce the cassava to fine, consistent pieces. Gather the grated cassava in a clean kitchen towel and gently squeeze to remove excess moisture, which prevents the cake from becoming too wet and ensures proper baking.
Mixing the Batter
In a large mixing bowl, combine your prepared grated cassava with all the liquid ingredients: condensed milk, evaporated milk, and coconut milk. Add the melted butter, eggs, sugar, and any optional additions like vanilla extract or desiccated coconut. Using a sturdy spoon or whisk, blend these components thoroughly until you achieve a uniform consistency. The batter should be thick and paste-like rather than pourable. If incorporating macapuno strings, fold them in gently at the end to distribute them evenly throughout the mixture without breaking them apart.
Baking the Cake Base
Preheat your oven to 375°F (190°C) and prepare a 9×13-inch baking pan by greasing it with butter or cooking spray to prevent sticking. Pour the prepared batter into the pan, spreading it evenly with a spatula to ensure uniform thickness. Bake for 45 minutes to 1 hour, depending on your oven’s characteristics and the thickness of your batter. The cake is done when the top develops a golden-brown color and a toothpick inserted into the center comes out with minimal moist crumbs. Some moisture is desirable, as cassava cake should remain moist rather than dry.
Creating and Applying the Custard Topping
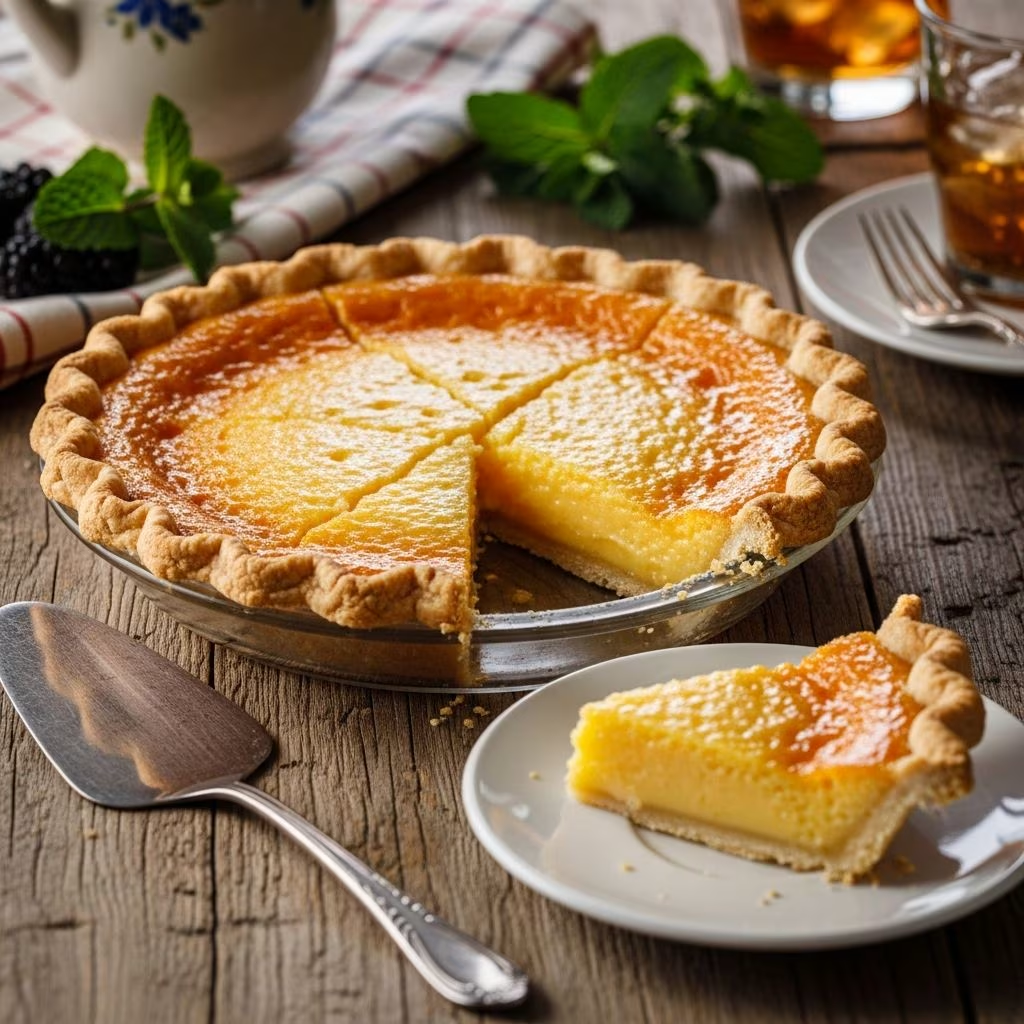
The custard topping elevates cassava cake from a simple baked good to an elegant dessert. This component provides creamy richness and a beautiful caramelized appearance that distinguishes professional-quality cassava cake.
Topping Preparation Method
While the cake bakes, prepare the topping by combining condensed milk with coconut milk or cream in a saucepan. Add flour and sugar to create a thickening agent that prevents the topping from remaining too runny. If incorporating grated cheese, add it during this stage, stirring constantly over medium heat. The mixture should cook for approximately 10 minutes, stirring continuously to prevent lumps and ensure even cooking. The consistency should thicken to a sauce-like texture that will spread smoothly over the warm cake.
Application and Final Baking
Once the cake has baked for the initial time period, carefully remove it from the oven and pour the prepared topping over the entire surface. Using a spatula or the back of a spoon, spread the topping evenly, ensuring complete coverage. Some recipes suggest brushing the topping with lightly beaten egg white before returning to the oven for additional browning and shine. Return the cake to the oven and bake for an additional 15-25 minutes until the topping turns a rich caramel or golden-brown color. This final baking stage creates the characteristic crust on top while allowing the topping to set and meld with the cake base.
Cooking Method Variations
Steaming Approach
Traditional steaming methods produce exceptionally moist cassava cake with a different texture profile than oven-baked versions. To prepare cassava cake via steaming, create a caramel by melting sugar in the bottom of a metal mold or tin until it turns golden. Allow the caramel to cool slightly and harden, then carefully pour the cassava batter into the prepared mold. Place the mold in a steamer basket or water bath, ensuring water doesn’t enter the pan. Steam for 40-45 minutes until a knife inserted in the center comes out clean. Allow the cake to cool before inverting onto a serving plate so the caramel layer faces upward. This method produces a distinctly moist, custard-like interior.
Traditional Baking Method
Oven baking remains the most accessible and reliable method for home bakers. This approach requires less specialized equipment while producing consistent, professional-looking results. The dry heat of the oven creates a more defined crust while the interior remains moist and tender.
Ingredient Substitutions and Dietary Modifications
Milk Product Alternatives
Adapting cassava cake for different dietary needs is possible with thoughtful substitutions. For those avoiding dairy, unsweetened coconut cream can replace condensed milk, though the sweetness level will require adjustment through increased sugar. Oat milk or almond milk can substitute for evaporated milk, though using full-fat versions prevents the cake from becoming dry. Vegan butter provides similar results to traditional butter in most cases.
Texture Modifications
Adjusting the ingredient ratios creates different texture outcomes. Using more evaporated milk and less condensed milk produces a less chewy, more cake-like texture. Conversely, increasing condensed milk creates a denser, fudgier consistency similar to sweet tamales. Adding extra desiccated coconut increases textural complexity while reducing overall moisture.
Flavor Variations
While maintaining the traditional base, creative additions transform cassava cake into unique variations. Macapuno strings provide sweet pockets throughout, while grated cheese adds subtle savory complexity. Some bakers incorporate pandan flavoring for an herbal, aromatic quality, or add ube (purple yam) for vibrant color and distinct flavor.
Troubleshooting Common Issues
| Problem | Likely Cause | Solution |
|---|---|---|
| Cake too dry | Over-baking or insufficient milk | Reduce baking time by 5-10 minutes, or increase milk proportions |
| Cake too wet | Excess moisture in cassava or insufficient baking time | Squeeze cassava more thoroughly, or extend baking time |
| Topping remains runny | Insufficient cooking time or too little flour | Continue cooking while stirring, or add flour slurry gradually |
| Topping burns before setting | Oven temperature too high | Lower oven to 350°F and extend cooking time, covering with foil if needed |
| Uneven browning | Hot spots in oven or uneven batter distribution | Rotate pan halfway through baking, ensure level batter |
Storage and Serving Recommendations
Properly stored cassava cake maintains its quality for several days, allowing you to prepare it in advance of gatherings or celebrations. Keep baked cassava cake covered with plastic wrap or stored in an airtight container at room temperature for up to three days. For longer storage, wrap individual portions in plastic wrap and freeze for up to three months. Thaw frozen cassava cake at room temperature before serving. This dessert actually improves slightly after a day as flavors meld and develop. Serve cassava cake at room temperature or slightly warmed, cutting into squares of desired size. The rich nature of this dessert means small portions satisfy completely—most people enjoy a 2×3-inch piece as a satisfying serving.
Frequently Asked Questions
Can I use cassava flour instead of grated cassava?
Cassava flour cannot directly replace grated cassava due to fundamental texture and moisture differences. Cassava flour is dehydrated and finely milled, while grated cassava contains natural moisture essential to the cake’s characteristic moist crumb. Attempting this substitution would result in a dry, crumbly texture unlike authentic cassava cake. However, you could create cassava cake by rehydrating cassava flour with additional liquid, though results will differ from using fresh cassava.
What is the difference between cassava and yuca?
Cassava and yuca refer to the same plant, known scientifically as Manihot esculenta. The terminology varies by region, with “cassava” more common in Asian and African contexts, while “yuca” predominates in Latin American usage. Nutritionally and functionally, these terms represent identical ingredients suitable for cassava cake preparation.
How can I ensure my cassava cake has the perfect moisture level?
The key to perfect moisture involves controlling liquid content and baking time. Squeeze grated cassava thoroughly to remove excess water before mixing. Use the specified proportions of milk products rather than guessing. Monitor baking progress during the final 15 minutes, checking for the desired golden-brown top. Remove from the oven when the topping reaches proper color rather than following time strictly, as individual oven variations affect results.
Can I prepare cassava cake batter in advance?
While it’s technically possible to prepare batter several hours ahead, the quality suffers as excess moisture accumulates. If preparing ahead, store the batter in an airtight container in the refrigerator for no more than 4-6 hours. Before baking, stir the batter again as separation may occur during storage. For best results, mix batter immediately before baking.
Conclusion
Mastering cassava cake preparation opens doors to creating an impressive dessert that delights family and friends while connecting you to Filipino culinary traditions. From understanding ingredient functions to troubleshooting baking challenges, this guide provides the knowledge necessary for consistent success. Whether you follow the traditional baked approach or explore steaming methods, experiment with creative variations or maintain authentic recipes, cassava cake rewards attention to detail with results that taste far superior to store-bought versions. Begin with a basic recipe, take careful notes on your specific oven’s behavior, and refine your technique through repeated preparation. Soon you’ll develop the confidence and intuition to create perfect cassava cake that becomes a signature dessert in your own culinary repertoire.
References
- Foxy Folksy — Easy Cassava Cake Recipe. https://www.foxyfolksy.com/easy-cassava-cake-recipe/
- Annie’s Chamorro Kitchen — Cassava Cake. https://www.annieschamorrokitchen.com/cassava-cake/
- Panlasang Pinoy — Cassava Cake Recipe. https://panlasangpinoy.com/filipino-food-dessert-holiday-cassava-cake-recipe/
- YouTube: Bona’s Kitchen — Cassava Cake with Macapuno. https://www.youtube.com/watch?v=-ypDXgdUSko
- YouTube: How to Cook Cassava Cake — Traditional Preparation Method. https://www.youtube.com/watch?v=TZWdtqiBi08