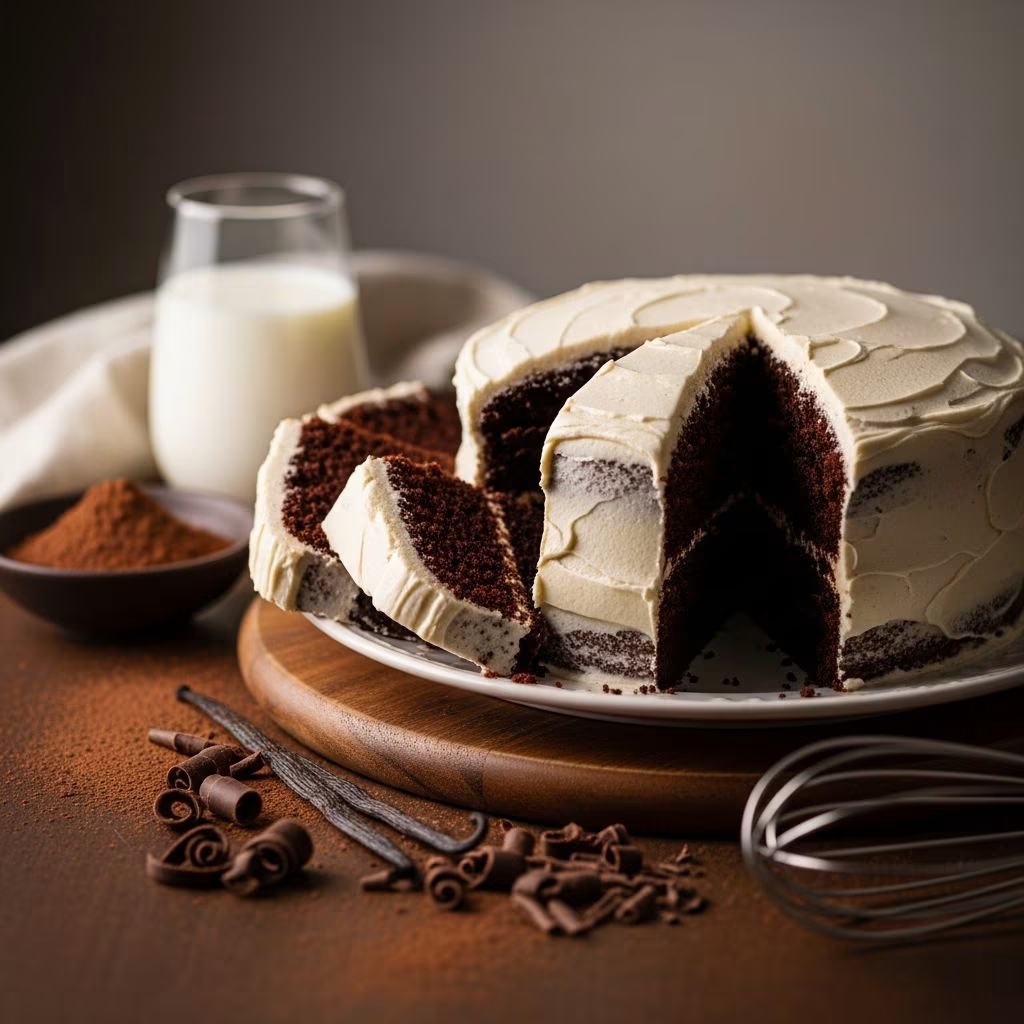
The combination of buttermilk and chocolate creates one of the most beloved desserts in home baking. This pairing produces a cake that is simultaneously moist, tender, and rich with complex chocolate flavor. Understanding why buttermilk works so effectively in chocolate cakes, and mastering the techniques for success, transforms this classic recipe from ordinary to extraordinary.
Understanding the Role of Buttermilk in Chocolate Cakes
Buttermilk serves a crucial function in chocolate cake baking that goes beyond simple flavor contribution. The acidic nature of buttermilk—typically featuring a pH between 4.4 and 4.6—reacts with baking soda to create carbon dioxide bubbles that leaven the cake naturally. This chemical reaction produces a lighter, airier crumb structure compared to cakes made with regular milk or water alone.
The lactic acid in buttermilk also tenderizes the gluten strands in the flour, preventing overdevelopment and resulting in a cake that remains soft and velvety rather than dense or rubbery. Additionally, the slight tang of buttermilk enhances chocolate flavor perception by creating contrast on the palate, making the chocolate taste deeper and more complex.
For bakers without buttermilk on hand, a simple substitution works effectively: combine one tablespoon of lemon juice or white vinegar with enough milk to reach one cup, then allow the mixture to sit at room temperature for 10-15 minutes until it curdles. This homemade buttermilk performs identically to store-bought versions in most recipes.
Essential Ingredients for Success
Creating a superior buttermilk chocolate cake requires attention to ingredient quality and measurement precision.
The Dry Foundation
The dry ingredient mixture typically includes all-purpose flour (approximately 240 grams or 2 cups), unsweetened cocoa powder (40-55 grams), granulated sugar (400 grams), baking soda (1.5 teaspoons), baking powder (1 teaspoon), and salt (0.25 teaspoon). Each component plays a specific role: flour provides structure, cocoa powder delivers chocolate flavor, sugar adds sweetness and moisture retention, baking soda reacts with acidic buttermilk for lift, baking powder provides additional leavening, and salt amplifies chocolate perception while balancing sweetness.
Unsweetened cocoa powder should be the primary choice over Dutch-processed varieties when maximum chocolate flavor is desired. Dutch-processing reduces acidity, which can interfere with the leavening reaction when baking soda is involved.
The Wet Ingredients
Room-temperature eggs (typically 2 large eggs) emulsify with fats to create a stable batter that traps air bubbles effectively. The eggs also provide structure through their protein content. Buttermilk (approximately 296-333 milliliters) combines with the eggs to create the wet base. Vegetable oil or melted butter (around 120 milliliters) contributes moisture and richness. Some recipes also include a small amount of hot water, which intensifies chocolate flavor by allowing cocoa solids to bloom more fully.
Optional Flavor Enhancers
Many experienced bakers add espresso powder (0.5-1 teaspoon) to amplify chocolate flavor without adding additional sweetness. Vanilla extract (2 teaspoons) provides aromatic complexity and helps round out the flavor profile.
Preparation Techniques for Optimal Results
Mixing Method Overview
The traditional creaming method works well for buttermilk chocolate cakes. Begin by beating room-temperature butter with granulated sugar until the mixture becomes light, fluffy, and pale—typically requiring 3-5 minutes with an electric mixer. This process incorporates air into the batter, creating lift during baking.
Add eggs one at a time, ensuring each egg is fully incorporated before adding the next. Scrape down the bowl sides frequently to ensure even mixing. Pour in the buttermilk mixture, incorporating it slowly. Then add the combined dry ingredients in three alternating additions with two additions of the buttermilk mixture, beginning and ending with dry ingredients. This alternating method prevents overmixing, which would develop excessive gluten and result in a tough crumb.
Alternative One-Bowl Method
For simplified baking, a one-bowl approach works effectively. Combine all dry ingredients in a single bowl, then whisk together all wet ingredients separately. Pour the wet mixture into the dry ingredients and stir until just combined—do not overmix. This method requires no electric mixer and produces equally excellent results.
Baking Parameters and Pan Preparation
Proper oven temperature and pan preparation significantly impact final cake quality. Preheat the oven to 325-350°F (163-177°C), depending on the recipe variation. A 9×13-inch rectangular pan is most common for sheet cakes, though the batter can also be divided between two 8-inch or 9-inch round pans for layer cakes.
Prepare the baking pan by applying a thin layer of vegetable oil or cooking spray, then dusting lightly with flour. Alternatively, line the bottom with parchment paper for easier cake removal. Parchment paper particularly helps when removing layer cakes from round pans.
Pour the batter into the prepared pan and smooth the surface gently. Avoid aggressive smoothing, which can deflate incorporated air bubbles. Bake for 26-40 minutes, depending on pan size and oven characteristics. A toothpick inserted into the center should emerge clean or with just a few moist crumbs—not wet batter. A slightly underbaked cake is preferable to an overbaked one, as residual heat continues cooking the cake after removal from the oven.
Cooling and Storage Considerations
Allow the cake to cool in the baking pan for 15-20 minutes immediately after removal from the oven. The cake will firm up enough to handle without crumbling. For rectangular sheet cakes, this is typically where cooling stops. For layer cakes, invert the pans onto wire cooling racks and gently remove the pans, allowing cakes to cool completely before frosting.
Completely cooled cakes can be wrapped tightly in plastic wrap and refrigerated for up to three days, or frozen for up to three months. Frosting can be applied to room-temperature cake or chilled cake—chilled cake sometimes produces cleaner frosting lines and may be easier to work with when creating layer cakes.
Frosting Options and Preparation
Traditional Buttermilk Chocolate Frosting
This frosting pairs naturally with buttermilk chocolate cake. Begin by melting unsalted butter (170-226 grams) in a small saucepan over low heat. Add unsweetened cocoa powder (40-55 grams) and cook briefly over low heat for approximately one minute. This warming step, called “blooming,” allows cocoa solids to release their flavor compounds more fully.
Remove the pan from heat and whisk in powdered sugar (260-360 grams, sifted), buttermilk (44-79 milliliters), and vanilla extract (2 teaspoons). Continue whisking until the frosting reaches a smooth, spreadable consistency. If the frosting seems too thick, add buttermilk one tablespoon at a time. If too thin, add additional powdered sugar.
Quick Chocolate Glaze Option
For a simpler finish, prepare a chocolate glaze by combining melted butter with cocoa powder and briefly cooking as described above. Whisk in powdered sugar and a small amount of liquid (buttermilk, milk, or even half-and-half) until a pourable consistency develops. Pour this glaze over warm or cool cake, allowing it to cascade naturally down the sides. Glazes set as they cool, creating a glossy finish.
Practical Variations and Adaptations
| Variation | Method | Notes |
|---|---|---|
| Layer Cake | Divide batter between two or three 8-9 inch round pans, bake 25-35 minutes | Chill layers before frosting for easier stacking |
| Single 9×13 Sheet Cake | Bake in rectangular pan for 30-40 minutes | Easiest presentation, perfect for frosting while warm |
| Individual Cupcakes | Fill lined muffin cups two-thirds full, bake 18-22 minutes | Perfect for portion control and gift-giving |
| Extra-Fudgy Version | Add melted chocolate (60-90g) to wet ingredients | Increases depth of chocolate flavor intensity |
Troubleshooting Common Issues
Dry or Dense Cake: This typically results from overbaking or overmixing. Reduce baking time slightly and mix only until ingredients are combined. Adding an extra egg yolk can improve moisture retention.
Cake Sinking in the Middle: This suggests oven temperature is too high or the cake was underbaked. Verify oven accuracy with an independent thermometer and check for doneness using a toothpick at multiple locations.
Cake Rising Excessively Then Falling: Too much baking soda or baking powder causes excessive rise followed by collapse. Measure leavening agents carefully using the spoon-and-level method rather than scooping directly from the container.
Frosting Too Thin or Too Thick: Gradually adjust consistency by adding powdered sugar (to thicken) or buttermilk (to thin). Ensure all ingredients are at room temperature before frosting, as cold frosting may not spread smoothly.
Frequently Asked Questions
Can I substitute regular milk for buttermilk?
Direct substitution produces inferior results because regular milk lacks the acidity needed to activate baking soda effectively. Create homemade buttermilk by mixing milk with lemon juice or vinegar and allowing it to curdle for 10-15 minutes.
What if my oven temperature seems inaccurate?
Purchase an inexpensive oven thermometer to verify actual temperature. Many home ovens run 25-50°F hotter or cooler than displayed. Adjust baking time accordingly—hotter ovens require shorter baking times.
How should I store a frosted cake?
Cover frosted cake loosely with plastic wrap or place in an airtight container. Refrigerate for up to five days. Bring to room temperature before serving for optimal flavor and texture.
Can this cake be made ahead?
Yes—bake the cake layers or sheet cake up to three days ahead and wrap tightly in plastic wrap. Prepare frosting no more than 24 hours in advance. Assemble and frost 2-4 hours before serving.
What causes cracking on top of the cake?
Surface cracking typically indicates the oven temperature is too high, causing the top to set and crack before the interior finishes rising. Lower oven temperature by 25°F and extend baking time slightly.
Final Thoughts on Mastery
Buttermilk chocolate cake represents an accessible entry point into sophisticated baking. The recipe forgives minor variations in technique while rewarding precision and attention to detail. Begin with a single batch, note how your specific oven performs, and adjust future batches accordingly. The combination of reliable technique, quality ingredients, and understanding the why behind each step elevates this humble dessert into something truly special.
References
- The Science of Baking — McGee, Harold. Scribner, 2004. https://www.penguinrandomhouse.com/books/272496/on-food-and-cooking-by-harold-mcgee/
- Food Science and the Culinary Arts — This, Hervé. Columbia University Press, 2015. https://www.columbia.edu/
- The Flavor Bible — Bertolle, Karen; Dibble, Aran; Page, Karen. Little, Brown, 2009. https://www.littlebrown.com/
- Baking Science & Technology — Kulp, Karel; Ponte, Joseph G. Springer, 2000. https://link.springer.com/