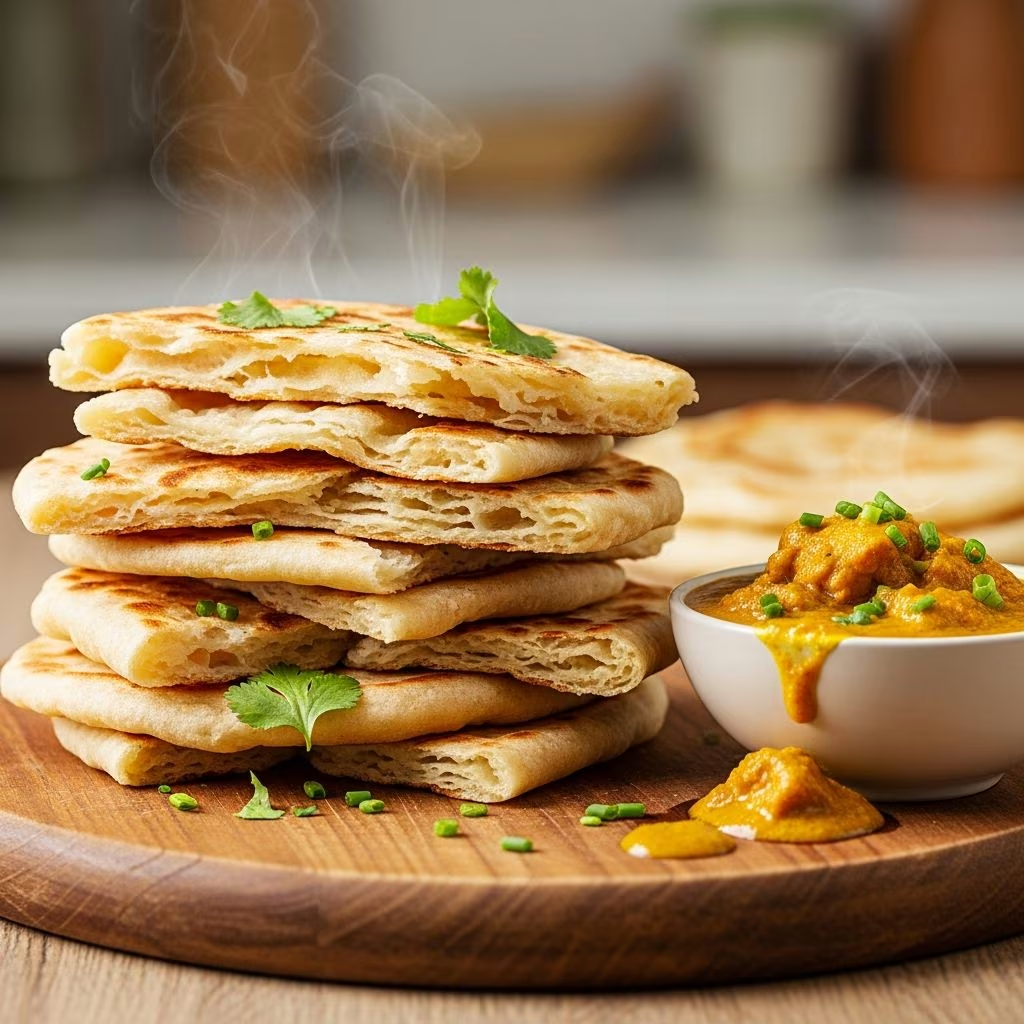
Trinidad and Tobago’s culinary heritage boasts many treasures, but few are as beloved and recognizable as buss up shut, a spectacular flatbread known for its distinctive torn and crumpled appearance. The name itself, which translates to “burst up shirt” in local Trinidadian dialect, perfectly captures the bread’s final presentation—a gloriously shattered, flaky creation that looks as though a garment has been torn into delicate strips. This paratha-style roti represents far more than just a carbohydrate; it embodies cultural tradition, culinary skill, and the patience required to achieve bread-making perfection.
What makes buss up shut truly exceptional is its construction method, which relies on strategic layering of butter or ghee throughout the dough to create hundreds of delicate, crisp sheets. Unlike many flatbreads that prioritize simplicity, this Caribbean staple demands time, precision, and an understanding of how fat interacts with flour during cooking. The final result—a pile of golden, crunchy yet chewy bread pieces—serves as the perfect vehicle for curried meats, chickpeas, or fish, making it an essential component of Trinidad’s street food culture and home kitchens alike.
Understanding the Foundation: Essential Ingredients and Their Roles
Creating authentic buss up shut begins with understanding each ingredient’s contribution to the final product. The foundation starts with all-purpose flour, which provides the necessary structure and gluten development for proper layering. The flour’s protein content enables the dough to stretch and hold the butter layers without tearing prematurely during rolling and cooking.
Baking powder serves a dual purpose in this recipe. While it provides gentle leavening that creates a slightly tender crumb, it also aids in separating the layers during cooking, allowing steam to infiltrate between the butter sheets and create the characteristic flakiness. Most recipes call for approximately two teaspoons per three to four cups of flour.
Sugar, though used sparingly (typically one teaspoon), adds subtle sweetness and encourages browning through the Maillard reaction. This browning contributes to the bread’s appealing golden exterior. Salt remains non-negotiable for flavor enhancement and dough control, strengthening the gluten network and preventing the dough from becoming overly sticky.
The liquid component—warm water—must be measured carefully. Water activates the flour’s starches and gluten proteins, transforming dry ingredients into a cohesive dough. Temperature matters; lukewarm water (around 110 degrees Fahrenheit) accelerates gluten development without shocking the dough.
Ghee or clarified butter represents the secret ingredient that distinguishes buss up shut from ordinary flatbreads. Clarified butter, with its 100-percent fat content and absence of milk solids, creates clean separation between flour layers while contributing rich, nutty flavor. Some cooks substitute regular butter or coconut oil, though ghee remains traditional and superior for this application. The fat must be soft enough to spread easily but not melted, requiring it to be at room temperature.
The Dough Development Process: Building Your Foundation
Beginning the dough requires combining all dry ingredients in a large mixing bowl. Flour, baking powder, salt, and sugar should be whisked together thoroughly to ensure even distribution of the leavening agent. This step prevents pockets of unbaked baking powder that could create undesirable bitter flavors in the finished bread.
Creating a well in the center of the flour mixture follows traditional bread-making technique. This indentation provides a vessel for gradually incorporating water while maintaining control over dough hydration. Initial water addition should be conservative, as different flour brands absorb liquid at varying rates. Adding water gradually allows adjustment based on dough consistency rather than creating an unmanageable, overly wet mass.
Kneading requires only thirty to sixty seconds of vigorous mixing. Unlike bread destined for long fermentation, buss up shut dough should remain relatively soft and slightly sticky. Excessive kneading overdevelops gluten, resulting in dense, chewy bread rather than the desired tender, flaky texture. The dough should come together as a unified mass while still retaining slight tackiness.
Coating the finished dough with oil and allowing it to rest represents a critical step often overlooked in rushed recipes. Covering the dough with a damp cloth and permitting fifteen to thirty minutes of rest allows gluten to relax and hydration to distribute evenly throughout. This resting period prevents the dough from shrinking excessively during rolling and shapes it into a more manageable consistency.
Dividing and Shaping: Portion Control and Structure
After the initial rest, dividing the dough into equal portions ensures consistent cooking and portion sizes. Six portions prove typical, though recipes vary between three and eight depending on desired bread thickness and serving size. Each portion should be roughly the size of a tennis ball, creating manageable working pieces.
The shaping technique distinguishes buss up shut from other paratha varieties. Each dough ball receives a generous coating of ghee or butter, typically around one tablespoon per piece, spread across its surface. This fat application must be thorough yet gentle, distributing butter evenly without tearing the delicate dough.
Light flour dusting follows the butter application, preventing the dough from sticking to work surfaces while allowing subsequent layers to form properly. The flour quantity should be minimal—just enough to prevent adhesion without creating dry pockets in the finished bread.
The signature slitting technique involves creating a single cut from the center of the dough circle toward the outer edge. This slit, made with a sharp knife, serves as the starting point for the coil formation that characterizes buss up shut’s distinctive structure.
Rolling the dough into a cone represents the most distinctive aspect of buss up shut preparation. Beginning at one end of the slit, the dough rolls clockwise into a gradually tightening spiral, with the butter and flour layers creating hundreds of thin sheets. The final cone should be relatively compact, with no protruding rough edges.
Tucking and compressing completes the shaping process. The end of the dough strip tucks underneath the cone base, while the pointed tip presses downward into the center of the mass. This configuration prevents unraveling during cooking and creates a manageable shape for the final rolling stage.
Pre-Cooking Preparation: The Second Rest Period
Covering shaped portions with a damp cloth and allowing a thirty-minute rest period before final cooking proves essential for developing the bread’s characteristic texture. This second rise gives gluten additional time to relax while allowing the dough to achieve optimal pliability for the final rolling stage. Without adequate resting, the dough resists flattening and may tear during expansion.
During this rest period, preparing the cooking surface becomes important. A griddle, crepe pan, or traditional tawa should be positioned to heat gradually over medium heat, ensuring even temperature distribution across the cooking surface. Premature cooking surface preparation risks drying out the equipment, while insufficient heating results in pale, unevenly cooked bread.
The Final Transformation: Rolling and Initial Cooking
Before cooking, each cone requires gentle flattening into a circular shape approximately ten inches in diameter. This process differs from standard roti rolling; the flattening should be gradual and gentle, preserving the layered structure developed during cone formation. Rotating the dough after each roll ensures even thickness distribution.
The edges require particular attention during this final rolling stage. Thinner edges cook more quickly and develop the characteristic crispness that contributes to buss up shut’s textural appeal. Applying slightly more pressure to the perimeter than the center accomplishes this differential cooking.
Placing the flattened paratha on the preheated griddle marks the transition from preparation to cooking. Heavy oiling of both sides occurs immediately upon placement and throughout cooking, with special attention to the edges. This oil application serves multiple purposes: preventing sticking, promoting browning through the Maillard reaction, and facilitating heat transfer to the dough’s interior.
Cooking continues until small bubbles form on the bread’s surface, typically requiring one to two minutes on the first side. These bubbles indicate steam accumulation between layers, signaling readiness for flipping. The first flip reveals the cooked underside—ideally displaying golden-brown coloring with slight charred spots.
Creating the Signature Texture: The “Bussing Up” Technique
The iconic “bussing up” process that gives this bread its name involves deliberately fragmenting the paratha after cooking. This seemingly destructive step actually represents the culmination of careful preparation, transforming a perfect flatbread into dramatically torn, overlapping pieces.
Three distinct methods accomplish this tearing, each with devoted practitioners. The first technique employs two spatulas, using them simultaneously to smash and manipulate the paratha while it remains on the griddle. This approach requires quick reflexes and practice but offers maximum control over fragment size.
The second method involves transferring the hot paratha to a large bowl with a tight-fitting lid and vigorously shaking the covered container. This technique works surprisingly well, relying on gravitational forces and impacts against the container walls to fragment the bread into appropriate sizes.
The third approach, perhaps gentlest, involves draping the paratha with a clean cloth and shaking it deliberately by hand. This method allows visual monitoring throughout the process and provides intermediate fragmentation options for those preferring larger pieces.
Regardless of technique, the goal remains consistent: creating varied-sized pieces with maximum surface area for crispness while maintaining some interior softness and chewiness. The best buss up shut contains a mix of tiny, crisp fragments and larger, softer pieces that complement each other textually.
Serving and Storage Recommendations
Buss up shut reaches peak quality when served immediately after cooking, while the bread maintains maximum crispness. Curry accompaniments—whether meat-based curries, chickpea curries, or spiced lentil preparations—showcase this bread’s versatility. The torn pieces’ varied surface areas and textures make them ideal for scooping and dipping.
Storage presents challenges due to the bread’s moisture sensitivity. Covered at room temperature, buss up shut remains acceptable for several hours but gradually becomes softer as moisture redistributes. Refrigeration accelerates this softening process, making same-day consumption preferable to reheating later.
Frequently Asked Questions
Why does my buss up shut tear during rolling?
Inadequate resting periods prevent gluten relaxation, causing excessive tension during rolling. Ensure dough rests thirty minutes before the final cooking preparation. Additionally, insufficient fat distribution can create dry zones prone to tearing.
What causes pale, unevenly cooked bread?
Inconsistent griddle temperature or insufficient oil application results in uneven browning. Maintain medium heat throughout cooking and apply generous oil coatings before flipping.
Can I prepare buss up shut in advance?
Pre-formed cones can rest overnight under refrigeration, though cooking quality may diminish slightly. Bring chilled dough to room temperature before final rolling and cooking for best results.
What’s the difference between buss up shut and regular paratha?
Standard paratha involves folding rather than rolling into cones, and remains intact rather than being deliberately fragmented. Buss up shut’s unique torn presentation distinguishes it within the paratha family.
Can I use butter instead of ghee?
While possible, ghee remains superior due to its higher fat content and absence of milk solids that can burn. Regular butter produces acceptable but slightly inferior results.
Mastering the Craft Through Practice and Patience
Creating restaurant-quality buss up shut demands patience and repeated practice rather than complex ingredients or specialized equipment. Each attempt teaches valuable lessons about dough behavior, optimal fat distribution, and griddle temperature management. The initial batch may not achieve perfection, but persistence yields progressively better results.
This beloved Caribbean flatbread represents more than breakfast or snack food; it embodies cultural heritage, family traditions, and the satisfaction of mastering a genuine culinary craft. The time invested in understanding dough development, appreciating fat’s role in creating layers, and perfecting the cooking technique yields rewards far exceeding the effort expended.
References
- Buss Up Shut (Paratha Roti) — King Arthur Baking Company. Accessed April 2026. https://www.kingarthurbaking.com/recipes/buss-up-shut-paratha-roti-recipe
- Buss Up Shut Paratha Roti – Immaculate Bites — African Bites. Accessed April 2026. https://www.africanbites.com/paratha-buss-shut/