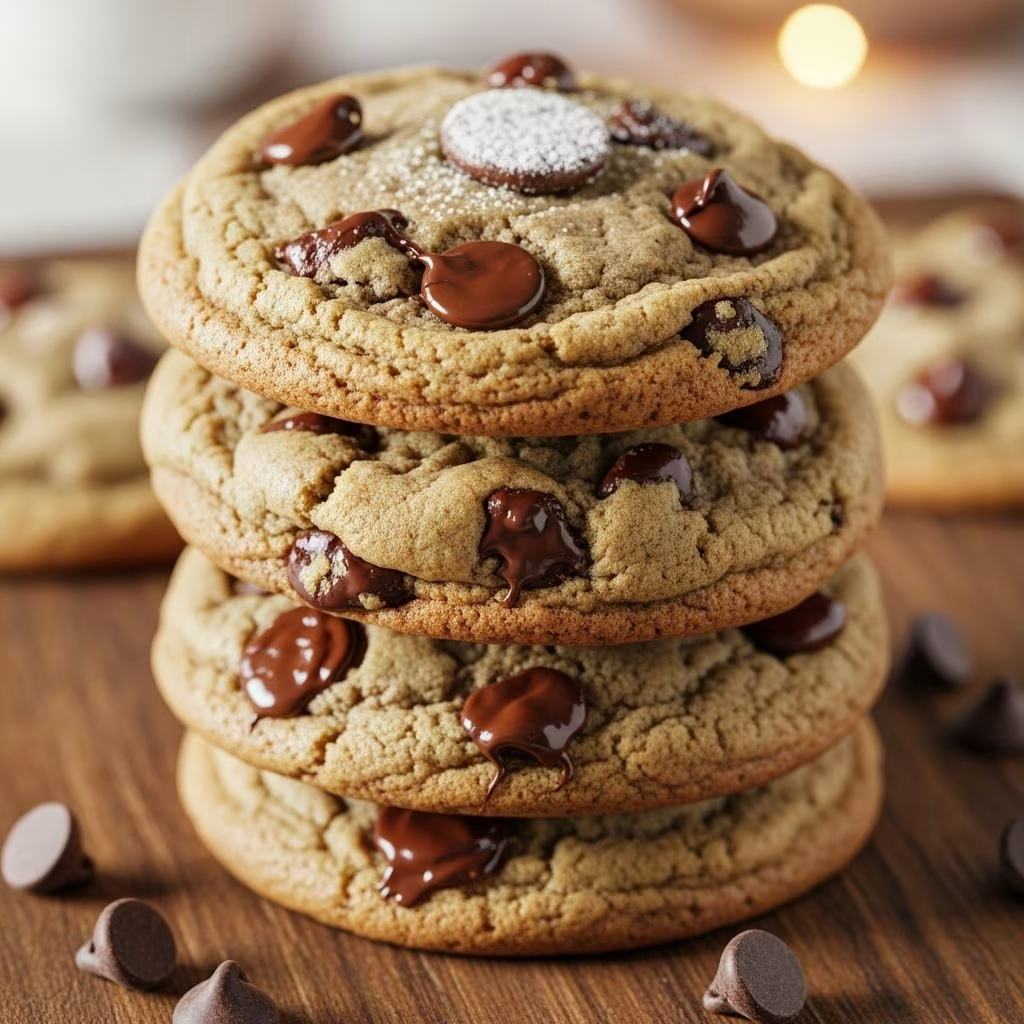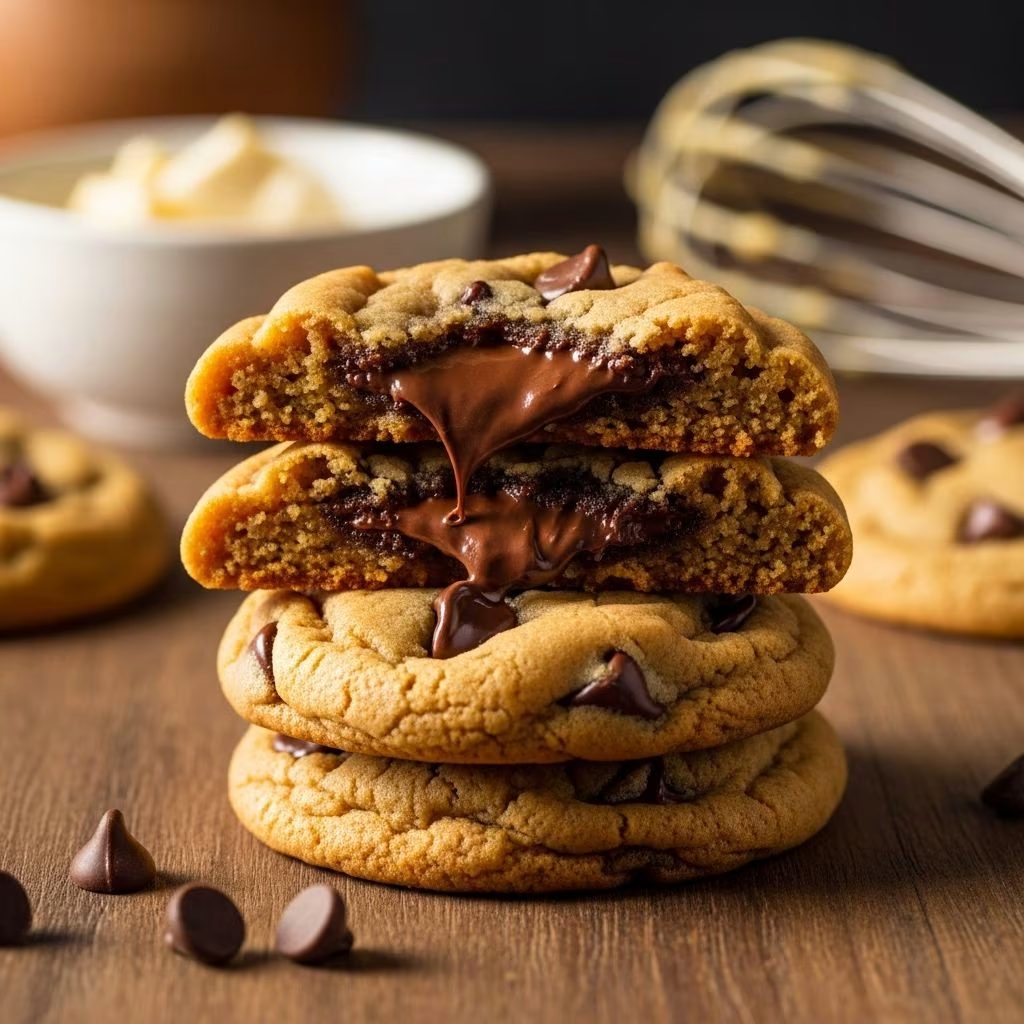
Chocolate chip cookies are an American classic, beloved for their comforting warmth and satisfying sweetness. Yet within this familiar treat lies an opportunity for transformation. By introducing one simple technique—browning the butter—home bakers can unlock dimensions of flavor that transport these cookies from ordinary to extraordinary. The process of browning butter creates a rich, nutty foundation that combines caramel-like and toffee notes, producing cookies with remarkable depth that standard recipes simply cannot achieve.
Understanding Brown Butter: The Foundation of Flavor
Brown butter represents one of baking’s most accessible yet impactful flavor amplifications. When butter is heated slowly, its milk solids separate and begin to caramelize, developing complex flavors that go far beyond the simple richness of melted butter. The transformation occurs gradually, moving through distinct stages from foamy liquid to golden liquid to deep amber with visible brown particles suspended throughout.
The science behind this enhancement involves the Maillard reaction, a chemical process that occurs when amino acids and reducing sugars in the milk solids heat to specific temperatures. This reaction generates hundreds of new flavor compounds, creating the characteristic nutty, toasted quality that distinguishes brown butter from regular butter. For cookie bakers, this means incorporating a layer of sophisticated flavor without adding any new ingredients or dramatically altering the recipe structure.
The Art of Browning Butter Correctly
Proper technique is essential when browning butter, as the margin between perfectly browned and burnt is relatively narrow. The following steps ensure consistent results:
- Begin by cubing unsalted butter into uniform pieces, approximately one tablespoon each. Cubing accelerates and evens out the melting process, preventing certain sections from browning faster than others.
- Place the cubed butter in a medium saucepan and set the heat to medium-low. This moderate temperature allows the milk solids to brown gradually rather than burning quickly.
- As the butter melts, it will foam vigorously. This foaming stage is normal and necessary; continue stirring with a rubber spatula, scraping the bottom and sides of the pan frequently.
- Watch for visual cues indicating the browning process. The butter will progress from a clear liquid to a deeper golden color, with tiny brown specks beginning to accumulate at the pan’s base.
- The critical moment arrives when the butter develops a rich amber hue and releases a distinctly nutty, toasted aroma. At this point, immediately remove the pan from heat to prevent over-browning.
- Transfer the browned butter to a separate bowl or container. This step halts the cooking process and prevents residual heat in the pan from pushing the butter toward bitterness.
- Allow the browned butter to cool to room temperature, approximately 20 minutes. This cooling period is crucial, as warm browned butter can melt the sugar and create a greasy, thin dough that spreads excessively during baking.
Essential Ingredients for Success
While brown butter serves as the star ingredient, supporting components play equally important roles in achieving the perfect cookie texture and flavor balance:
Butter Foundation: One cup of unsalted butter, browned according to proper technique, provides the base. Some bakers prefer salted butter for browning, as the salt directly enhances the nutty characteristics that emerge during the browning process.
Sugar Composition: The combination of granulated white sugar and packed brown sugar creates optimal texture. Granulated sugar promotes crispiness and spread, while brown sugar contributes moisture and chewiness due to its molasses content. A balanced ratio maintains structure while ensuring the interior remains tender.
Binding Agents: Two large eggs provide structure and moisture, with vanilla extract amplifying the overall flavor profile. These ingredients should be added after the browned butter has cooled, preventing the heat from disrupting their function.
Dry Ingredients: All-purpose flour forms the structural backbone, while baking soda promotes spread and creates the crispy-edged texture. A small amount of salt enhances flavor perception, and some recipes incorporate sea salt both in the dough and as a finishing touch.
Chocolate Component: High-quality chocolate, whether in chip or chopped form, provides bursts of sweetness and richness. Some bakers prefer chopped chocolate over chips because it creates larger, more luxuriously melted pools throughout the cookie.
The Step-by-Step Cookie-Making Process
Creating brown butter chocolate chip cookies requires patience and attention to detail at each stage. The following process ensures consistent, excellent results:
Preparation and Oven Setup
Begin by preheating your oven to 350 degrees Fahrenheit and lining baking sheets with parchment paper. This advance preparation prevents delays once the dough reaches the baking stage. While the oven preheats, brown your butter according to the techniques described above.
Combining Dry Ingredients
In a separate bowl, whisk together all dry components: all-purpose flour, baking soda, and salt. Whisk vigorously for about 30 seconds to ensure even distribution of the leavening agent. Uneven baking soda distribution can result in cookies with inconsistent texture and rise. Set this mixture aside until needed.
Merging Wet Components
Once your brown butter has cooled completely, combine it in a large mixing bowl with both sugars. Stir gently to combine, being careful not to incorporate excess air at this stage. Add the eggs one at a time, mixing thoroughly after each addition. This sequential approach helps the eggs integrate gradually, creating a homogeneous mixture. Follow with vanilla extract, stirring until the mixture appears smooth and uniform.
Dough Assembly and Chocolate Integration
Pour the wet mixture into the bowl containing the dry ingredients and stir with a wooden spoon or use a mixer on low speed until just combined. Overmixing develops gluten and can result in tough cookies, so cease mixing as soon as the ingredients come together. Fold in chocolate chips or chopped chocolate gently, distributing them evenly throughout the dough.
Optional Resting Period
Many experienced bakers recommend allowing the dough to rest for 15 to 30 minutes before baking. This resting period allows the flour to fully hydrate and permits flavors to develop more completely. The browned butter continues working its magic during this quiet time, deepening its impact on the final product.
Shaping and Baking Considerations
Proper shaping and baking technique determine whether cookies emerge with the desired texture profile. Using a cookie scoop or spoon, drop dough portions onto prepared baking sheets, spacing them approximately two inches apart. Browned butter cookies tend to spread more than traditional recipes, and adequate spacing prevents overlap.
Bake for 11 to 13 minutes, depending on your oven’s characteristics and your preferred texture. Cookies should display golden-brown edges while maintaining a pale to light golden center. This visual cue indicates that edges have set and crisped while centers remain soft and chewy. Remove cookies from the oven slightly underbaked rather than fully baked; they continue cooking on the hot pan for a few minutes after removal.
Texture Optimization Strategies
Achieving the ideal balance between crispy edges and chewy centers requires understanding how ingredients and techniques influence texture:
| Factor | Impact on Texture | Adjustment Strategy |
|---|---|---|
| Sugar Ratio | Higher granulated sugar increases crispiness; higher brown sugar increases chewiness | Adjust ratio based on desired texture preference |
| Baking Soda Amount | More baking soda promotes spread and crispiness | Use precise measurements; excess creates overly thin cookies |
| Baking Temperature | Lower temperature extends baking time, creating chewier centers; higher temperature creates crispier cookies | Start at 350°F and adjust by 10-15°F if needed |
| Baking Duration | Shorter baking time preserves chewiness; longer time increases crispiness | Remove when edges are golden but centers appear slightly underbaked |
Flavor Enhancements and Variations
While classic brown butter chocolate chip cookies require no additional flavoring, creative bakers can introduce subtle variations that complement rather than overshadow the nutty butter foundation:
Sea Salt Finishing: A light sprinkle of flaked sea salt immediately after removing cookies from the oven enhances the contrast between sweet and salty, intensifying the perceived depth of the brown butter flavor.
Spice Integration: A small amount of cinnamon or nutmeg can subtly echo the toasted notes present in brown butter. Use sparingly, approximately one-quarter teaspoon, to avoid overwhelming the delicate balance.
Chocolate Variations: Substituting a portion of the chocolate with dark chocolate, milk chocolate, or even white chocolate creates different flavor profiles. Some bakers mix chocolate types to achieve complexity.
Vanilla Intensity: Increasing vanilla extract to one and one-half teaspoons amplifies the warm, aromatic qualities that pair beautifully with brown butter.
Storage and Longevity
Brown butter cookies maintain their quality and characteristic texture when stored properly. Place cooled cookies in an airtight container, separating layers with parchment paper to prevent sticking. Store at room temperature for up to one week. For extended storage, cookies freeze beautifully for up to three months when placed in freezer-safe containers. Thaw at room temperature for approximately 30 minutes before serving. Alternatively, freeze unbaked dough portions for up to two months, allowing direct transfer to baking sheets when ready to bake.
Frequently Asked Questions
What distinguishes brown butter cookies from standard chocolate chip cookies?
Brown butter cookies feature a distinctive nutty, caramel-like flavor profile created through the Maillard reaction during the browning process. This depth of flavor significantly exceeds what standard melted butter provides, creating a more sophisticated and complex taste experience.
Can I prepare brown butter in advance?
Yes, brown butter can be prepared several days ahead and stored in an airtight container in the refrigerator. Allow it to warm to room temperature before incorporating into cookie dough to ensure proper mixing and texture development.
Why does my brown butter smell burnt?
The nutty, toasted aroma of properly browned butter is sometimes mistaken for burning. True burnt butter smells acrid and unpleasant. If uncertain, remove the pan from heat as soon as you detect any nutty aroma and transfer to a separate container to halt the cooking process.
Is the resting period truly necessary?
While not absolutely essential, allowing dough to rest enhances flavor development and flour hydration. This optional step requires only 15 to 30 minutes but noticeably improves the final product’s depth and texture.
What should I do if my cookies spread too much?
Excessive spreading typically results from inadequately cooled brown butter or insufficient flour. Ensure brown butter reaches room temperature before mixing, and verify flour measurements using the spoon-and-level method rather than scooping directly from the bag.
Conclusion: The Transformation of a Classic Treat
Brown butter transforms chocolate chip cookies from a familiar dessert into something genuinely special, proving that sometimes the most impactful improvements require only slight modifications to established techniques. By understanding the science behind brown butter and approaching the baking process with care and attention, home bakers can consistently produce cookies that impress family and guests alike. The combination of nutty, toasted butter flavors with rich chocolate and perfectly balanced texture creates a treat that transcends the ordinary and justifies the minimal additional effort required.
References
- Brown Butter Chocolate Chip Cookies — Completely Delicious. Accessed 2026. https://www.completelydelicious.com/brown-butter-chocolate-chip-cookies/
- Favorite Browned Butter Chocolate Chip Cookies — Pinch of Yum. Accessed 2026. https://pinchofyum.com/browned-butter-chocolate-chip-cookies
- Brown Butter Chocolate Chip Cookies — The Girl Who Ate Everything. Accessed 2026. https://www.the-girl-who-ate-everything.com/salty-browned-butter-chocolate-chip-cookies/
- Brown Butter Chocolate Chip Cookies — Sally’s Baking Addiction. Accessed 2026. https://sallysbakingaddiction.com/brown-butter-chocolate-chip-cookies/
- Brown Butter Chocolate Chip Cookies — Sugar Spun Run. Accessed 2026. https://sugarspunrun.com/brown-butter-chocolate-chip-cookies/
- Best Chewy Brown Butter Chocolate Chip Cookies — Scientifically Sweet. Accessed 2026. https://scientificallysweet.com/the-best-chewy-brown-butter-chocolate-chip-cookies/