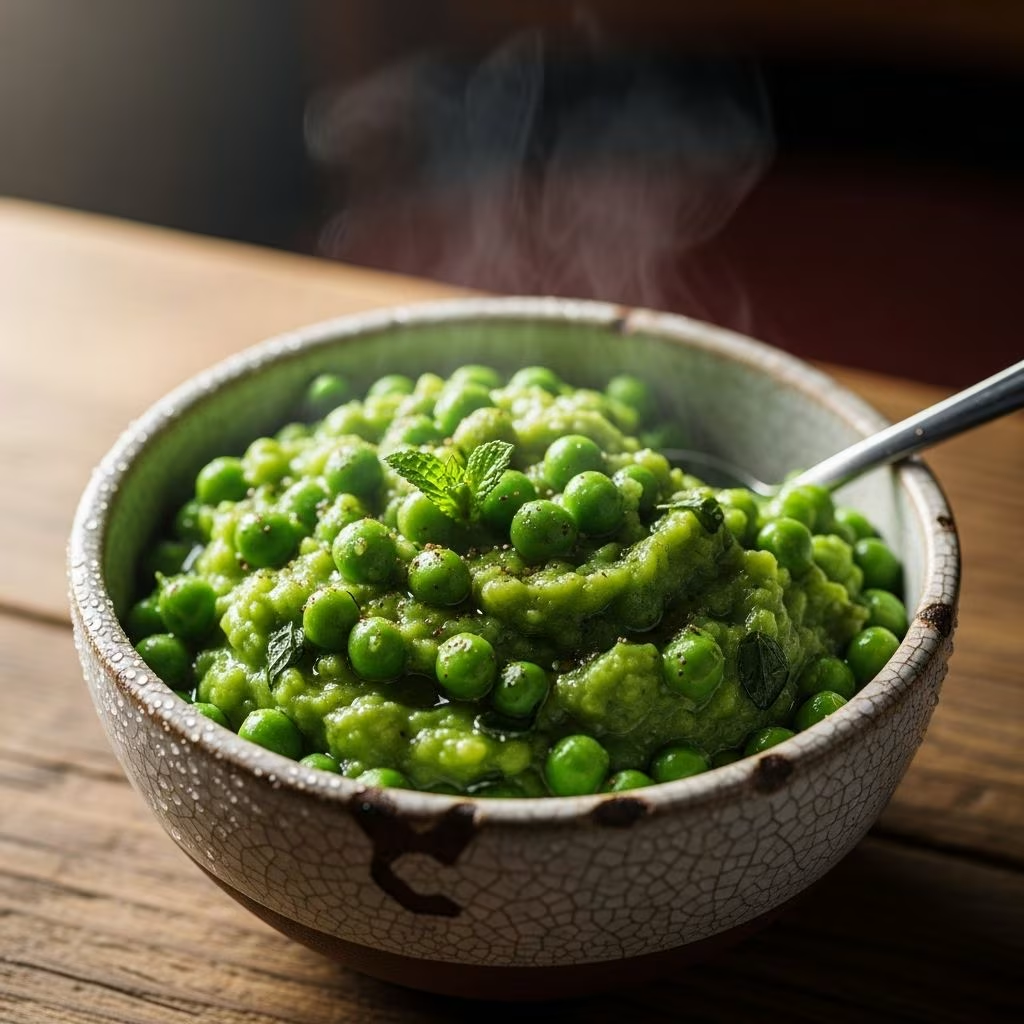
Traditional mushy peas represent a cornerstone of British culinary heritage, particularly in northern England, where they serve as the ideal companion to fish and chips or hearty pies. This humble dish transforms simple dried peas into a creamy, flavorful mash through a straightforward process involving soaking and simmering.
The Origins and Cultural Significance of Mushy Peas
Mushy peas trace their roots to the industrial heartlands of northern England, emerging alongside the rise of fish and chip shops in the mid-19th century. Originating near Manchester, this side dish gained popularity due to its affordability and ability to complement fried foods with its mild, earthy taste and soft texture. Unlike fresh pea purees, authentic versions rely on specially dried peas that break down into a distinctive mush without additional processing equipment.
Historically, these peas were harvested late in the season, allowed to mature fully on the vine, and then dried, making them a practical choice for working-class meals. Today, they evoke nostalgia for many, appearing at seaside takeaways and pub counters across the UK. Their green hue and subtle sweetness balance the richness of battered fish and crisp chips, creating a harmonious plate that has endured for generations.
Understanding Marrowfat Peas: The Essential Ingredient
At the heart of true mushy peas lies the marrowfat pea, a large, starchy variety distinct from everyday garden peas. These peas develop their size and high starch content by ripening fully before harvest, which allows them to absorb more water and soften into a natural paste when cooked. Smaller peas lack this quality, resulting in a less authentic texture even when mashed.
Sourcing marrowfat peas is straightforward through specialty grocers or online suppliers; they often come in cans pre-soaked or as dried whole peas requiring preparation. Their connection to other global snacks, like wasabi-coated varieties, highlights their versatility, but for mushy peas, purity is key—no substitutes deliver the same velvety consistency.
Essential Tools and Ingredients for Success
Preparing mushy peas demands minimal equipment: a large bowl for soaking, a heavy-bottomed pot for cooking, and a wooden spoon for stirring. Key ingredients include:
- Dried marrowfat peas: 2 cups (about 420g) for a standard batch serving 4-6.
- Baking soda: 1-2 teaspoons to accelerate softening during soaking.
- Salt: ½-1 teaspoon, added toward the end for flavor enhancement.
- Water: Boiling for soaking and fresh for cooking.
Optional enhancements like a pat of butter or fresh mint elevate the dish without straying from tradition. Avoid overcomplicating; simplicity defines authenticity.
Step-by-Step Preparation Method
Begin by dissolving baking soda in boiling water, then submerge the dried peas, ensuring they are covered by at least 3 inches of liquid. Soak for a minimum of 12 hours—overnight is ideal—to rehydrate and tenderize them. This step prevents tough skins and ensures even cooking.
Drain and rinse the peas thoroughly. Transfer to a pot with 3 cups of fresh water, bring to a boil, then simmer gently for 1-2 hours until they disintegrate into a thick mush. Stir occasionally, adding water if needed to maintain consistency. Season with salt in the final 10 minutes. The result should be spoonable yet hold its shape slightly, not a smooth puree.
| Step | Action | Time | Tips |
|---|---|---|---|
| 1. Soak | Mix baking soda with boiling water over peas | 12+ hours | Cover fully; stir once |
| 2. Rinse | Drain and wash peas | 5 minutes | Remove excess soda |
| 3. Simmer | Cook in fresh water | 1-2 hours | Low heat, stir often |
| 4. Season | Add salt last | 10 minutes | Taste and adjust |
Common Mistakes and How to Avoid Them
Using fresh or petite frozen peas leads to a gritty texture due to thin skins and low starch. Always opt for marrowfat. Skipping the baking soda soak results in hours of extra cooking time and chewy results. Over-salting early can toughen peas, so season late. Finally, excessive mashing or blending ruins the rustic charm—aim for a lumpy mush.
Flavor Variations to Suit Your Taste
While purists stick to salt alone, subtle additions enhance enjoyment:
- Butter: A tablespoon stirred in at the end for silkiness.
- Mint: Chopped fresh leaves with a pinch of sugar for brightness.
- Vinegar: A splash of malt vinegar for tang, echoing chip shop style.
- Pepper: Freshly ground black pepper for depth.
For a modern twist, some cooks incorporate cream or herbs, though these diverge from northern English tradition. Experiment sparingly to preserve the dish’s essence.
Perfect Pairings: Classic and Creative Combos
Mushy peas shine with battered cod or haddock and thick-cut fries, drizzled with vinegar. They also complement bangers and mash, shepherd’s pie, or grilled sausages. Creatively, pair with falafel wraps or veggie burgers for a plant-based meal. Serve warm in a side dish or as a topping for added comfort.
Nutritional Profile and Health Benefits
Mushy peas offer fiber for digestion, plant-based protein, and vitamins like folate and vitamin K. A serving provides roughly 200 calories, low fat, and high carbs for sustained energy. Their starch content aids blood sugar stability when paired with proteins. Opt for low-sodium versions to maximize benefits.
Storage, Freezing, and Reheating Tips
Cool leftovers promptly and store in an airtight container in the fridge for up to 3 days. Reheat gently with a splash of water to restore creaminess. For freezing, portion into bags and thaw overnight before simmering. Avoid microwaving to prevent drying out.
Quick Alternatives for Busy Cooks
If time is short, use pre-soaked canned marrowfat peas, rinsing well before cooking for 30-45 minutes. For non-traditional speed, steam larger frozen peas, mash with butter and cream, and season—yielding a smoother but still tasty result.
Frequently Asked Questions (FAQs)
Can I use regular dried peas instead of marrowfat?
No, they won’t achieve the correct starchiness and texture. Marrowfat are essential for authenticity.
How long do mushy peas take to prepare?
Including soaking, about 13-14 hours total, with 1-2 hours active cooking.
Are mushy peas gluten-free?
Yes, naturally gluten-free when made traditionally.
What’s the best way to serve them?
Warm alongside fish and chips, with a vinegar squeeze.
Can I make them vegan?
Absolutely—skip butter and use all plant-based ingredients.
This guide equips you to recreate the beloved British staple at home, blending tradition with practical advice for delicious results every time.
References
- Traditional Mushy Peas Recipe — Culinary Ginger. 2023-05-15. https://culinaryginger.com/mushy-peas/
- Authentic British Mushy Peas — The Daring Gourmet. 2022-11-20. https://www.daringgourmet.com/british-mushy-peas/
- Mushy Peas – A Side for Fish and Chips — Irish American Mom. 2023-08-10. https://www.irishamericanmom.com/mushy-peas/
- Mushy Peas — Food Faith Fitness. 2024-02-14. https://www.foodfaithfitness.com/mushy-peas/
- Herby Mushy Peas with Irish Butter — Mary DiSomma. 2023-03-22. https://marydisomma.com/blogs/recipes/herby-mushy-peas