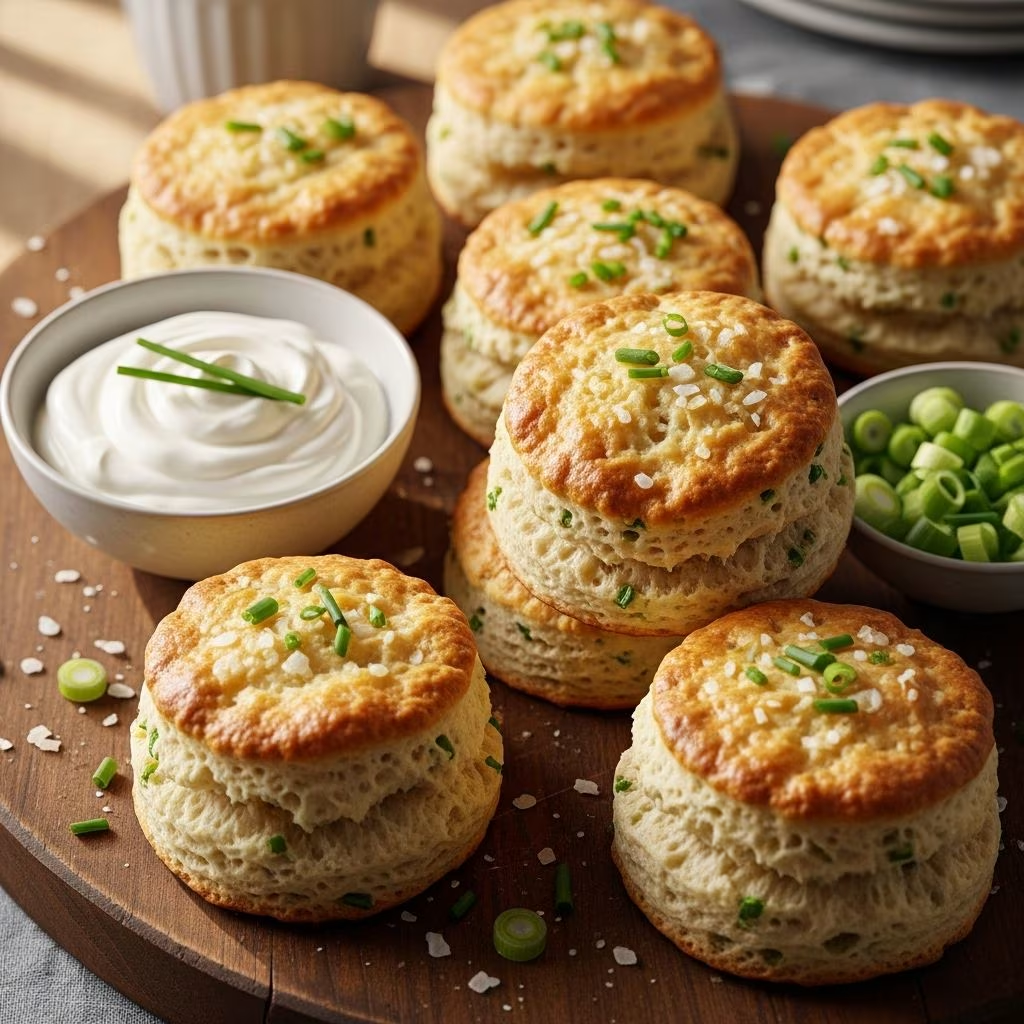
Biscuits have long held a cherished place in traditional American baking, but the savory variations offer a delightful departure from their conventional counterparts. Sour cream and onion biscuits represent a sophisticated evolution of this classic bread, combining the tangy richness of fermented dairy with the subtle sweetness and depth of caramelized alliums. Unlike their plain relatives, these biscuits transform simple ingredients into a complex flavor profile that rivals snack foods while maintaining the wholesome appeal of homemade baked goods.
The appeal of these biscuits extends beyond their taste. They present an excellent opportunity for home bakers to develop essential pastry skills while creating something genuinely impressive for any table. Whether served alongside soup, used as a foundation for sandwiches, or enjoyed warm with compound butters, these biscuits demonstrate that thoughtful ingredient selection and proper technique can elevate everyday baking into something memorable.
Understanding the Essential Components
Creating exceptional sour cream and onion biscuits begins with understanding how each ingredient contributes to the final product. The interplay between dry ingredients, fats, acids, and moisture creates the texture and flavor profile that makes these biscuits distinctive.
The flour serves as the structural foundation, with all-purpose flour providing the right balance between protein content and workability. Approximately 2.5 to 3.5 cups of flour forms the base, though the exact amount varies depending on humidity and moisture content of other ingredients.
Cold butter remains perhaps the most critical component for achieving the desired flakiness. The butter must remain in distinct, small pieces throughout the mixing process, creating pockets that steam during baking and produce layers. Using 8 to 10 tablespoons of unsalted butter, kept as cold as possible, ensures optimal texture development. Many bakers refrigerate their butter before grating or cubing it for maximum effectiveness.
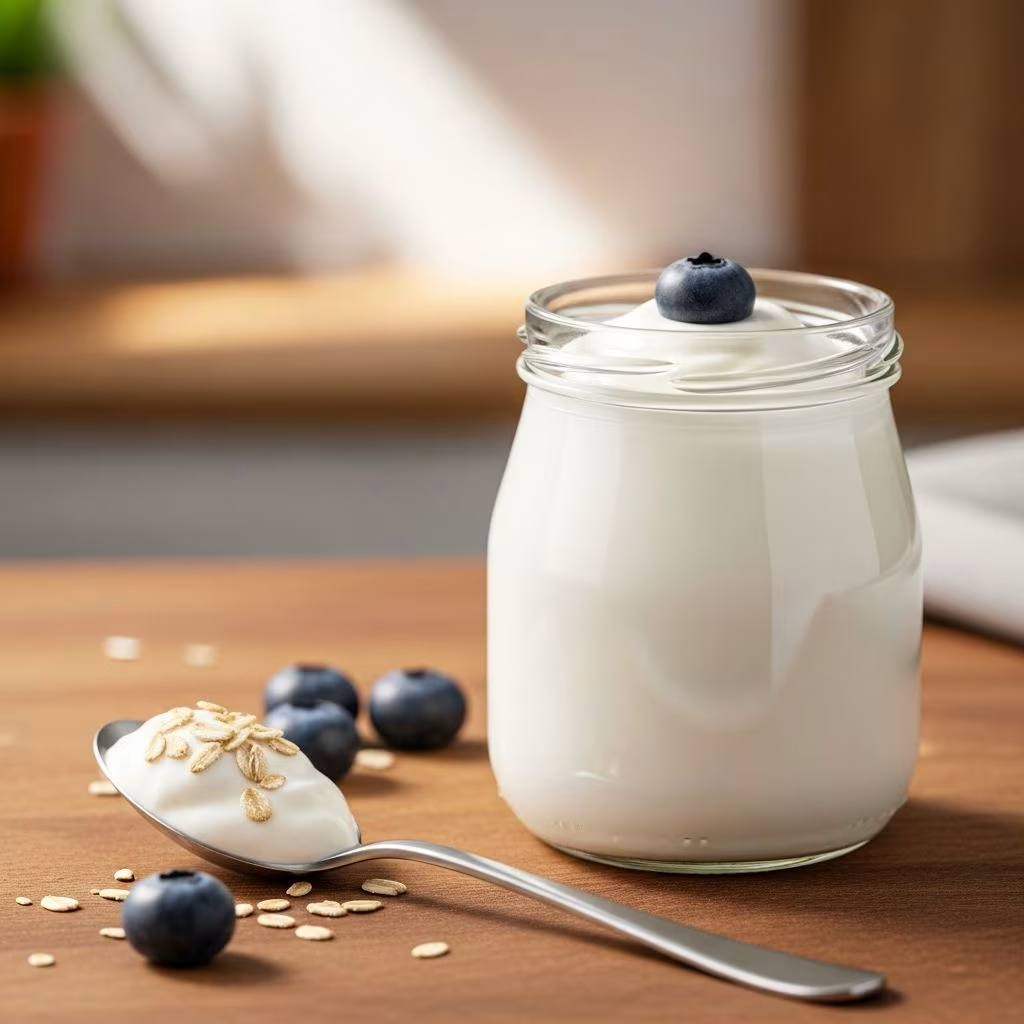
Sour cream provides both moisture and tang, with 1.25 to 1.75 cups typically required. The tangy flavor comes from lactic acid fermentation, which not only adds complexity but also reacts with baking soda to create lift. This dual function—adding flavor while contributing to the rise—makes sour cream irreplaceable in these formulations.
The onion component offers both savory depth and subtle sweetness. Different preparations yield different results: fresh chopped green onions add brightness, sautéed shallots provide caramelized depth, and a combination of scallions (using both white and green portions) creates well-rounded onion flavor. Some recipes incorporate fresh chives for additional delicate onion notes without overwhelming intensity.
Leavening agents—baking powder and baking soda—work synergistically. Baking soda reacts immediately with the acidity in sour cream and any acidic dairy, while baking powder provides additional rise during baking. Typically, 1.5 to 2.5 teaspoons of baking powder combined with 0.5 to 1 teaspoon of baking soda creates optimal lift without imparting metallic flavors.
Seasoning elements should be carefully calibrated. Salt enhances all flavors, with 1 to 1.5 teaspoons needed depending on other ingredients. White pepper, freshly cracked black pepper, or a combination of both adds subtle heat without dominating. Some recipes incorporate ranch seasoning powder for additional complexity, while others keep seasoning minimal to let the natural onion and sour cream flavors shine.
The Science Behind Lamination and Layer Development
What distinguishes exceptional biscuits from ordinary ones often comes down to texture, particularly the presence of distinct, tender layers. Achieving this requires understanding lamination—the process of creating multiple thin layers of dough and fat that separate during baking.
Traditional biscuit preparation involves cutting cold butter into flour until the mixture resembles coarse sand. This creates small pockets of fat distributed throughout the dry ingredients. When these pockets of cold butter encounter the heat of the oven, they melt, leaving behind steam-filled spaces. This mechanism produces the characteristic flakiness.
The letter fold technique—sometimes called the book fold method—takes this concept further. After combining the initial dough, the baker pats it into a rectangle, folds it into thirds like a letter, pats it again, and repeats this process. Each fold-and-pat cycle creates additional layers of butter and dough, exponentially increasing the number of separations in the final biscuit. Most recipes recommend this technique twice, though some experienced bakers perform it three times for even greater flakiness.
Critical to this process is maintaining cold temperatures throughout. Warm dough causes butter to soften and incorporate into the flour, eliminating the lamination benefit. Professional bakers keep all equipment and ingredients refrigerated, work quickly, and sometimes refrigerate the dough between folds. Home bakers benefit from the same approach—working in a cool kitchen, chilling hands if necessary, and refrigerating dough for 15 to 30 minutes between folds.
Step-by-Step Preparation Instructions
Preliminary Setup and Ingredient Preparation
Begin by preheating your oven to 425 degrees Fahrenheit. This high temperature ensures quick browning while the interior remains tender. Line a baking sheet with parchment paper to prevent sticking and ensure even heat distribution.
Prepare your onion components while the oven preheats. If using fresh green onions, slice them thinly, keeping both the white and green portions. Reserve the green parts for garnish if desired. If incorporating sautéed shallots, cook them gently in a small amount of oil until they turn translucent and begin to caramelize, then set aside to cool completely. Any residual heat will compromise the lamination process. Fresh chives should be snipped with clean kitchen shears just before use to preserve their delicate flavor.
Combining Dry Ingredients
In a large mixing bowl, whisk together your flour, leavening agents, salt, pepper, and any other dry seasonings. This whisking distributes the leavening agents evenly and incorporates air, both of which contribute to rise. If you prefer using a food processor—an excellent shortcut for cutting in the butter—combine dry ingredients there instead.
Incorporating Cold Butter
Add your cold butter pieces to the flour mixture. Using either your fingertips or a pastry cutter, work the butter into the flour with a rubbing motion, lifting your hands frequently to incorporate air. The goal is creating pea-sized butter pieces distributed throughout. If using a food processor, pulse 20 to 25 times until you achieve this sandy texture. Do not over-process; some slightly larger butter pieces are preferable to a homogenous mixture.
Adding Aromatics and Binding Ingredients
Distribute your sautéed shallots, fresh green onions, and fresh chives throughout the flour-butter mixture, stirring gently to coat them without overworking the dough. If including grated cheese or other flavor additions, incorporate them at this stage.
Pour your sour cream over the mixture, then using a spatula or your hands, begin combining ingredients with a folding motion rather than vigorous stirring. The dough should begin forming while remaining slightly shaggy and rough-textured. Some flour may not appear fully incorporated at this stage—this is intentional and helps maintain the lamination structure.
Initial Shaping and First Fold
Transfer your shaggy dough to a lightly floured work surface. Pat it gently into a rectangle approximately 2 inches thick. Fold this rectangle into thirds lengthwise—like closing a letter. Pat the folded dough back into a rectangle of similar thickness.
Now fold into thirds again, this time crosswise. Pat the result back into a rectangle. For maximum flakiness, repeat this fold-and-pat process one additional time. Between folds, you may refrigerate the dough for 15 to 30 minutes if the butter begins feeling soft or if the kitchen is warm.
Cutting and Final Assembly
After completing your folds, pat the dough into its final shape. Cut the dough into squares using a sharp biscuit cutter or knife. A bench scraper helps lift the cut biscuits without distorting them. Arrange these squares on your prepared baking sheet, spacing them approximately 2 inches apart to allow for expansion.
Brush the tops of each biscuit with either heavy cream or whole milk using a pastry brush. This creates a golden, glossy exterior. Sprinkle additional grated cheddar, Parmesan, or a combination across the tops. A light sprinkle of coarse salt adds textural interest and emphasizes the savory profile.
Baking and Troubleshooting
Place your biscuits in the preheated 425-degree oven for 18 to 22 minutes. They should emerge golden brown on top with visible edges showing slight browning. The bottoms should also show golden coloring. Avoid opening the oven door during the first 15 minutes, as this releases steam crucial for proper rising.
Several issues can arise during biscuit baking. Dense, compact biscuits typically result from overworking the dough or inadequate cold butter. Insufficient rise may indicate old leavening agents or omitted baking soda. Greasy, oily biscuits suggest butter that was too warm when incorporated. Uneven browning often reflects uneven oven temperature or biscuits of inconsistent thickness.
Flavor Variations and Customization
While the sour cream and onion combination provides an excellent foundation, numerous variations suit different palates and occasions. Adding sharp white cheddar cheese amplifies savory depth. Smoked paprika introduces subtle smokiness. A teaspoon of ranch seasoning powder—surprisingly effective—delivers the familiar flavor profile of sour cream and onion potato chips translated into biscuit form.
Fresh herbs beyond onions and chives offer interesting alternatives: dill provides anise notes, fresh thyme adds earthiness, and tarragon introduces subtle licorice undertones. Crispy bacon bits create a breakfast-appropriate variation. Caramelized garlic replaces or complements onion for those seeking different allium expressions.
Serving Recommendations
These versatile biscuits suit numerous applications. Serve them warm alongside soups or stews, where their buttery texture and savory flavor complement broth-based dishes beautifully. Break them open and fill with cured meats, cheese, and fresh vegetables for sophisticated sandwiches. Toast slightly stale biscuits and serve with compound butters infused with herbs or truffle oil for an elegant accompaniment to cheese courses.
For breakfast applications, split warm biscuits and top with smoked salmon and crème fraîche, or use them as foundations for savory breakfast sandwiches featuring eggs and bacon. Even simple preparations—brushing warm biscuits with honey butter—create memorable simple pleasures.
Storage and Make-Ahead Strategies
Freshly baked biscuits are best consumed within several hours, but proper storage extends their appeal. Wrap cooled biscuits in plastic wrap or place them in an airtight container at room temperature for up to two days. Refrigeration accelerates staleness, so room temperature storage is preferable for short-term storage.
For longer storage, freeze baked biscuits for up to three months in freezer-safe containers or bags. Reheat frozen biscuits directly in a 350-degree oven for 10 to 15 minutes until warmed through. Alternatively, prepare the dough through the final fold-and-cut stage, freeze the cut biscuits on a baking sheet, then transfer to freezer bags. Bake from frozen, adding 3 to 5 minutes to the baking time.
Experienced bakers often prepare onion and herb components in advance, storing them in the refrigerator for up to three days. This allows quick assembly when fresh biscuits are desired without requiring significant advance preparation time.
Frequently Asked Questions
Can I use warm butter instead of cold butter?
No. Warm butter incorporates into the flour, eliminating the lamination structure that creates flakiness. Keeping butter cold and in distinct pieces is essential for the desired texture.
What if my dough seems too dry or too wet?
Dough consistency varies based on humidity and ingredient moisture content. If your dough seems excessively dry, add milk or sour cream one tablespoon at a time. If too wet, incorporate additional flour gradually. The dough should be cohesive but slightly rough.
Can I substitute Greek yogurt for sour cream?
Possibly, though results differ. Use full-fat Greek yogurt to match the fat content of sour cream. The tanginess may differ slightly, affecting flavor. Whole-milk Greek yogurt works better than non-fat varieties.
How do I prevent my biscuits from spreading too much?
Ensure adequate spacing on the baking sheet. Use a baking sheet that distributes heat evenly—darker sheets can cause excessive browning on bottoms. Maintain cold dough temperatures throughout preparation.
Can these biscuits be made ahead and frozen?
Yes. Freeze cut, unbaked biscuits on a baking sheet, then transfer to freezer bags. Bake from frozen, adding 3 to 5 minutes to the standard baking time. Alternatively, freeze baked biscuits and reheat as needed.
Mastering the Technique
Creating consistently exceptional sour cream and onion biscuits requires practice and attention to detail, but the rewards justify the effort. Understanding how ingredients interact, maintaining proper temperatures, and practicing the lamination technique builds competence that extends to other pastry applications. Each batch teaches valuable lessons about timing, texture development, and flavor balance that improve subsequent attempts.
The satisfaction of removing golden, fragrant biscuits from the oven—biscuits that split easily to reveal perfectly laminated layers and deliver complex savory flavor with each bite—represents the culmination of thoughtful preparation and proper technique. These biscuits transform simple components into something genuinely special, demonstrating that exceptional baking begins with respect for process and commitment to quality.
References
- Easy Sour Cream and Onion Biscuits With Fluffy, Flaky Layers — Camille Styles. Retrieved from https://camillestyles.com/food/sour-cream-and-onion-biscuits/
- Sour Cream and Onion Skillet Biscuit — Cooking and Cussing. Retrieved from https://cookingandcussing.com/sour-cream-and-onion-skillet-biscuit/
- Sour Cream and Onion Biscuits — The View from Great Island. Retrieved from https://theviewfromgreatisland.com/sour-cream-and-onion-biscuits/
- Sour Cream and Onion Lovers, These Biscuits Are for You — Sue Li, NYT Cooking. Retrieved from https://www.youtube.com/watch?v=mvaYySBtJmI