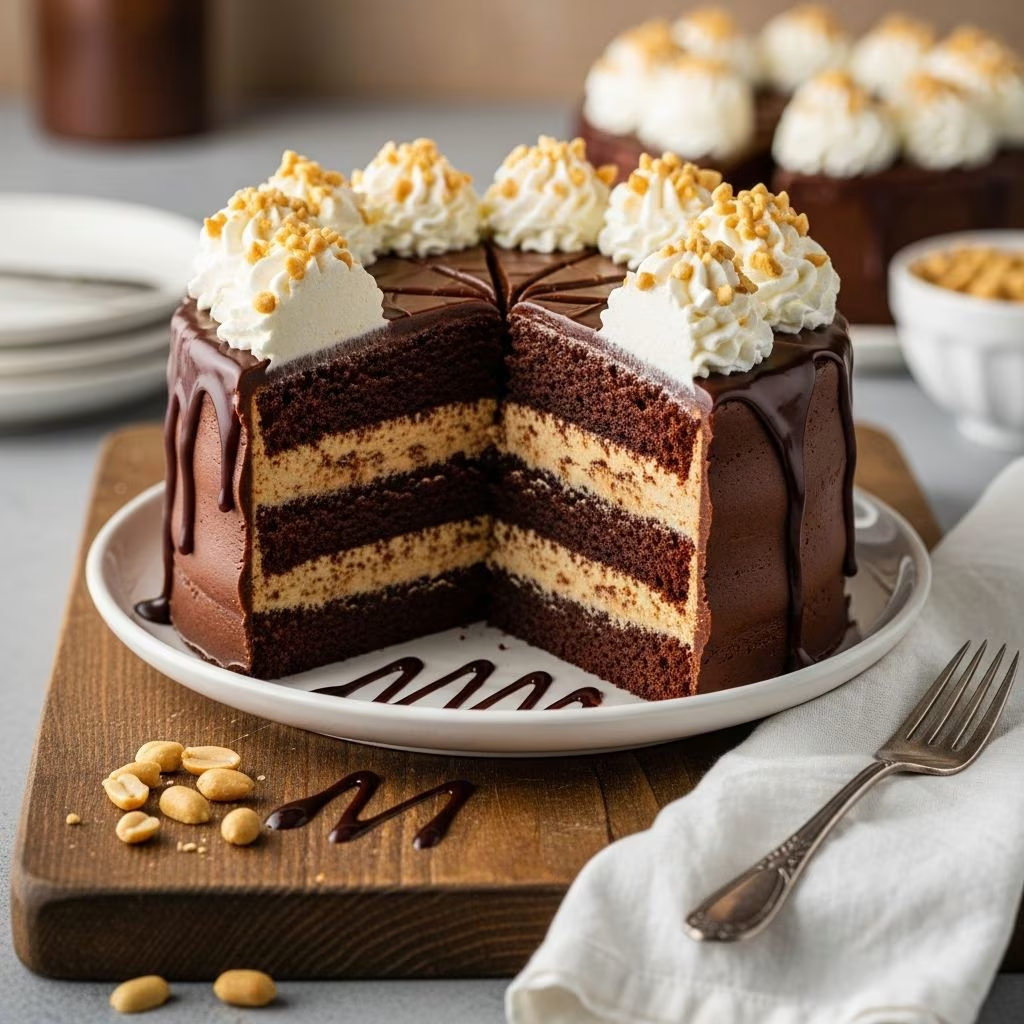
Peanut Butter Tandy Cake stands out as a beloved dessert that captures the essence of simple, satisfying indulgence. Originating from a popular commercial bake, this homemade version brings the fluffy texture of a vanilla sponge cake together with the creamy richness of peanut butter and a glossy chocolate finish. Ideal for gatherings, afternoon snacks, or anytime cravings, it delivers layers of flavor in every bite.
The Allure of Tandy Cake History
This dessert traces its roots to the early 20th century, when it first appeared under names like Tandy Cake before evolving into variations such as Kandy Kake. Produced by a renowned baking company, it became a staple in Eastern U.S. households, evoking memories of school lunches and vending machine treats. The combination of light cake, spreadable peanut butter, and chocolate coating made it irresistible, spawning copycat recipes that allow home bakers to enjoy it fresh.
What sets Tandy Cake apart is its straightforward assembly. The cake bakes quickly in a large sheet pan, providing a thin, even base that’s easy to top while warm. This method ensures the peanut butter melts slightly into the surface, creating a seamless bond before the chocolate sets everything in place. Today, enthusiasts experiment with flavors like caramel or s’mores, but the peanut butter original remains the gold standard.
Essential Ingredients for Authentic Flavor
Gathering the right components is key to replicating the nostalgic taste. Focus on quality staples for the best outcome.
- 4 large eggs, at room temperature, to incorporate air for a fluffy crumb.
- 2 cups granulated sugar, providing sweetness and structure.
- 2 cups all-purpose flour, sifted with leavening for tenderness.
- 2 teaspoons baking powder, preferably aluminum-free, to lift the batter without metallic aftertaste.
- 1 cup milk (2% or whole), scalded with butter for moisture.
- 2 tablespoons salted butter, melted into the milk for richness.
- 1 teaspoon vanilla extract, pure for aromatic depth.
- 2 cups creamy peanut butter, no-stir variety for smooth spreading.
- 6 Hershey’s milk chocolate bars (about 15-16 oz total), or equivalent chips, for classic coating.
- Optional: 2 tablespoons shortening, to thin the chocolate for even coverage.
These measurements yield a 10×15-inch pan, serving 24 generous pieces. Adjustments for smaller batches use 9-inch pans.
Step-by-Step Baking Guide
Follow these instructions precisely for a professional result. Preparation takes about 15 minutes, with 20-25 minutes baking time.
- Preheat and Prep Pan: Set oven to 350°F. Line a 10×15 jelly roll pan with parchment or foil, then spray with nonstick cooking spray. This prevents sticking and eases removal.
- Whip the Wet Base: In a stand mixer or with hand beaters, combine eggs, sugar, and vanilla. Beat on medium-high until pale, thick, and ribbony, about 3-5 minutes. This step builds volume essential for the light texture.
- Incorporate Dry Ingredients: Sift flour and baking powder together. Gently fold into the egg mixture on low speed to avoid deflating. Use a spatula for final incorporation if needed.
- Add Hot Milk Mixture: Heat milk and butter until butter melts and small bubbles form around the edges (scalding, not boiling). Pour into batter and stir gently until smooth. The heat activates the batter for even rising.
- Bake to Perfection: Spread batter evenly in the pan. Bake 20-25 minutes until a toothpick tests clean and edges are golden. Avoid overbaking to keep it moist.
- Layer Peanut Butter: Immediately spread peanut butter over the hot cake. The warmth softens it for even distribution without tearing the surface. Let cool at room temperature or chill briefly.
- Finish with Chocolate: Melt chocolate bars (chopped) with shortening over low heat or in microwave bursts. Pour and spread smoothly over peanut butter. Refrigerate 30-60 minutes until set, then cut into bars.
Pro Tip: For cleaner cuts, chill the fully assembled cake thoroughly before slicing with a sharp knife.
Ingredient Variations and Substitutions
Customize to dietary needs or preferences while maintaining the signature profile.
| Original | Substitution | Notes |
|---|---|---|
| Creamy Peanut Butter | Crunchy or almond butter | Adds texture; nut allergies use sunflower seed butter. |
| Milk Chocolate | Semi-sweet or dark chocolate | Balances sweetness; vegan chips work well. |
| All-Purpose Flour | Gluten-free 1:1 blend | May need extra binding agent like xanthan gum. |
| Whole Milk | Plant-based milk | Almond or oat for dairy-free; scald similarly. |
| Granulated Sugar | Coconut sugar | Slightly less sweet; adjust to taste. |
Experiment with add-ins like chopped peanuts in the butter layer or a sprinkle of sea salt on chocolate for gourmet flair.
Tips for Troubleshooting Common Issues
- Sunken Center: Overbeating after adding flour or opening oven too soon. Minimize door checks.
- Dense Texture: Cold eggs or insufficient whipping. Room-temp ingredients are crucial.
- Sticky Chocolate: Insufficient chilling or humid environment. Use shortening for stability.
- Uneven Spreading: Cool cake 5 minutes before peanut butter to prevent melting excess.
Store in an airtight container at room temp for 2 days, refrigerate up to a week, or freeze slices for 3 months. Thaw at room temp for best texture.
Nutritional Profile Per Serving
Based on 24 servings, each piece offers approximately: 300 calories, 34g carbs, 8g protein, 16g fat (5g saturated), 34mg cholesterol, 125mg sodium. Rich in calcium (44mg) and iron (1mg), it’s a treat balanced by portion control.
Pairing and Serving Suggestions
Serve with cold milk to cut richness, or elevate with vanilla ice cream for sundaes. Great for potlucks, bake sales, or lunchbox surprises. Kids and adults alike rave about the addictive combo.
Frequently Asked Questions
Can I make Tandy Cake ahead?
Yes, bake and layer up to 2 days in advance. Keep refrigerated and bring to room temp before serving.
Why scald the milk?
It tenderizes the crumb and ensures even hydration, mimicking commercial methods.
Half-batch instructions?
Use a 9×9 pan, halve ingredients, bake 18-22 minutes at 350°F.
Dairy-free version?
Substitute plant milk, vegan butter, and chocolate chips seamlessly.
How to achieve shiny chocolate?
Add 1-2 tbsp coconut oil or shortening during melting.
Why Homemade Beats Store-Bought
Crafting Tandy Cake at home guarantees freshness, customizable sweetness, and no preservatives. The process is forgiving for beginners yet rewarding for pros, fostering kitchen confidence. Share the love by gifting wrapped bars or hosting a bake-along.
This dessert’s magic lies in its harmony: airy cake yielding to nutty creaminess, capped by snap of chocolate. Whether reliving childhood or introducing new fans, Peanut Butter Tandy Cake delivers joy bite by bite.
References
- Tastykake Tandy Cake – The Best Cake Recipes — The Best Cake Recipes. 2023. https://thebestcakerecipes.com/tastykake-tandy-cake/
- Tandycake – Nostalgic Thymes — Nostalgic Thymes Blog. 2022. https://nostalgicthymes.blog/tandycake/
- Homemade Tandy Cake Bars – Cookie Madness — Cookie Madness. 2011-03-26. https://www.cookiemadness.net/2011/03/26/tandy-cakes/
- Homemade Tandy Cakes or Kandy Kakes — French Twisted Woman. 2013-02-04. https://frenchtwistedwoman.com/2013/02/04/homemade-tandy-cakes-or-kandy-kakes/
- Irresistible Peanut Butter Tandy Kakes — Beyond the Butter. 2023. https://beyondthebutter.com/irresistible-peanut-butter-tandy-kakes/