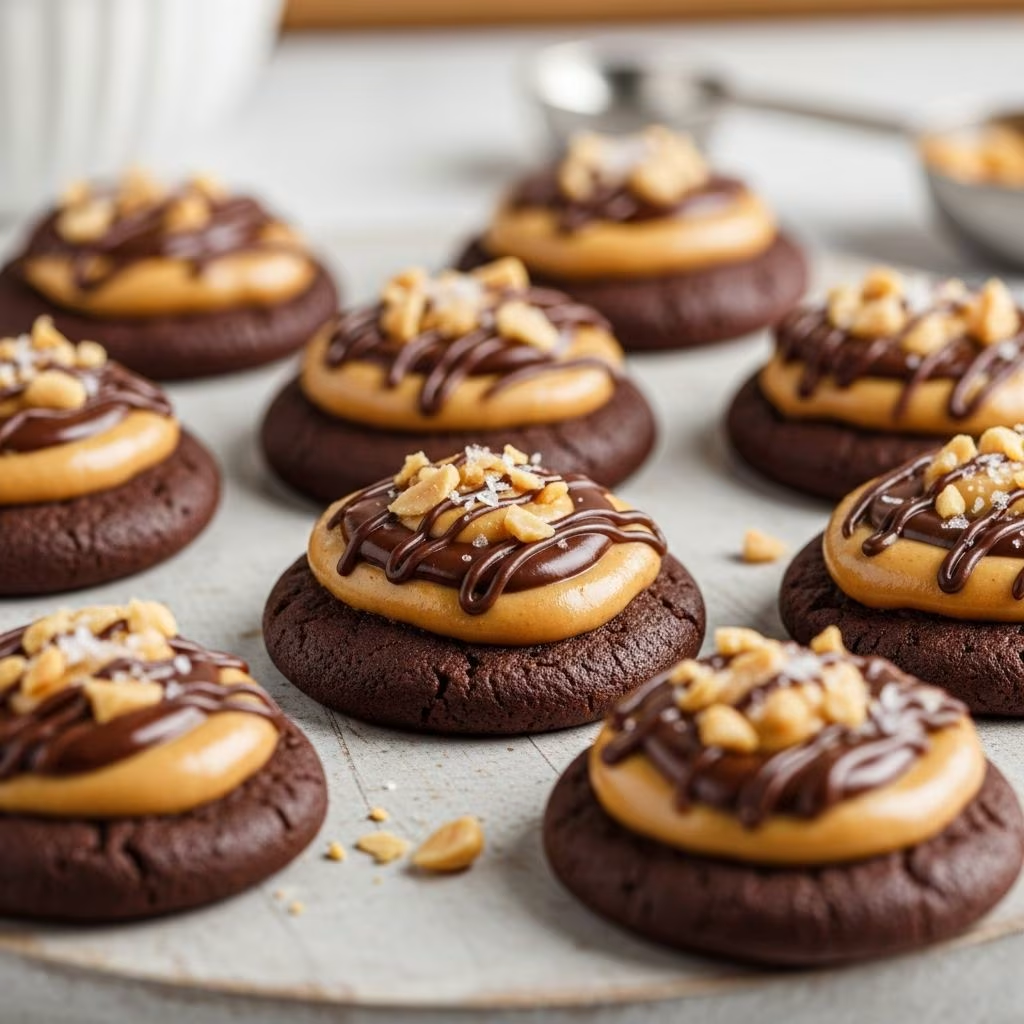
When you’re looking for a dessert that doesn’t demand oven time or complicated techniques, no-bake chocolate peanut butter cookies deliver exactly what you need. These confections combine just a handful of common ingredients into a treat that rivals professionally made candies, yet takes only minutes to prepare. The beauty of this recipe lies in its simplicity—no special equipment, no baking skills required, and no waiting for the oven to preheat. Whether you’re planning an impromptu gathering, need a last-minute gift, or simply crave something sweet, this straightforward approach produces consistently excellent results.
Understanding the Fundamental Components
The magic of these cookies begins with understanding how each ingredient contributes to the final product. The foundation rests on a simple combination of sugar, cocoa powder, butter, and milk, which merge together to form a rich chocolate base. This mixture serves as the binding agent and flavor foundation for everything else that follows.
The Role of Each Essential Ingredient
- Granulated sugar provides sweetness and helps create the proper consistency when combined with the cocoa base
- Unsweetened cocoa powder delivers authentic chocolate flavor without added sweetness
- Butter contributes moisture and richness while helping bind ingredients together
- Milk creates the right texture and prevents the mixture from becoming too thick
- Peanut butter (regular, not natural) adds protein, healthy fats, and distinctive flavor while improving binding
- Rolled oats provide texture and substance; old-fashioned oats create chewier cookies than quick oats
- Vanilla extract enhances overall flavor complexity
Step-by-Step Preparation Method
Preparing Your Workspace
Before beginning, gather all ingredients and measure them precisely. Line your work surface with parchment paper or wax paper, placing it on a baking sheet or cookie sheet. This setup ensures easy removal once the cookies have set. Having everything prepared before you start heating eliminates unnecessary stress and prevents ingredients from cooling prematurely.
Creating the Chocolate Base
Place a large saucepan over medium-low heat and combine the sugar, cocoa powder, butter, and milk. Stir this mixture constantly until the butter completely melts and all ingredients blend seamlessly together. The goal is achieving a smooth, unified consistency without any lumps of cocoa powder remaining. This initial phase sets the stage for proper texture development.
The Critical Boiling Step
Once the mixture appears homogeneous, increase the heat to medium and bring everything to a rolling boil. A rolling boil is characterized by large bubbles breaking consistently at the surface—not just small bubbles around the edges. Maintain this vigorous boil for exactly one minute, stirring occasionally to ensure even heating. This timing is absolutely crucial, as it affects how firm or soft your final cookies will be. Using a kitchen timer removes any guesswork from this essential step.
Incorporating the Remaining Elements
Remove the saucepan from heat immediately after the boiling time concludes. The mixture will be quite hot, so work carefully. Stir in the peanut butter first, mixing until thoroughly combined. Next, add the vanilla extract—expect the mixture to bubble up when the vanilla hits the hot chocolate base. Finally, fold in the oats, stirring until every piece is coated with the chocolate-peanut mixture and no dry oats remain visible.
Shaping and Setting
Using a cookie scoop or tablespoon, drop the mixture onto your prepared parchment paper. The cookies don’t require precise shapes, so uniform sizing is purely for visual appeal. Allow them to cool at room temperature until they firm up completely—typically twenty to thirty minutes depending on your kitchen temperature. Once set, use a spatula to lift them from the parchment paper and transfer them to an airtight container for storage.
Ingredient Selection and Substitution Options
Oat Varieties and Their Effects
The choice between old-fashioned and quick oats significantly impacts texture. Old-fashioned rolled oats, which are larger and thicker, create a chewier, more substantial cookie with visible oat pieces. Quick oats, being smaller and more processed, result in a denser, fudgier consistency that some people prefer. Instant oatmeal is too fine for this recipe and will create an overly compact texture. Choose based on your personal preference for chewiness versus fudginess.
Peanut Butter Considerations
The recipe specifically calls for regular peanut butter, not the natural variety. Natural peanut butter contains separated oils that can negatively affect the final texture and consistency. Creamy peanut butter works best, though you can experiment with chunky varieties if you enjoy additional texture variation.
Optional Flavor Enhancements
While the classic recipe remains timeless, creative variations expand the possibilities. Some bakers add shredded coconut for tropical notes, substitute margarine for butter, or include chopped nuts for additional crunch. Salt can be added for those who enjoy sweet and salty combinations. Experimenting with almond butter or sunflower seed butter offers alternatives for peanut allergies while maintaining similar results.
Storage and Shelf Life Guidance
Proper storage keeps these cookies fresh and enjoyable for extended periods. Place cooled cookies in an airtight container, separating layers with parchment paper to prevent sticking. Store at room temperature away from direct sunlight and heat sources. Under ideal conditions, these treats remain fresh for approximately two weeks. For longer storage, refrigerate them for up to three weeks, or freeze them for several months. Remove frozen cookies and allow them to reach room temperature before consuming.
Troubleshooting Common Issues
Cookies Won’t Firm Up
If your cookies remain too soft after thirty minutes, the mixture likely didn’t boil for the full minute, or the heat wasn’t high enough to reach a rolling boil. Next time, ensure you’re using a full rolling boil and follow the timer precisely. Some kitchens run cooler than others, so allow additional time before concluding the cookies won’t set.
Cookies Are Too Hard or Crumbly
Overbooiling causes excessive water evaporation, resulting in overly firm cookies. Set a timer and remove the mixture immediately when it reaches one minute. If the mixture was boiled too long, compensate in the next batch by reducing the boiling time to fifty seconds.
Uneven Texture or Separated Appearance
Insufficient stirring after adding ingredients causes some portions to cook more than others. Always stir vigorously and thoroughly after each addition to ensure even distribution. If peanut butter clumps remain, break them apart against the saucepan’s side with your spoon.
Nutritional Considerations and Serving Suggestions
Each cookie typically contains approximately 150 calories, with contributions from sugar, fat, and carbohydrates. The peanut butter provides protein and healthy monounsaturated fats. Oats add fiber and whole grain benefits. While these treats contain more sugar than some might prefer, they offer a reasonable portion size for an occasional indulgence. Pair them with coffee, tea, or cold milk for an afternoon snack or after-dinner treat.
Why This Recipe Remains Perpetually Popular
The enduring appeal of this no-bake cookie recipe stems from multiple factors working together. The ingredient list remains refreshingly short—just seven basic items found in most pantries. The preparation time, roughly ten to fifteen minutes from start to finish, appeals to people with busy schedules. The results consistently deliver that perfect balance of fudgy chocolate, creamy peanut butter, and chewy oats that people crave. There’s no risk of underbaking or overbaking since no oven is involved. The recipe scales easily for small batches or large quantities.
Frequently Asked Questions
Can I use natural peanut butter?
While not recommended, natural peanut butter can work if you stir it thoroughly before measuring to combine separated oils. The final texture may be slightly different, as the separated oils can interfere with proper setting.
What if I don’t have old-fashioned oats?
Quick oats work perfectly well and will simply produce a slightly different texture—denser and more fudgy rather than chewy. Instant oatmeal should be avoided as it’s too fine and creates an undesirable texture.
How long does the boiling step really need to be?
The boiling time is critical for achieving the proper texture. One minute allows sufficient water evaporation to firm up the cookies without drying them out. Timing is essential for consistency.
Can these be made without milk?
Milk is important for creating the right consistency. Substitutes like coconut milk or plant-based milk can work, though they may affect flavor slightly. Reducing the amount slightly may be necessary if using a thinner alternative.
Are these cookies completely no-bake?
Yes, absolutely. The mixture is heated on the stovetop to combine and cook ingredients, but no baking in an oven occurs. This makes them true no-bake cookies.
Creative Presentation and Gifting Ideas
These cookies make excellent homemade gifts when packaged thoughtfully. Layer them in a decorative box or tin with parchment paper between layers. Tie with ribbon or attach a handwritten recipe card explaining the contents and storage instructions. The homemade presentation appeals to recipients far more than store-bought alternatives, and the minimal ingredient list reassures health-conscious recipients.
Conclusion: A Timeless Treat for Modern Lifestyles
No-bake chocolate peanut butter cookies represent the perfect intersection of simplicity, speed, and satisfaction. They require minimal ingredients, no special skills, and no oven—making them accessible to cooks of all experience levels. Whether you’re preparing them for a family gathering, seeking a quick dessert solution, or wanting to impress guests with homemade treats, this recipe delivers consistently. The combination of rich chocolate, creamy peanut butter, and hearty oats creates a flavor profile that has remained beloved for generations. By understanding the role of each ingredient and following the steps carefully, you’ll create cookies that rivals commercial versions while enjoying the satisfaction of homemade goodness.
References
- The BEST No Bake Cookie Recipe — Real Mom Nutrition. Accessed April 2026. https://www.realmomnutrition.com/no-bake-cookies/
- Classic No-Bake Cookies — Live Well Bake Often. Accessed April 2026. https://www.livewellbakeoften.com/classic-no-bake-cookies/
- Classic No Bake Cookies — The Soccer Mom Blog. Accessed April 2026. https://thesoccermomblog.com/no-bake-cookies/
- Mom’s Uncooked Cookies — Cook This Again Mom. Accessed April 2026. https://cookthisagainmom.com/moms-uncooked-cookies/
- Easy No-bake Cookies Recipe — Mom Spark. Accessed April 2026. https://momspark.net/no-brainer-recipe-no-bake-cookies/