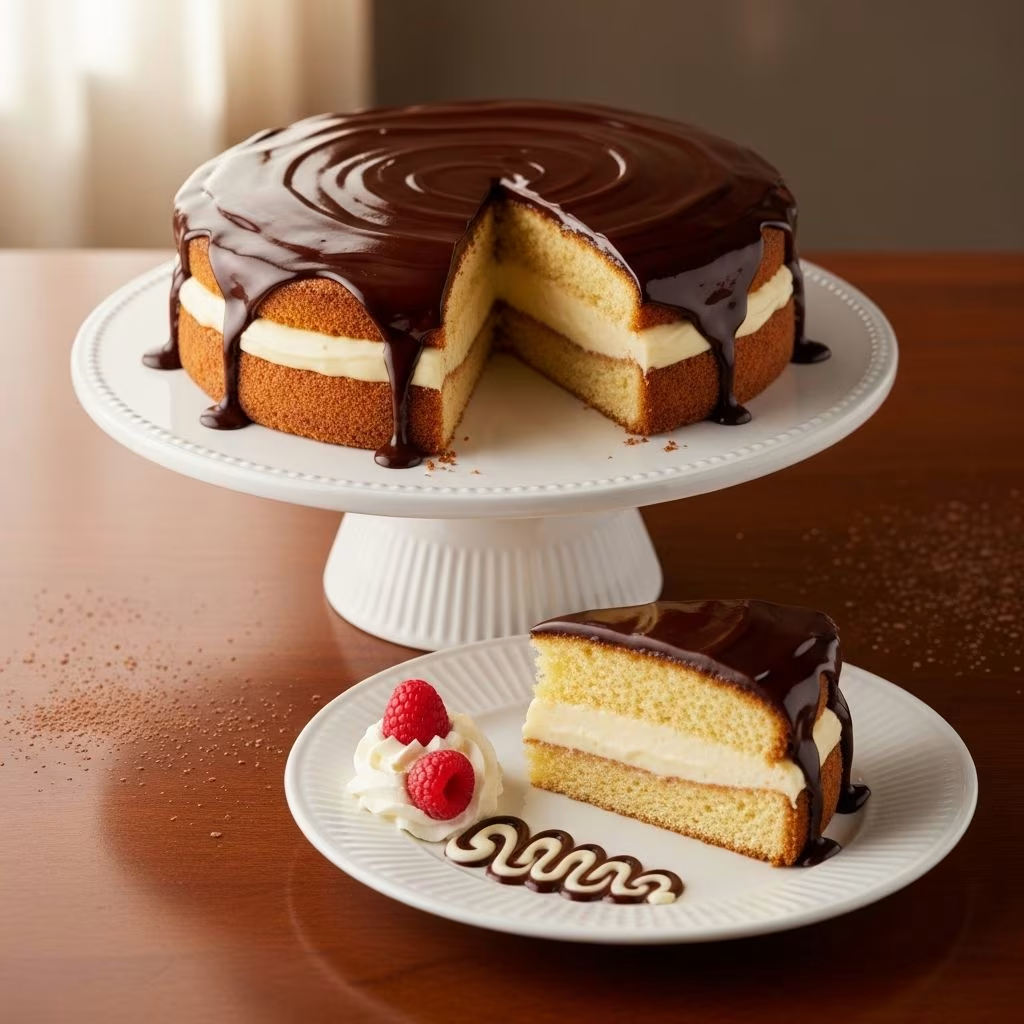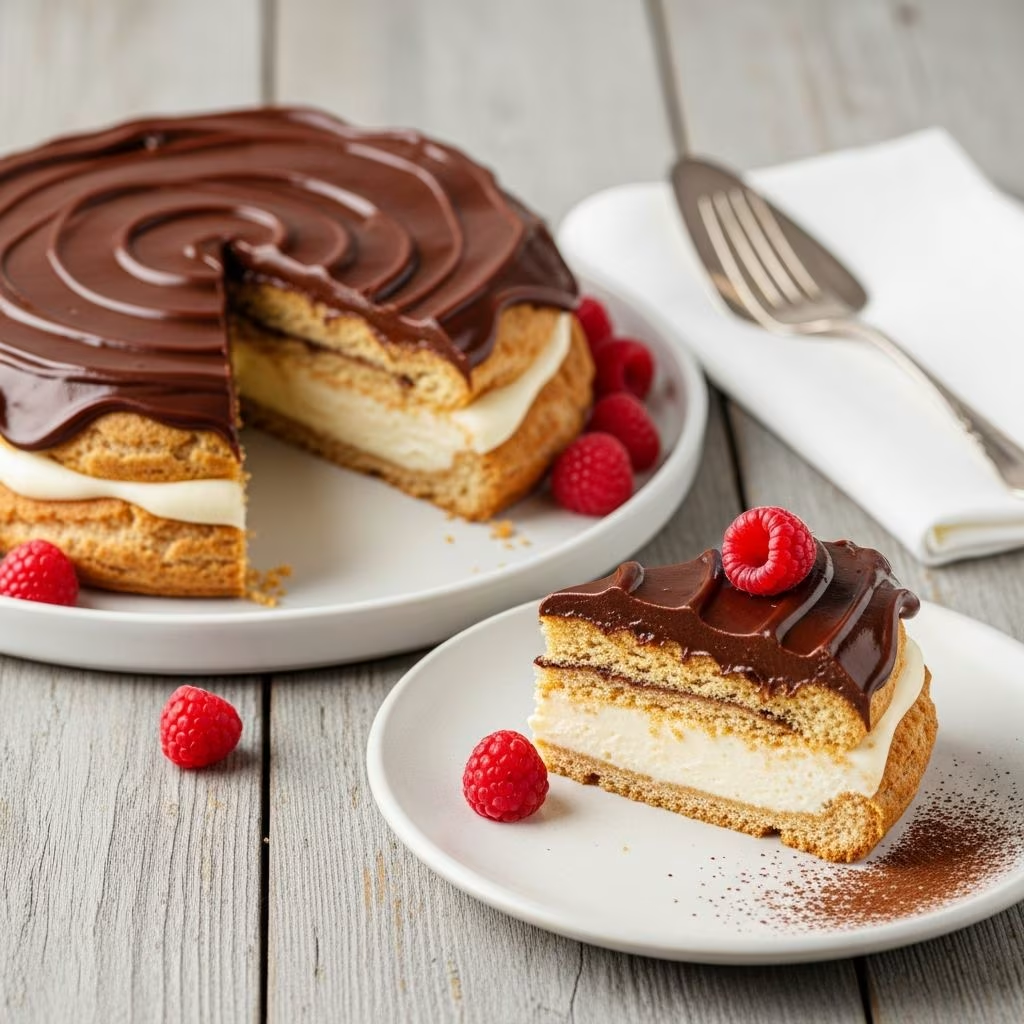
When you’re seeking a dessert that impresses without demanding hours in the kitchen, chocolate eclair cake emerges as the ideal solution. This American classic has graced dinner tables across the country for generations, particularly in Midwestern households where it remains a beloved staple at celebrations and family gatherings. The beauty of this particular dessert lies in its deceptive simplicity—while it appears sophisticated enough to serve at formal occasions, the preparation requires nothing more than basic layering and refrigeration.
Understanding the Essence of Chocolate Eclair Cake
Despite its name, chocolate eclair cake bears no resemblance to traditional French éclairs that demand precision baking and piping skills. Instead, this creative American adaptation captures the essence of classic éclairs—the contrast between crispy exterior, creamy vanilla filling, and glossy chocolate coating—but reimagines them in cake form that requires zero oven time. The result is a dessert that tastes like a sophisticated pastry creation but comes together in approximately fifteen minutes of actual work, with the refrigerator handling the rest.
The genius of this recipe lies in how it borrows elements from different culinary traditions. Some enthusiasts describe it as occupying the delicious middle ground between Boston cream pie and a traditional éclair. Others point out that it captures the comforting familiarity of a pudding-based dessert while delivering an elegant presentation worthy of special occasions.
Gathering Your Essential Ingredients
One of the most appealing aspects of chocolate eclair cake is its remarkably short ingredient list. You won’t need to hunt through specialty shops or spend significant money on uncommon items. Instead, you’ll work with pantry staples and refrigerated basics that most households already stock or can obtain during a regular grocery run.
- Instant Vanilla Pudding Mix: Two packages of the standard 3.4-ounce size form the creamy foundation. Instant French vanilla works equally well if you prefer a slightly enhanced flavor profile.
- Whole Milk: Between three and three-and-a-half cups of cold milk transforms the pudding powder into a silky, spoonable texture.
- Whipped Topping: An eight-ounce container of thawed whipped topping (commonly known as Cool Whip) adds light, airy texture to the pudding mixture.
- Graham Crackers: A full box provides the structural foundation for your layers. Standard honey graham crackers work perfectly, though you might experiment with other varieties.
- Chocolate Frosting: A sixteen-ounce can of ready-made chocolate frosting tops the finished cake. This convenience item eliminates the need for tempering chocolate or making complicated ganache.
The Equipment You’ll Need
Creating this dessert requires minimal equipment, making it accessible to home cooks of varying skill levels. A standard nine-by-thirteen-inch rectangular baking or casserole dish serves as your working surface. You’ll want a large mixing bowl for combining the pudding mixture, a whisk for blending ingredients, and perhaps a rubber spatula for spreading and folding. Some cooks appreciate having a small serrated knife handy for cutting graham crackers to fit the pan perfectly, though breaking them by hand works fine.
Mastering the Step-by-Step Preparation Process
Combining the Pudding Base: Begin by adding both packages of instant pudding mix to a large bowl along with your cold milk. Whisk these together vigorously until the mixture thickens and smooths out completely, typically requiring one to two minutes of consistent whisking. This step cannot be rushed—inadequate mixing results in lumpy texture rather than the silky consistency you’re aiming for. Once the pudding reaches the proper thickness, let it stand for a few minutes to fully set.
Incorporating the Whipped Topping: After your pudding has set, gently fold in the thawed whipped topping using a rubber spatula. Work slowly and methodically, using a bottom-to-top folding motion rather than vigorous stirring. This preserves the airiness of the whipped topping and creates a lighter, fluffier filling than whisking alone would produce.
Layering the Foundation: Remove one package of graham crackers from the box and arrange them in a single layer across the bottom of your prepared dish. If the crackers don’t cover the entire surface, break additional crackers to fill any gaps. The goal is complete coverage with no gaps or exposed dish bottom showing.
Adding the First Pudding Layer: Spoon approximately half of your pudding mixture over the first layer of crackers, then gently spread it into an even layer using a spatula. This should be a relatively thick layer that covers the crackers completely without excessive buildup.
Building the Middle Section: Place another layer of crackers over the pudding layer, again using whole crackers and filling any gaps with broken pieces. Pour the remaining pudding mixture over these crackers and spread evenly.
Creating the Top Layer: Finish your structure with a final layer of graham crackers placed directly over the pudding. This top layer will eventually become the base for your chocolate topping, so ensure complete coverage.
Initial Refrigeration: Cover your assembled cake and refrigerate for at least one hour. This allows the crackers to soften slightly and the flavors to begin melding together.
Perfecting the Chocolate Topping
While your layered creation chills, you can prepare the chocolate topping. If you prefer using store-bought frosting, simply spread it directly over the chilled cake in an even layer. However, many bakers opt for homemade chocolate ganache, which offers superior flavor and texture.
Making Ganache from Scratch: Pour one cup of chocolate chips into a heatproof bowl. Heat one cup of heavy cream in a saucepan over medium heat until steam rises and small bubbles form around the edges—do not allow the cream to boil. Pour the hot cream over the chocolate chips and let the mixture sit undisturbed for approximately five minutes. This resting period allows the heat to properly soften the chocolate. After waiting, begin stirring gently until the mixture becomes completely smooth and glossy.
Allow your ganache to cool for several minutes until it reaches a spreadable consistency. If it becomes too thick, you can gently reheat it. If you prefer a thinner, pourable ganache that creates a more elegant finish, let it cool completely before pouring it over the cake.
Final Assembly and Chilling
Once your pudding-cracker structure has chilled sufficiently, spread or pour your chocolate topping over the uppermost cracker layer, smoothing it into an even coverage. Return the entire cake to the refrigerator for a final chilling period of at least eight hours, though overnight refrigeration is ideal. This extended chilling time allows the layers to set properly, making the cake easier to cut into clean squares.
Presentation and Serving Suggestions
Remove your completed chocolate eclair cake from the refrigerator approximately fifteen minutes before serving. This brief warming period makes cutting cleaner and brings the flavors to optimal temperature. Using a sharp knife dipped in hot water and wiped dry between each cut produces neat, attractive squares. If you prefer a more rustic presentation, simply cut into portions directly from the dish.
This cake serves approximately twelve to twenty people depending on portion size. Individual squares can be plated on dessert plates, or you might serve them directly in shallow bowls to catch any melting whipped topping.
Storage and Make-Ahead Tips
Chocolate eclair cake actually improves with time as the flavors develop and meld. Store any leftovers covered in the refrigerator for up to four days. The recipe also lends itself beautifully to advance preparation—you can assemble the entire cake the day before serving, simply keeping it covered in the refrigerator until ready to top with chocolate and proceed with the final chilling.
Customization Possibilities
While the classic version uses vanilla pudding and graham crackers, this recipe welcomes creative adaptations. Chocolate pudding mixed with vanilla pudding creates interesting flavor combinations. Some cooks substitute vanilla wafers for graham crackers. Others experiment with different frosting flavors—try white chocolate ganache for an elegant variation or espresso-infused chocolate for coffee lovers.
Common Questions About Chocolate Eclair Cake
Can I make this dessert ahead? Absolutely. Complete assembly the day before, refrigerate, then add your chocolate topping and give it a final chill before serving.
What if I don’t have whipped topping? While it lightens the texture, you can omit it or substitute homemade whipped cream if preferred.
Why do my layers seem to be shifting? Ensure your crackers are arranged in a solid, unbroken layer before adding pudding. This prevents the mixture from seeping between cracks and destabilizing upper layers.
Can I freeze this cake? Freezing is not recommended as the pudding and whipped topping textures suffer significant degradation when thawed.
How do I cut neat squares? Use a hot, damp knife wiped dry between each cut. Letting the cake sit at room temperature briefly before cutting also helps achieve cleaner results.
Why This Dessert Endures
Chocolate eclair cake has remained popular for decades because it delivers impressive results with minimal effort and cost. It requires no baking skills, specialized equipment, or rare ingredients. Yet the finished product looks and tastes sophisticated enough for holiday tables and special occasions. For home cooks seeking to create memorable desserts without spending hours in the kitchen, this recipe represents the perfect solution.
References
- Easy Chocolate Eclair Cake — Culinary Hill. Accessed April 2026. https://www.culinaryhill.com/chocolate-eclair-cake/
- No-Bake 5-Ingredient Chocolate Eclair Cake — Belly Full. Accessed April 2026. https://bellyfull.net/chocolate-eclair-cake/
- The Most Delicious No Bake Chocolate Éclair Cake — Little Black Skillet. Accessed April 2026. https://littleblackskillet.com/no-bake-chocolate-eclair-cake/
- Eclair Cake (Made With Real Choux Pastry) — Lavender & Macarons. Accessed April 2026. https://www.lavenderandmacarons.com/chocolate-eclair-cake-recipe/
- Chocolate Eclair Cake — In the Kitchen with Momma Mel. Accessed April 2026. https://inthekitchenwithmommamel.com/recipes/chocolate-eclair-cake/