Roasting a whole duck transforms an intimidating ingredient into an elegant centerpiece that rivals restaurant-quality dishes. Unlike chicken, duck presents unique challenges due to its high fat content and dense meat structure. Understanding these differences and applying proper cooking methods ensures you achieve the coveted combination of crispy, golden skin and moist, tender flesh. This guide walks through every stage of the roasting process, from selection and preparation through carving and sauce creation.
Selecting and Preparing Your Duck
The foundation of exceptional roasted duck begins with choosing the right bird. Fresh ducks typically weigh between 4 to 6 pounds, providing adequate meat for a family meal while remaining manageable in most home ovens. Frozen ducks work equally well but require proper thawing—ideally 24 to 48 hours in the refrigerator to preserve meat quality and ensure even cooking.
Preparation starts with removing the giblets and neck from the cavity, then thoroughly rinsing the duck under cold water both inside and out. Pat the duck completely dry with paper towels, as moisture on the skin prevents proper crisping. For optimal results, place the dried duck uncovered on a plate in the refrigerator for at least 4 to 8 hours, or preferably overnight. This dry-brining process allows salt and seasonings to penetrate the meat while further drying the skin for superior crispness.
The Role of Seasoning in Duck Preparation
Duck’s rich, distinctive flavor benefits from assertive seasonings that complement rather than overwhelm the meat. Salt remains the most crucial seasoning—apply it generously to both the exterior and interior cavity at least several hours before roasting. Beyond basic salt and pepper, consider incorporating dried herbs such as thyme, rosemary, or marjoram, which traditionally pair well with duck in European cuisine.
Cavity stuffing offers another dimension of flavor development. Popular options include apple halves, orange slices, fresh herbs, and aromatics like garlic cloves and onion quarters. These ingredients don’t necessarily cook into the meat but release their essences into the duck as it roasts, subtly flavoring the interior. Some cooks prefer spice rubs combining honey, ground spices, and citrus zest applied directly to the skin for added complexity.
Temperature Management: The Key to Success
Understanding oven temperatures and their effects on duck tissue is essential for achieving the desired outcome. Professional roasting typically employs a two-temperature approach:
- High initial temperature (425-450°F): Applied for the first 15-20 minutes to render fat from the skin and promote browning
- Moderate sustained temperature (350-375°F): Maintained for the remainder of cooking to gently cook the meat through without burning the exterior
This dual-temperature method leverages residual heat to cook the duck gently from the inside while the high initial blast creates the crispy exterior. Some recipes employ multiple cycles of high heat followed by rest periods, allowing the intense heat to crisp the skin repeatedly while rest periods distribute heat gently throughout the meat.
Calculating Cook Time and Monitoring Doneness
The standard roasting guideline calls for approximately 20 minutes per pound at moderate temperature (350°F) after the initial high-heat searing phase. A 5-pound duck would require roughly 100 minutes of moderate roasting after 15-20 minutes at high temperature. However, oven variations mean relying on temperature rather than time alone produces more consistent results.
Insert a meat thermometer into the thickest part of the thigh without touching bone. Duck reaches safe internal temperature at 165°F, though many prefer slightly lower doneness (160°F) for juicier meat. The breast meat can safely reach slightly lower temperatures than the thigh due to its lower fat content and reduced bacterial risk.
Rendering Fat: Understanding Duck’s Natural Advantage
Duck’s abundant fat layer presents both challenge and opportunity. During roasting, this fat renders (melts away) from the skin, basting the meat from within while creating the prized crispy exterior. Proper positioning facilitates this process—starting with the breast side down for the first portion of cooking directs rendered fat away from the breast meat, preventing it from becoming greasy.
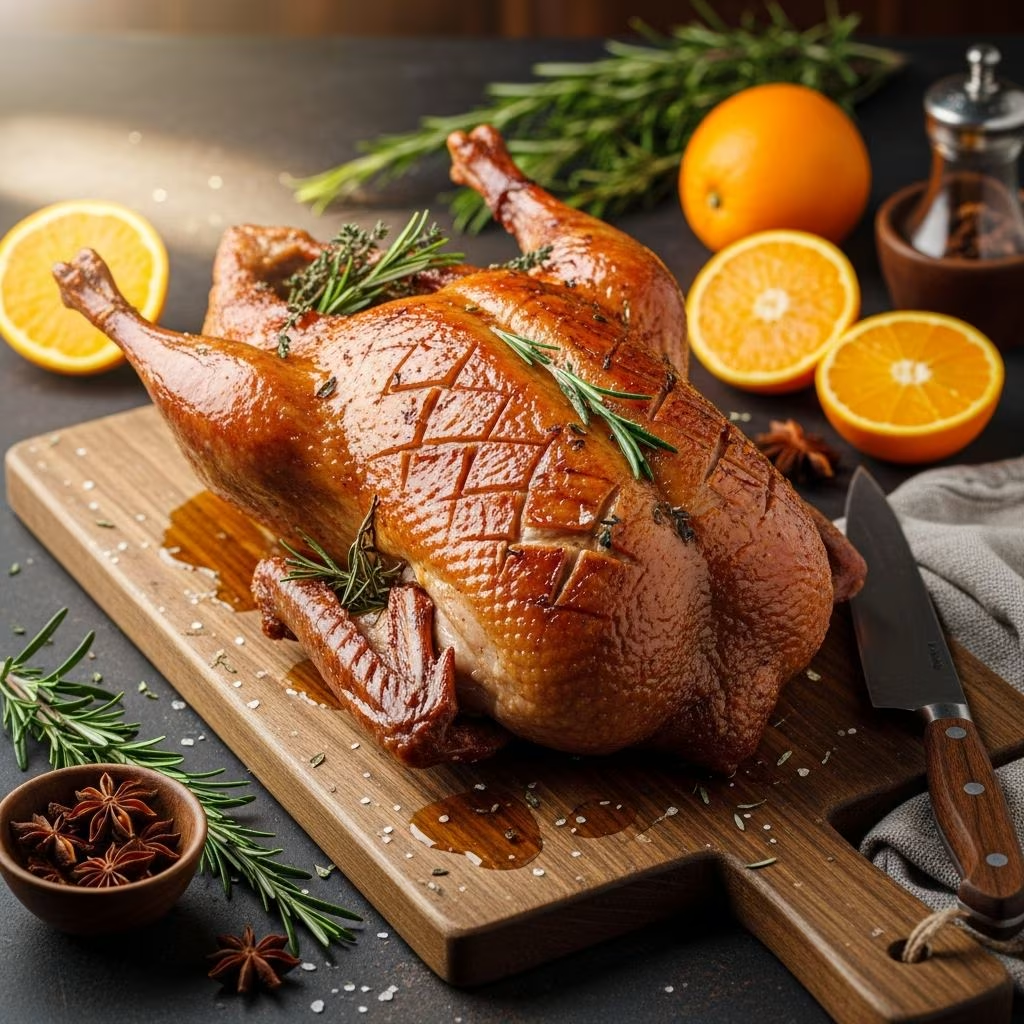
Periodically basting with rendered fat throughout cooking maintains moisture and promotes even browning. Alternatively, scoring the skin in a crosshatch pattern allows fat to escape more readily during roasting. Many cooks reserve rendered duck fat from the roasting pan for future use—it refrigerates beautifully and serves as a premium cooking fat for roasting vegetables or frying eggs.
Resting: An Often-Overlooked Critical Step
After removing the duck from the oven, resist the urge to carve immediately. Resting for 10-15 minutes allows muscle fibers to relax and reabsorb interior juices that would otherwise run onto the cutting board. During this period, carry-over cooking continues to raise internal temperatures by 2-3 degrees Fahrenheit, so remove the duck when it reaches 160-162°F to account for this rise.
Crafting Complementary Sauces and Gravies
The roasting pan, after removing the duck, contains concentrated flavors ideal for sauce development. Carefully pour off excess fat while preserving the flavorful drippings and browned bits (called fond). Deglaze the pan with wine, stock, or both, scraping the bottom to dissolve accumulated flavors. Simmer this mixture over medium heat, adding honey, fresh herbs, or spices to balance the richness.
Classic pairings include:
- Honey with fresh rosemary and white wine for an herbaceous glaze
- Balsamic vinegar with citrus juice and honey for a tangy-sweet profile
- Asian-inspired combinations using soy sauce, ginger, rice wine, and chili elements
- Traditional gravy thickened with cornstarch or flour for a more classic presentation
Flavor Variations: Regional and Seasonal Approaches
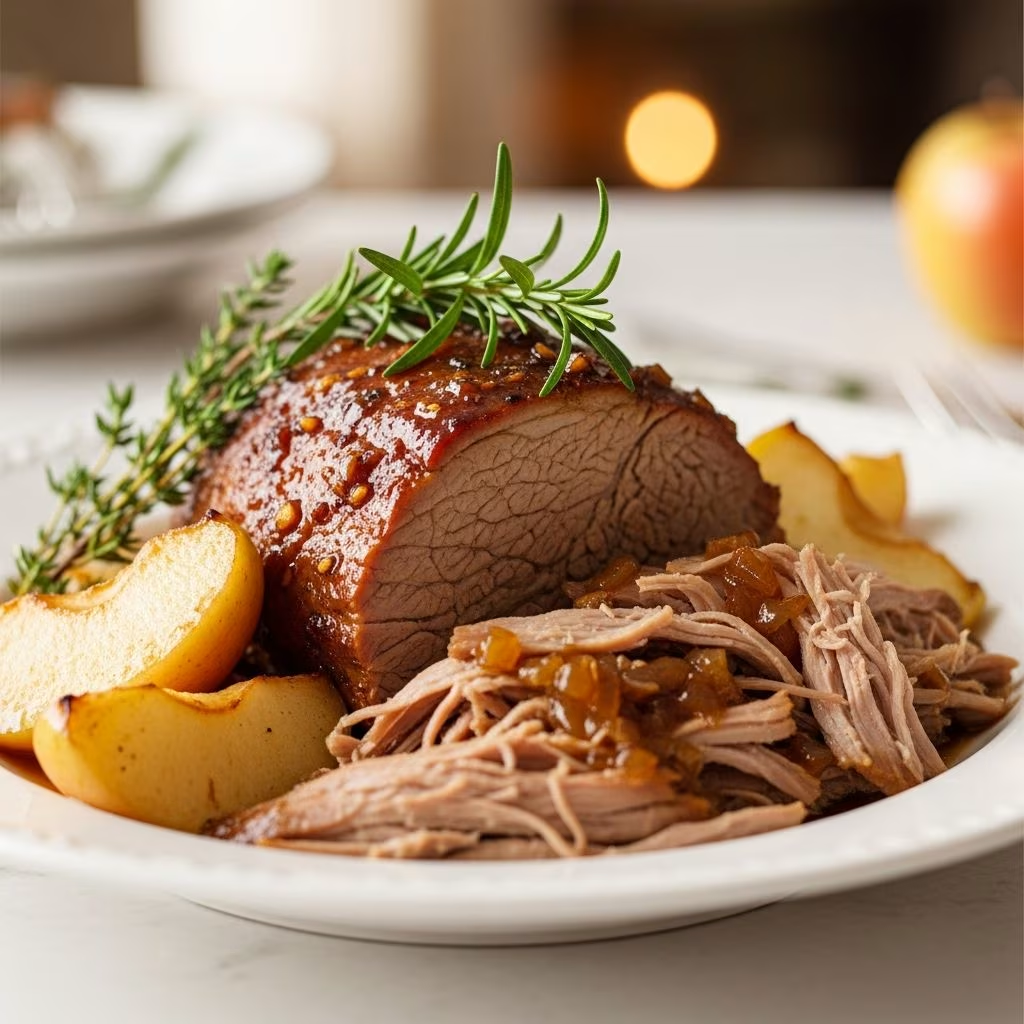
Different culinary traditions embrace duck in distinctive ways. Polish preparations frequently stuff the bird with apples and marjoram, serving the roasted duck alongside the cooked fruit and rich gravy—a traditional holiday centerpiece. Cantonese techniques employ five-spice powder and achieve characteristically crispy skin through careful fat rendering. French cuisine often pairs duck with cherry, orange, or peppercorn sauces emphasizing sophisticated flavor complexity.
Seasonal considerations influence ingredient choices: spring preparations might incorporate fresh tarragon and lemon, summer options could feature berry-based sauces, fall preparations embrace apple and sage, while winter roasts benefit from warming spices like cinnamon and star anise.
Accompaniments That Complete the Meal
Roasted potatoes cooked in rendered duck fat represent the quintessential pairing, their earthy flavor and crispy exterior complementing the rich meat. Root vegetables including carrots, parsnips, and turnips similarly benefit from cooking in duck fat. The fat’s higher smoking point and unique flavor profile creates vegetables with superior taste and texture compared to olive oil or butter roasting.
Fresh vegetables or light salads provide textural and flavor contrast. A simple green salad dressed with acidic vinaigrette cuts through the richness beautifully. Steamed vegetables like asparagus or broccoli offer a fresh element without competing for attention from the star ingredient.
Making Stock from Carcass and Bones
Frugal cooking embraces using every part of the duck. The carcass, along with reserved bones and skin, transforms into rich brown stock through gentle simmering with aromatic vegetables. Combine the duck carcass with carrots, onion, celery, bay leaves, and peppercorns in a large pot, covering with water. Simmer gently for 4 to 6 hours, skimming impurities that rise to the surface. This stock serves as a foundation for future soups, sauces, and risottos, extending the duck’s value well beyond the initial roasting.
Common Roasting Mistakes and How to Avoid Them
Insufficient drying before roasting ranks among the most common errors—moisture on the skin creates steam rather than allowing proper browning and crisping. Always ensure the duck is completely dry before it enters the oven.
Overcrowding the roasting pan prevents air circulation and steam buildup, softening rather than crisping the skin. Use a roasting pan large enough to accommodate the duck with at least several inches of clearance on all sides.
Skipping the resting period results in lost juices when carving. Even 10 minutes makes a substantial difference in final moisture content.
Using temperatures that are too low for the entire cooking period produces pale, flabby skin rather than the desired golden crispness. The initial high-temperature phase cannot be skipped.
Storage and Reuse Considerations
Leftover roasted duck refrigerates well for 3 to 4 days when properly stored in airtight containers. The meat shreds beautifully for salads, transforms into satisfying sandwiches, or forms the basis for duck fried rice. Rendered fat freezes for several months, providing convenient cooking fat on demand. Duck bone broth freezes similarly, ensuring you capture maximum value from each bird.
Frequently Asked Questions
What’s the difference between roasting a whole duck versus duck breasts?
Whole ducks require longer cooking times to ensure the legs and thighs reach safe temperature, as these darker meat portions cook more slowly than breast meat. Duck breasts are typically pan-seared to achieve crispy skin while the interior remains pink, requiring only 10-15 minutes total cooking. Whole duck roasting offers economy and the satisfaction of utilizing every part, while duck breasts provide convenience and faster preparation.
Can I use a convection oven for roasting duck?
Yes, convection ovens work excellently for duck roasting. Reduce temperatures by 25°F and shorten cooking time by approximately 15-20% compared to conventional oven recipes. The enhanced air circulation in convection ovens promotes more even browning and skin crisping.
How do I know if my duck is cooked without a thermometer?
Pierce the thickest part of the thigh with a knife—juices should run clear rather than pink. The legs should move freely in their sockets when gently twisted. However, a meat thermometer provides the most accurate assessment of doneness.
Why is my duck skin not crispy?
Insufficient drying before roasting, failure to achieve high initial temperatures, or overcrowding the pan typically causes soft skin. Ensure complete dryness before roasting, maintain 425-450°F for at least the first 15-20 minutes, and provide adequate space in the roasting pan for air circulation.
What’s the best way to carve a roasted duck?
Allow the rested duck to cool just slightly for easier handling. Remove the legs first by pulling down and backward, then severing at the thigh joint. Separate thighs from drumsticks. For breasts, slice parallel to the breastbone at a slight angle, following the natural muscle separation.
References
- Roast Duck with Honey & Rosemary — Gressingham Duck. Accessed April 2026. https://www.gressinghamduck.co.uk/recipes/roast-duck-with-honey-and-rosemary/
- Roast Duck Recipe — Julia’s Album. Accessed April 2026. https://juliasalbum.com/how-to-cook-duck/
- The Best Roasted Duck — Dads That Cook. Accessed April 2026. https://dadsthatcook.com/blogs/recipes/the-best-roasted-duck
- Epic Roast Duck Recipe — Culinary Crush. Accessed April 2026. https://www.culinarycrush.biz/all/epic-roast-duck-recipe
- The Best Roast Duck Recipe (with gravy) — Everyday Delicious. Accessed April 2026. https://www.everyday-delicious.com/roasted-duck-with-apples/
- Slow Roast Duck — Hank Shaw, Hunter Angler Gardener Cook. Accessed April 2026. https://honest-food.net/roast-duck-recipe/