Preparing a whole roasted turkey can seem intimidating, but with proper planning and straightforward techniques, even first-time cooks can achieve restaurant-quality results. The key to success lies in understanding the fundamentals of preparation, timing, and temperature management. This comprehensive guide breaks down the process into manageable steps, ensuring your holiday centerpiece turns out tender, juicy, and delicious every time.
Understanding the Foundation: Quality Ingredients Matter
The quality of your finished dish depends largely on selecting the right ingredients from the start. A fresh turkey, preferably purchased a few days before cooking to allow for thawing, forms the base of your meal. Aim for a turkey that feels firm to the touch and has no off-putting odors when thawed.
For the stuffing component, high-quality bread serves as the cornerstone ingredient. The bread must be completely dry—this cannot be overstated. Moisture retention in bread is the primary culprit behind soggy, unappealing stuffing. If your bread isn’t adequately dried, cut it into cubes and spread them on a baking sheet, then place in a 250°F oven for 10 to 15 minutes until they achieve a crispy texture.
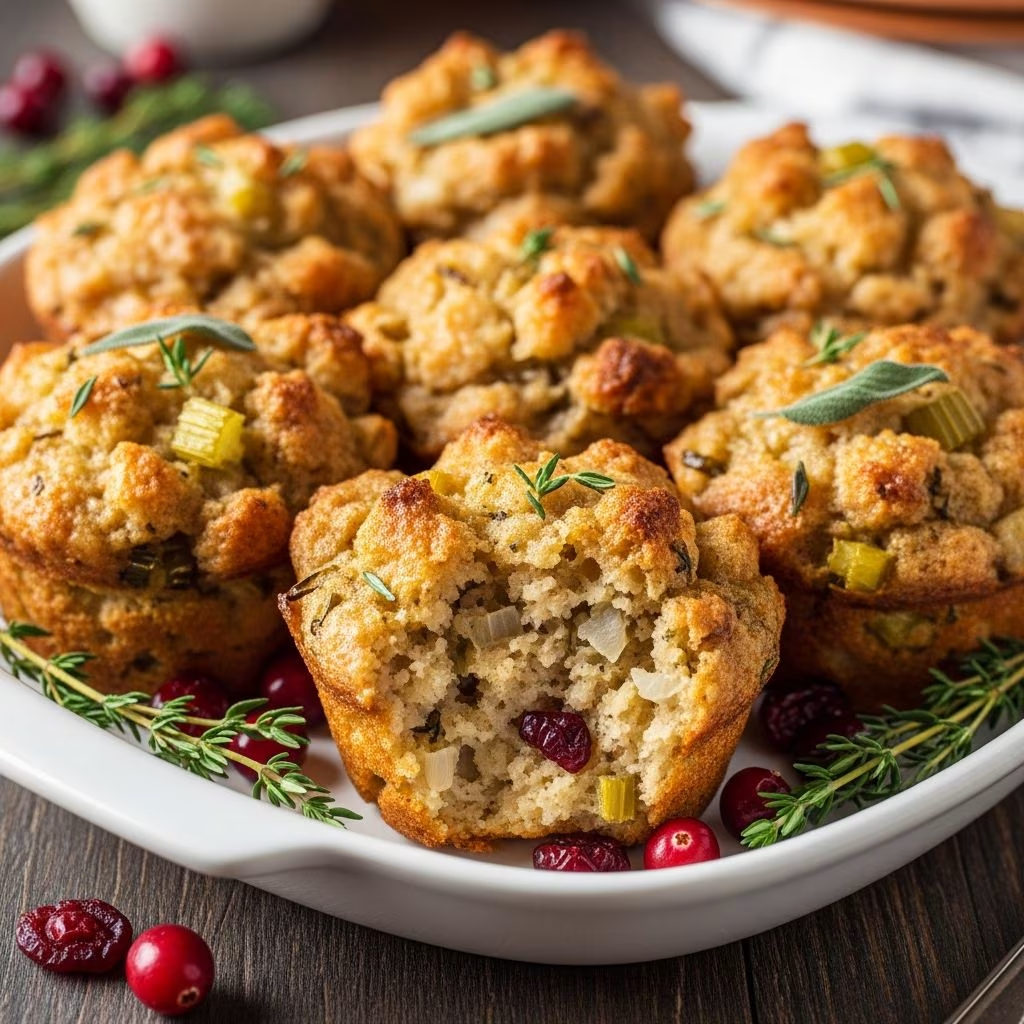
Supporting ingredients like fresh celery, yellow onions, quality butter, and aromatic herbs elevate the stuffing from basic to exceptional. Poultry seasoning, which typically combines sage, thyme, and rosemary, provides the classic flavor profile associated with traditional holiday meals.
Preparation Phase: Setting Yourself Up for Success
Thawing Your Turkey Safely
Thawing represents the first critical step in turkey preparation. Plan for approximately 24 hours of thawing time for every 4 to 5 pounds of turkey weight when using refrigerator thawing. This gradual process maintains food safety standards and ensures even cooking throughout the bird. Never thaw a turkey at room temperature, as this creates an environment conducive to bacterial growth.
Assembling Your Stuffing Mixture
Begin stuffing preparation by gathering all components in one location. This mise en place approach prevents scrambling for ingredients mid-process. Toast your bread cubes until they achieve a light golden color, then transfer them to a large mixing bowl. In a separate skillet, melt butter and sauté diced celery and onions until they become translucent and tender. This cooking step softens the vegetables and melds their flavors into the aromatics that define quality stuffing.
Combine the cooked vegetables with your bread cubes. Add dried herbs and seasonings, tossing thoroughly to ensure even distribution. This tossing motion—repeated several times—guarantees that every bread cube receives adequate seasoning rather than having flavors concentrate in certain areas.
Moisture Management: The Critical Balance
One of the most common mistakes in stuffing preparation involves miscalculating the liquid content. The goal is to achieve a moist but not soggy consistency. Begin by adding broth gradually, incorporating it slowly while mixing continuously. The bread should feel damp to the touch but shouldn’t release liquid when squeezed.
For those planning to stuff the turkey cavity, use cooled stuffing and ensure it reaches a safe internal temperature of 165°F during roasting. The drippings from the turkey will add additional moisture during the cooking process.
Alternatively, prepare your stuffing in a separate baking dish rather than inside the bird. This method offers several advantages: it reduces overall roasting time for the turkey, allows independent control of the stuffing’s moisture level, and eliminates concerns about uneven cooking. Bake side-dish stuffing covered with foil for 25 minutes, then uncovered for an additional 5 to 10 minutes until the top achieves a golden-brown color.
Preparing the Turkey for Roasting
Internal Seasoning and Cleaning
Remove the giblets and neck from the turkey cavity and reserve them for gravy preparation. Rinse the entire bird thoroughly under cold running water, then pat it completely dry with paper towels. Moisture on the exterior prevents the skin from crisping properly during roasting. Generously season the interior cavity with salt and pepper, creating a flavorful base for the meat.
External Preparation
Place the prepared turkey on a roasting rack positioned in a roasting pan. Rub softened butter generously over the entire exterior surface, paying particular attention to the legs, thighs, wings, and breast. This butter layer promotes even browning and keeps the meat moist during the extended cooking period. Season the exterior liberally with salt and pepper. For enhanced gravy flavor, place the reserved neck in the bottom of the roasting pan—it imparts rich, savory notes to the drippings.
Roasting Process and Temperature Management
Oven Setup and Initial Roasting
Preheat your oven to 350°F. This moderate temperature ensures the turkey cooks evenly without the exterior burning before the interior reaches the proper temperature. The general guideline for roasting time is approximately 13 to 15 minutes per pound for an unstuffed bird, or 15 to 17 minutes per pound if the cavity contains stuffing.
Place your prepared turkey in the preheated oven. If the skin begins browning too quickly during the initial roasting phase, cover the bird loosely with aluminum foil. This protective covering slows the browning process while allowing the interior to cook through.
Temperature Monitoring and Finishing
Use a meat thermometer to monitor doneness accurately. Insert it into the thickest part of the thigh without touching bone—the temperature should reach 165°F. For turkeys with stuffing, verify that the stuffing’s center has also reached 165°F.
During the final 30 minutes of roasting, remove any foil covering to allow the skin to brown and crisp. This finishing step creates the golden, appetizing exterior that defines a beautifully roasted turkey.
Essential Techniques for Success
Basting Considerations
Traditional basting—repeatedly pouring pan drippings over the turkey—has fallen out of favor among many cooks because it requires opening the oven frequently, which disrupts temperature stability. Instead, the initial butter rubdown and proper oven temperature typically produce excellent results without the extra step.
Resting Period
After removing the turkey from the oven, allow it to rest for at least 20 to 30 minutes before carving. This resting period allows juices to redistribute throughout the meat, resulting in more tender, flavorful portions. During this time, the temperature will continue rising slightly due to residual heat.
Creating Pan Drippings for Gravy
The flavorful liquid at the bottom of your roasting pan becomes the foundation for exceptional gravy. Pour off excess fat, reserving approximately 1/3 cup. Whisk in flour to create a roux, then gradually add chicken or turkey broth while whisking continuously to prevent lumps. Season with poultry seasoning, ground sage, salt, and pepper. Simmer until the gravy reaches your desired consistency.
Make-Ahead Strategies
Busy holiday schedules often benefit from advance preparation. Prepare your stuffing mixture up to two days ahead by assembling all components except broth in a casserole dish, then refrigerating. When ready to bake, remove from the refrigerator 30 minutes prior, add your broth to achieve the desired moisture level, then bake as directed, potentially requiring an additional 5 to 10 minutes.
If stuffing a turkey, prepare the stuffing at least 45 minutes beforehand and allow it to cool completely before filling the cavity. This cooling step prevents the exterior of the bird from overcooking while the interior comes up to temperature.
Troubleshooting Common Issues
Soggy Stuffing
This frequent complaint stems from either insufficient bread drying or excessive broth addition. Ensure your bread cubes are completely dry before beginning, and add liquid gradually, testing consistency frequently.
Dry Meat
Overcooking represents the primary cause of dry turkey. Rely on meat thermometer readings rather than appearance alone. Remove the bird from the oven immediately upon reaching 165°F.
Uneven Cooking
Ensure the oven rack is positioned so the turkey sits centered in the oven, allowing heat circulation on all sides. Avoid crowding the oven with other dishes.
Serving Suggestions and Presentation
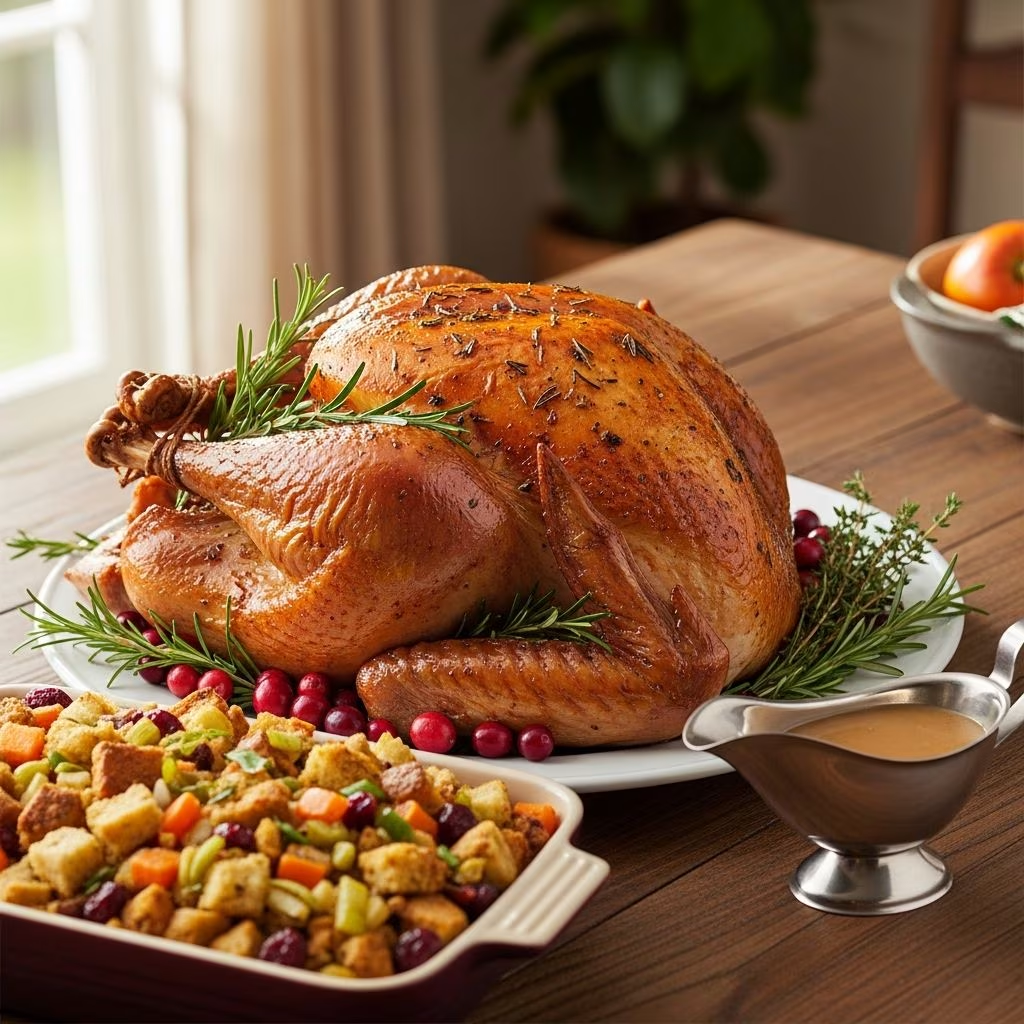
Present your roasted turkey on an attractive serving platter, garnishing with fresh herbs such as parsley or rosemary for visual appeal. Arrange the side-dish stuffing in a separate serving bowl, allowing guests to portion as desired. Offer warm gravy in a gravy boat alongside.
Let the turkey rest for 10 minutes after removing from the oven before carving. This brief cooling period makes handling easier while preserving the meat’s juiciness. Carve slowly and intentionally, separating legs and thighs first, then slicing breast meat against the grain.
Frequently Asked Questions
- Can I prepare stuffing the day before and refrigerate it?
- Yes, prepare the stuffing without liquid, cover, and refrigerate for up to 2 days. Add broth when ready to bake, extending baking time by 5-10 minutes as needed.
- What’s the difference between stuffing baked inside versus outside the turkey?
- Inside stuffing absorbs turkey juices for richer flavor but requires monitoring to ensure it reaches 165°F. Outside stuffing cooks independently and can achieve crispier texture on top.
- How do I know when my turkey is fully cooked?
- The most reliable method is using a meat thermometer. Insert it into the thickest part of the thigh without touching bone—it should reach 165°F.
- Can I use a frozen turkey for this recipe?
- Yes, but plan thawing time carefully: approximately 24 hours for every 4-5 pounds of weight using refrigerator thawing.
- What type of bread works best for stuffing?
- Day-old bread of any variety—white, wheat, or sourdough—works well. The key requirement is that it be completely dry.
Conclusion: Confidence in the Kitchen
Roasting a turkey with homemade stuffing represents an achievable goal for cooks at any experience level. By following these structured steps, understanding the importance of temperature management, and maintaining focus on ingredient quality, you’ll create a memorable holiday centerpiece that impresses family and friends. Remember that minor variations are normal and rarely affect the final outcome. Each time you prepare this dish, you’ll gain confidence and discover personal preferences that make it uniquely yours.
References
- The Best Turkey Stuffing Recipe – Easy To Make! — Farmhouse Harvest. https://farmhouseharvest.net/the-best-turkey-stuffing-easy-thanksgiving-recipe/
- Roast Turkey, Stuffing and Gravy — Art and the Kitchen. https://www.artandthekitchen.com/roast-turkey-stuffing-and-gravy/
- Easy Stuffing Recipe — Spend With Pennies. https://www.spendwithpennies.com/easy-stuffing-recipe/
- Easy Thanksgiving Turkey with Stuffing | Perfect for Beginners — AllRecipes (YouTube). https://www.youtube.com/watch?v=wwTC3IYWnGo