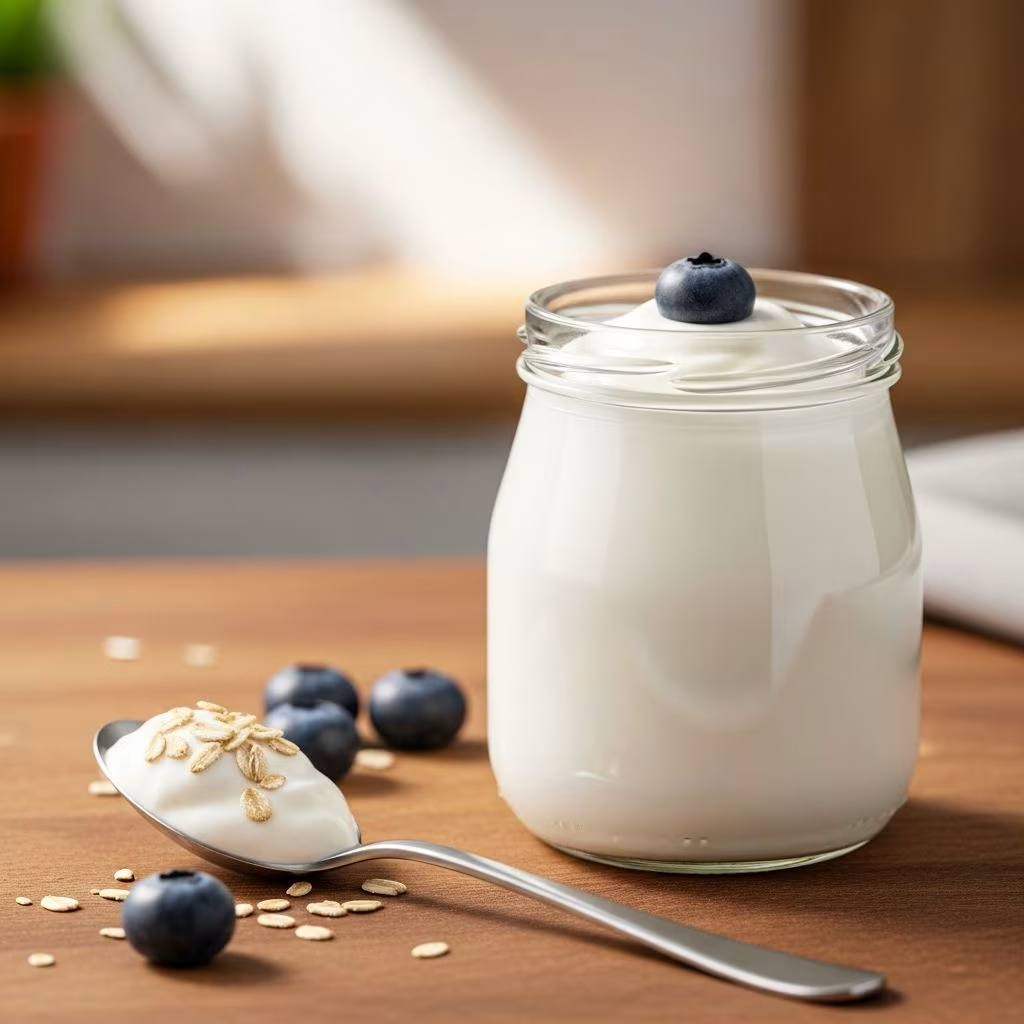
Creating yogurt at home transforms ordinary milk into a versatile, probiotic-rich food that’s fresher and more economical than store-bought options. This method relies on simple heating, cooling, and incubation steps achievable with everyday kitchen tools.
Why Prepare Yogurt Yourself
Making yogurt offers control over ingredients, ensuring no additives or preservatives. It supports gut health through live cultures and allows customization of thickness and flavor. Home versions often taste superior, with a natural tanginess that commercial products mimic with stabilizers.
- Cost savings: Produce quarts for pennies compared to premium store brands.
- Health benefits: Retain more probiotics by avoiding ultra-pasteurization.
- Customization: Adjust fat content or add flavors post-fermentation.
Essential Ingredients for Success
The foundation requires only two items: quality milk and an active starter. Select whole milk for creaminess, though skim works for lighter results.
| Ingredient | Quantity (for 1/2 Gallon) | Notes |
|---|---|---|
| Milk | 1/2 gallon (8 cups) | Whole, 2%, or skim; avoid ultra-pasteurized if possible for better culturing. |
| Plain Yogurt Starter | 4-6 tablespoons | Must contain live active cultures; use store-bought or from prior batch. |
Starters introduce beneficial bacteria like Lactobacillus bulgaricus and Streptococcus thermophilus, which ferment lactose into lactic acid, thickening the milk.
Step-by-Step Preparation Process
Follow these precise stages for consistent results. Total active time is under 30 minutes, with incubation handling the rest.
- Heat the Milk: Pour milk into a heavy saucepan. Warm over medium heat to 180°F (82°C), stirring to avoid scorching. Tiny bubbles form at edges without full boil. This denatures proteins for proper setting.
- Cool Down: Remove from heat and let temperature drop to 110-115°F (43-46°C). Speed up with an ice bath if needed, but stir occasionally.
- Incorporate Starter: Whisk in starter gently until dissolved. Overmixing can damage cultures.
- Incubate: Transfer to jars. Maintain warmth at 100-110°F for 8-12 hours. See methods below.
- Chill and Set: Refrigerate 4-6 hours to firm up. A whey layer on top is normal—stir in for smoothness.
Incubation Techniques Without Appliances
No yogurt maker? Use these reliable hacks for steady warmth.
- Oven with Light On: Place jars inside; pilot light keeps ideal temperature overnight.
- Hot Water Bath: Submerge jars in a cooler filled with hot tap water (110°F), covering to retain heat. Refresh water if needed after 4 hours.
- Towel-Wrapped Cooler: Add jars and hot water bottles; insulate for passive incubation.
- Slow Cooker Low: Pour mixture back in, set to warm or low for 8 hours.
Longer incubation (up to 24 hours) yields tangier, lower-lactose yogurt ideal for dairy-sensitive eaters.
Choosing and Caring for Your Starter
A robust starter ensures thick yogurt. Opt for plain, full-fat varieties labeled with live cultures. Test freshness: It should smell fresh and taste tangy, not off.
- Save 1/4 cup from each batch as future starter (up to 3-5 cycles).
- Freeze extras in ice cube trays for longer storage.
- Replace if batches fail to set, indicating weakened cultures.
Troubleshooting Common Challenges
Issues arise from temperature or hygiene—here’s how to fix them.
| Problem | Cause | Solution |
|---|---|---|
| Runny Texture | Insufficient heating or cool incubation | Reheat to 180°F next time; extend incubation to 12+ hours. |
| Sour Taste | Over-incubation | Shorten to 8 hours; taste-test at intervals. |
| No Setting | Dead starter or contamination | Use fresh starter; sterilize jars with boiling water. |
| Grainy Feel | Rapid cooling | Cool gradually on counter. |
Sterilize equipment by boiling or running through dishwasher’s sanitize cycle to prevent bacterial interference.
Enhancing Thickness: Greek-Style Tips
For denser yogurt, strain post-chilling. Line a colander with cheesecloth or nut milk bag over a bowl. Drain 4-8 hours in fridge—yogurt halves in volume, whey doubles. Use whey in smoothies or baking for nutrition boost.
Flavor Infusions and Serving Ideas
Plain yogurt shines alone or transformed.
- Sweet: Honey, maple syrup, fresh berries, or granola.
- Savory: Olive oil, herbs, cucumber for tzatziki; or curry spices.
- Smoothies: Blend with banana, spinach, and nut butter.
- Baking: Substitute in muffins or pancakes for moisture.
Experiment post-fermentation to preserve cultures.
Storage and Longevity Guidelines
Fresh batches last 2-3 weeks in fridge at 40°F or below. Signs of spoilage: mold, pink hues, or yeasty odor—discard immediately. Portion into smaller containers to minimize air exposure.
Scaling Up Production
Double recipe for families: Use larger pots, maintaining ratios. Store in quart jars. For bulk, invest in a multi-jar incubator later, but start small to perfect technique.
Health and Nutritional Insights
Homemade yogurt packs protein (10g per cup), calcium, and B vitamins. Fermentation reduces lactose by 20-30%, aiding digestion. Whole milk versions provide healthy fats for satiety.
Frequently Asked Questions
Can I use non-dairy milk?
Yes, almond or coconut milk works with added thickeners like gelatin, but results vary in tanginess.
How do I know when it’s ready?
It should jiggle like set custard and taste tangy. Incubate longer for firmer set.
Is a thermometer necessary?
Highly recommended for precision, but approximate with finger test: Cool milk should feel warm, not hot.
Why separate whey?
Whey is nutritious; stir back for creamy texture or strain for Greek style.
Can I add flavors before incubating?
Avoid—sugars or acids disrupt culturing. Add after chilling.
Advanced Variations
- Frozen Yogurt Base: Sweeten strained yogurt, freeze in ice cream maker.
- Laban: Middle Eastern drinkable yogurt—whip thin batch with salt.
- Yogurt Cheese: Strain 24-48 hours for spreadable cheese.
These build on basics for culinary creativity.
References
- How to Make Yogurt (Easy Homemade Recipe) — Wellness Mama (Katie Wells). 2023-05-15. https://wellnessmama.com/recipes/yogurt-recipe/
- Easy Homemade Yogurt Recipe (Creamy & Delicious) — My Home Made Roots. 2022-11-10. https://myhomemaderoots.com/a-simple-method-for-making-homemade-yogurt/
- Easiest Yogurt Recipe {Ever!} — Trina Holden. 2021-08-20. https://trinaholden.com/easiest-yogurt-recipe-ever/
- How to Make Greek Yogurt with Just 2 Ingredients! — Bigger Bolder Baking (Gemma Stafford). 2020-06-12. https://www.youtube.com/watch?v=Z2P8kDNoE-g
- How to Make Homemade Yogurt – SO Easy! — YouTube Channel. 2022-03-05. https://www.youtube.com/watch?v=G1YIIQ4_2zI