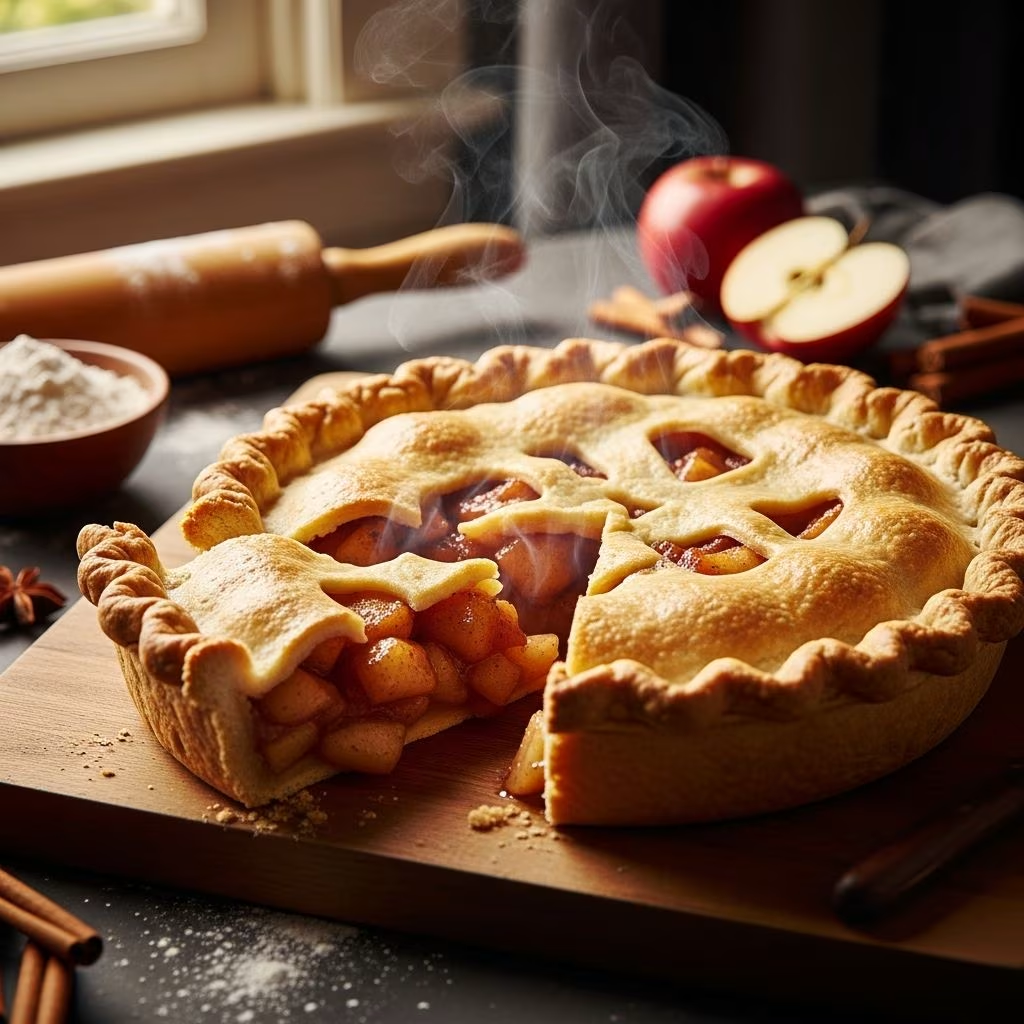
Creating an exceptional apple pie requires more than simply combining apples with a pastry crust. The difference between a mediocre pie and an outstanding one lies in understanding the nuances of ingredient selection, preparation methods, and baking techniques. Professional bakers employ specific strategies that transform common ingredients into a dessert worthy of special occasions and family gatherings. This comprehensive guide explores the fundamental principles and practical methods that elevate homemade apple pie from ordinary to extraordinary.
The Foundation: Understanding Pastry Construction
The pastry crust forms the structural foundation of any successful apple pie. Creating a crust that achieves the ideal balance of crispness and flakiness requires attention to detail and proper technique. The process begins with combining quality ingredients in specific proportions, ensuring that each component plays its designated role in achieving the desired texture.
Cold butter serves as the critical ingredient for developing flakiness in pastry. When butter remains cold during the mixing process, it creates distinct layers within the dough. As the pie bakes, the water content in the butter turns to steam, creating the separation between layers that produces that desirable flaky texture. The butter must be cut into small pieces before incorporation, typically around 1 centimeter dice, allowing for even distribution throughout the flour.
The mixing technique directly impacts the final texture. Rubbing cold butter into flour with fingertips creates a mixture resembling fine breadcrumbs. This texture indicates proper incorporation, where the butter is distributed throughout the flour without being completely blended. Some bakers prefer using a food processor for consistency, though this method requires careful attention to prevent overworking the dough. The key distinction lies in stopping before the mixture becomes too fine or develops into a paste.
Water integration must be handled with precision. Adding just enough cold water to bring the dough together ensures the pastry remains tender rather than tough. Overworking with excess water develops gluten strands, resulting in a dense, chewy crust rather than the desired tender crumb. Professional bakers add water gradually, mixing with one hand to better control the hydration level and maintain dough texture.
Strategic Apple Selection and Preparation
The apple selection strategy represents one of the most significant distinctions between amateur and professional apple pie preparation. Rather than using a single apple variety, expert bakers employ a two-apple system that delivers multiple textural elements within the filling.
Cooking Apples vs. Eating Apples
Cooking apples, such as Bramley or Granny Smith varieties, break down into a soft, almost applesauce-like consistency when heated. These apples contain lower sugar content and higher pectin levels, making them ideal for creating a cohesive base within the filling. When cooked with sugar and gentle heat, cooking apples transform into a smooth component that holds the entire filling together.
Eating apples, including Pink Lady, Braeburn, and Honeycrisp varieties, maintain their structural integrity when exposed to moderate heat. These apples provide natural sweetness and crisp texture when sliced but not fully cooked. By leaving eating apples uncooked or only partially cooked, they retain their firm texture, creating pockets of crunch throughout the filling that contrast beautifully with the soft cooked apple base.
Preparation Techniques
The preparation method for each apple type differs based on its intended role. Cooking apples should be peeled, cored, and cut into approximately 4-centimeter chunks. These larger pieces facilitate even cooking while maintaining some textural distinction during the cooking process. The chunks gradually soften as they cook, eventually reaching a spreadable consistency.
Eating apples require different treatment. Slice these apples into approximately half-centimeter slices, maintaining consistency throughout the batch. This uniform thickness ensures even exposure within the filling and provides consistent textural elements. To prevent oxidation and browning, squeeze fresh lemon juice over the prepared eating apples immediately after slicing.
Building Layered Filling with Complexity
The filling construction process builds layers of flavor and texture that distinguish exceptional apple pie from basic versions. The method involves cooking certain components while leaving others fresh, creating a filling with multiple dimensions.
Begin by placing cooking apple chunks into a pan with unsalted butter, sugar, and lemon juice. The butter enriches the filling while the sugar draws moisture from the apples through osmosis. Cook this mixture slowly over moderate heat, stirring occasionally to ensure even cooking. The apples gradually break down, and the liquid reduces, concentrating the apple flavor. Continue cooking until the apples reach a soft consistency that still maintains some shape distinction. This semi-cooked state provides the ideal texture—neither a smooth puree nor firm chunks, but rather a structured base with some integrity.
Once the cooked apple mixture cools to room temperature, gently fold in the sliced eating apples. This careful combination incorporates the fresh apple slices without breaking them or crushing them into smaller pieces. The cooled environment prevents the eating apples from softening, preserving their textural contribution to the final pie.
Advanced Textural Variations
Beyond the standard two-apple filling approach, professional bakers explore additional methods for creating interesting textural complexity. One approach involves incorporating complementary ingredients that add both flavor and texture variation.
Cheese-Enhanced Apple Pie
The combination of apples with tangy, crumbly cheese represents a sophisticated variation that has historical roots in certain baking traditions. Wensleydale cheese, a traditional English variety with a creamy, crumbly texture, pairs exceptionally well with apple filling. Unlike cheeses that melt into a cohesive mass, Wensleydale maintains its individual crumbles throughout the baking process. These crumbles distribute throughout the filling, imparting subtle tanginess and creamy flavor notes that complement the sweetness of apples while adding unexpected textural interest.
When incorporating cheese into apple pie, scatter crumbled pieces evenly over the layered filling before applying the pastry lid. The cheese distribution should be relatively uniform to ensure consistent flavor throughout each slice. The cheese will soften slightly but maintain its essential crumbly character, creating pockets of flavor that provide complexity to the eating experience.
Spice and Flavor Enhancement
While simple apple pie celebrates the fruit’s natural flavor, selective spice additions can enhance without overwhelming. Cinnamon sticks placed in the cooked apple mixture during cooking impart subtle warmth without the intensity of ground cinnamon. This approach allows for flavor development while maintaining the ability to remove the stick before filling assembly, providing control over spice intensity.
Assembly and Finishing Techniques
Proper assembly requires attention to creating seals and allowing adequate steam escape during baking. Begin by lining the baking tin with the larger pastry portion, allowing excess to hang over the sides. This overhang provides material for creating a finished edge and sealing the top and bottom crusts together.
When layering the filling, distribute it in stages rather than adding it all at once. Layer approximately one-third of the filling, sprinkle with one-third of any additional sugar or ingredients, then repeat twice. This staged approach ensures even distribution and prevents settling of heavier components.
Before applying the pastry lid, brush the edges of the bottom crust with milk or egg wash. This moisture helps create an adhesive seal between the two pastry layers. Position the pastry lid and seal the edges by pressing together with fingertips or using the tines of a fork to create a decorative pattern while securing the seal.
The final surface finishing impacts both appearance and baking results. Brush the entire top crust with milk or egg wash, then sprinkle with granulated sugar. This creates an attractive golden appearance while providing textural interest to the finished crust. Make two or three slits in the top surface to allow steam to escape during baking, preventing a soggy interior while promoting even moisture evaporation.
Baking and Resting Procedures
Proper oven temperature proves critical to achieving a cooked filling with a properly set crust. Preheat the oven to 200°C (approximately 400°F or gas mark 6) before introducing the pie. This higher initial temperature helps set the pastry crust while beginning the apple filling cooking process. Most apple pies require 30 to 35 minutes at this temperature, though size variations may require adjustments.
The baking process should be monitored toward the end to prevent excessive browning. If the crust edges darken too quickly, loosely cover them with aluminum foil to reflect heat while the interior continues cooking. The pie is complete when the crust achieves golden-brown coloring throughout and the filling becomes bubbly at the slits in the top, indicating the apples have reached the proper consistency.
Allowing the finished pie to rest for 15 minutes before serving serves multiple purposes. The filling firms as it cools, making slicing cleaner and more precise. The resting period also allows the apples to continue absorbing the liquid that has accumulated during baking, creating better texture and preventing excessive sauce running from each slice.
Refrigeration and Make-Ahead Strategies
Professional bakers often prepare components in advance, utilizing refrigeration strategically. The prepared pastry dough benefits from resting in the refrigerator for approximately 30 minutes before rolling and shaping. This resting allows gluten development to ease, creating a more tender final product while allowing the butter to refract, improving flakiness during baking.
The filled but unbaked pie can be refrigerated for several hours or overnight before baking. This advance preparation suits busy schedules while potentially improving results, as the cold environment allows flavors to meld and the pastry to relax. Simply extend the baking time by approximately 5 to 10 minutes if baking from a cold state rather than room temperature.
Serving and Storage Recommendations
Fresh apple pie presents optimal flavor and texture within the first 24 hours of baking. Serve at room temperature or warmed slightly, accompanied by vanilla ice cream, whipped cream, or custard. These accompaniments provide temperature and textural contrast that enhances the pie-eating experience.
Storage depends on ambient temperature and humidity. In cooler environments, apple pie remains suitable for approximately two days when loosely covered on a countertop. For longer storage, refrigerate the completed pie in a sealed container for up to four days. The refrigerated pie can be reheated gently before serving, restoring a more freshly baked quality to the eating experience.
Troubleshooting Common Issues
Understanding and addressing common problems prevents disappointment and improves results with future attempts. A soggy bottom crust typically results from excess moisture in the filling or insufficient oven temperature. Ensure adequate steam escape through properly sized slits and consider pre-baking the empty pastry shell at 180°C for approximately 10 minutes before filling. Runny filling may indicate undercooked apples or excessive liquid accumulation. Reduce the cooking time for eating apples to ensure better structural integrity, or drain excess liquid from the filling before assembly.
Tough or dense crust usually reflects overworking the dough or insufficient fat distribution. Handle the dough minimally after water incorporation, and ensure the butter remains sufficiently cold throughout mixing. Crust that browns too quickly before the filling cooks through may indicate oven temperature that is too high. Lower the temperature slightly and extend baking time, monitoring the results carefully.
Variations and Creative Approaches
Once basic techniques are mastered, creative variations explore different flavor and textural combinations. Spiced versions introduce warming notes through carefully measured amounts of nutmeg, allspice, or ground ginger. Caramel swirls added to the filling before baking create sweet pockets of concentrated flavor. Almond or walnut crumb toppings replace the traditional pastry lid, creating rustic presentations with different textural dynamics. Herbal infusions using thyme or lavender in the apple cooking liquid provide subtle complexity that intrigues sophisticated palates.
References
- Bake — Paul Hollywood. 2013. Primary source covering fundamental pastry and baking techniques.
- Science of Cooking: Understanding Fruit Preparation and Texture Development — University of Kentucky Cooperative Extension Service. 2019. https://www.uky.edu
- Traditional British Cheese and Culinary Applications — British Cheese Board. 2022. https://www.britishcheese.com
- Food Safety and Proper Storage Guidelines — U.S. Department of Agriculture. 2024. https://www.usda.gov