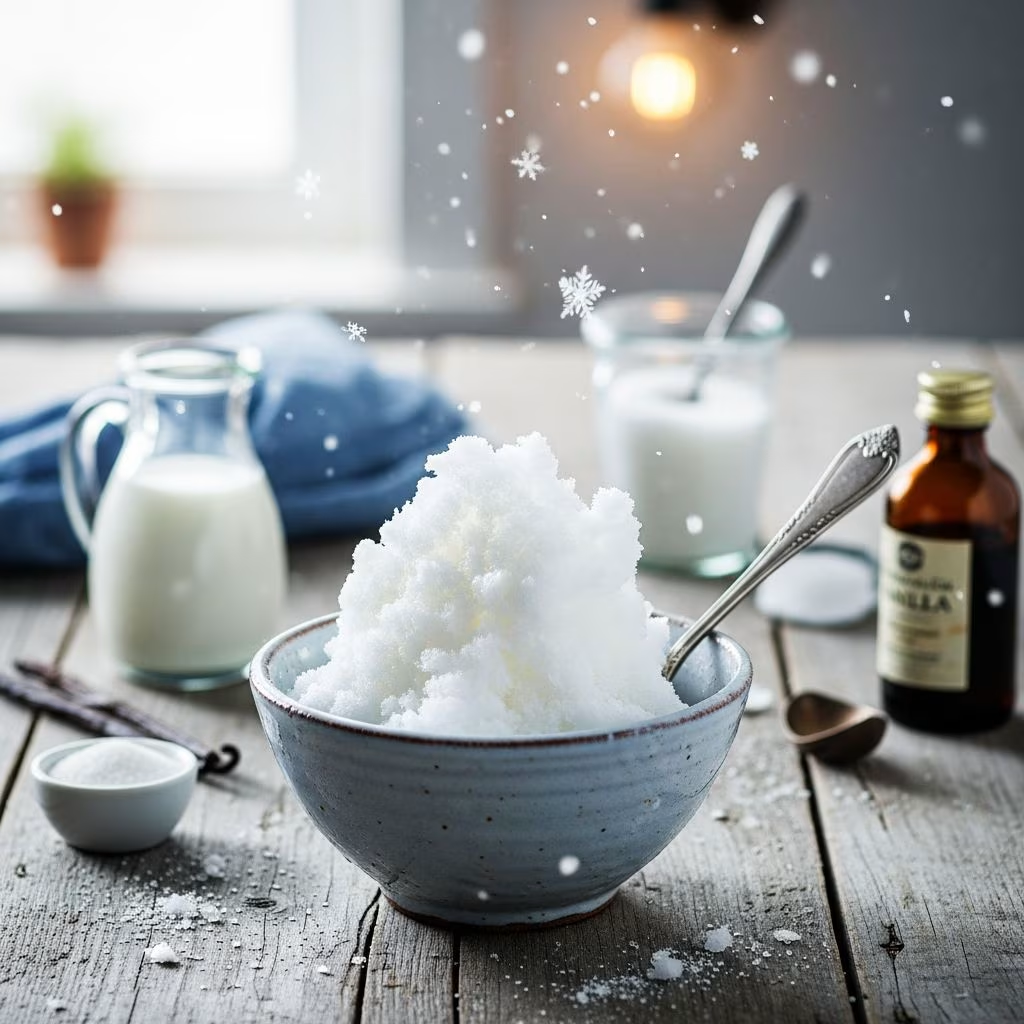
When winter arrives and fresh snow blankets the ground, nature provides the perfect opportunity for a timeless frozen treat. Snow ice cream represents one of the simplest and most delightful desserts you can create without any special equipment or baking knowledge. This winter delicacy has been enjoyed by families for generations, offering a fun activity that combines minimal preparation time with maximum enjoyment. Whether you’re looking for a quick afternoon project with children or a unique way to celebrate a snowy day, understanding the fundamentals of snow ice cream preparation will enable you to create memorable frozen desserts.
Understanding Snow Ice Cream Basics
Snow ice cream differs from traditional ice cream in that it requires no churning, freezing time, or cooking involved. The process relies on combining cold, freshly fallen snow with a flavored liquid mixture, creating an instant frozen dessert through simple stirring. The appeal lies in its immediacy—you can have a bowl of ice cream ready within minutes of gathering snow. This spontaneous treat requires only basic pantry ingredients that most households maintain year-round, making it accessible to anyone experiencing winter weather with fresh snow accumulation.
The fundamental principle behind snow ice cream involves mixing sweetened milk or cream with clean snow, then stirring rapidly until the combination transforms into a creamy, scoopable consistency. The snow acts as the primary frozen component, while the liquid ingredients provide sweetness, richness, and flavor. The ratio between snow and liquid significantly impacts the final texture—too much liquid creates a slushy mixture, while too little produces a grainy, icy result. Finding the perfect balance ensures you achieve that desirable creamy texture that distinguishes quality snow ice cream from mediocre versions.
Selecting and Preparing Your Snow
The most critical factor in creating excellent snow ice cream begins before you even start mixing ingredients. Snow quality directly influences both safety and taste. Always gather snow from clean areas away from roadways, exhaust fumes, pets, and other potential contaminants. Freshly fallen snow works best, as it hasn’t accumulated dust, debris, or pollution over extended periods. Ideally, collect snow during or immediately after a snowfall to ensure maximum freshness and purity.
Consider the physical properties of your snow before beginning the recipe. Different snow types behave differently in ice cream preparation. Light, fluffy snow requires more quantity to achieve desired consistency, while dense, packed snow needs less volume. Temperature also matters—snow that’s too warm will melt too quickly and result in runny ice cream, whereas snow that’s extremely cold will take longer to incorporate properly. For best results, keep your snow in a cold environment, ideally in a metal or glass bowl that conducts cold effectively without allowing rapid melting.
Essential Ingredients for Snow Ice Cream
Creating snow ice cream requires only a handful of basic ingredients, though variations exist depending on your preferences and dietary needs. Understanding each ingredient’s role helps you make informed substitutions and adjustments.
Milk and Cream Options: Traditional recipes call for whole milk, dairy cream, or combinations thereof. Whole milk provides a balanced approach, offering richness without excessive fat content. Heavy cream creates a richer, more decadent final product but can result in a heavier texture. Plant-based milk alternatives including almond, oat, or coconut milk work equally well, allowing those with dairy restrictions to enjoy this treat. Some recipes combine both milk and cream for optimal results, while others employ sweetened condensed milk as a convenience ingredient that eliminates the need for separate sugar additions.
Sweetening Agents: Granulated white sugar serves as the standard sweetener in most recipes, requiring proper dissolution before combining with snow. Real maple syrup offers a distinctive flavor profile while simultaneously providing sweetness and moisture. Some recipes experiment with honey, agave nectar, or other liquid sweeteners that integrate more easily without grittiness. The amount of sweetener depends on personal preference and the sweetness level of other ingredients—condensed milk recipes, for instance, require less added sugar than recipes using plain milk.
Flavor Extracts and Additions: Pure vanilla extract remains the most popular flavoring agent, providing classic ice cream taste that appeals universally. Quality matters significantly here—pure vanilla extract creates superior flavor compared to imitation alternatives. Beyond vanilla, adventurous cooks experiment with almond extract, peppermint extract, or other flavorings. Some recipes incorporate maple syrup not just for sweetness but for its distinctive woodsy flavor. Salt serves an important function beyond taste—a small pinch enhances and rounds out other flavors, making the sweetness more pronounced and complex.
Step-by-Step Snow Ice Cream Preparation
Creating snow ice cream follows a straightforward process that requires no special skills or equipment. The basic methodology applies across most variations with minor adjustments.
Step One: Combine Wet Ingredients: Begin by whisking together your milk, sugar, vanilla extract, and salt in a medium bowl. Whisk thoroughly until the sugar dissolves completely—residual grittiness will carry through to the final product if sugar crystals remain. This preliminary mixing ensures even distribution of all components and prevents any ingredient from settling to the bottom during the critical mixing phase.
Step Two: Gather Your Snow: While your wet ingredients meld, quickly collect fresh snow in a large, cold-appropriate bowl. Aim for approximately eight to ten cups of snow, though the exact quantity depends on your snow’s density and your desired consistency. Don’t worry about precision at this stage—you can always add more snow if needed. The key is speed; gathering snow before your liquid mixture becomes too warm prevents unnecessary melting.
Step Three: Combine and Stir: Pour your prepared liquid mixture over the gathered snow and immediately begin stirring vigorously. This is where patience and technique matter. Use a spoon to fold the mixture together, chopping and stirring continuously for one to three minutes depending on snow wetness. The mixture will gradually transform from distinctly separated snow and liquid into a unified, creamy consistency resembling soft-serve ice cream. Some snow may remain visible initially—continue stirring until you achieve your preferred texture.
Step Four: Serve Immediately: Snow ice cream melts rapidly, so serving immediately after preparation ensures the best texture and temperature. Scoop generous portions into bowls and enjoy right away. Optional toppings including sprinkles, chocolate chips, or cookie crumbles can add extra appeal, particularly when serving children. The entire process from gathering snow to eating should occur within ten to fifteen minutes for optimal results.
Popular Snow Ice Cream Variations
Beyond the basic vanilla version, numerous creative variations expand your winter dessert options.
Sweetened Condensed Milk Version: This simplified approach requires only three ingredients—fresh snow, sweetened condensed milk, and vanilla extract. Drizzle condensed milk over gathered snow, sprinkle vanilla on top, and fold everything together until combined. The sweetened condensed milk eliminates the need for dissolving sugar separately and creates a naturally creamy consistency. This version appeals particularly to families seeking the absolute simplest preparation method.
Maple Syrup Variation: Combining one cup of heavy cream with half a cup of pure maple syrup and one teaspoon vanilla extract creates a distinctly flavored snow ice cream with autumn notes. This variation works exceptionally well for those who appreciate maple flavoring and desire a richer, more substantial texture than milk-based versions provide.
Chocolate Adaptations: While not traditional snow ice cream, adding chocolate syrup to your base liquid mixture or using chocolate milk creates chocolate-flavored versions. Alternatively, mixing cocoa powder with sugar before combining with milk produces chocolate ice cream without the syrup’s extra moisture.
Texture and Consistency Optimization
Achieving the perfect snow ice cream texture requires understanding how different factors influence the final product. Snow density plays the most significant role—light, fluffy snow produces a fluffier ice cream requiring more volume, while dense snow creates creamier results with less quantity needed. Adjusting your liquid-to-snow ratio based on what you observe during stirring allows you to customize consistency to your preference. If your mixture seems too slushy and runny, fold in additional snow a bit at a time. If it appears too icy or grainy, your snow may be too dense or too cold—letting it sit at room temperature briefly before mixing can help.
Temperature management influences texture significantly as well. Warmer snow melts faster, creating mushier results, while extremely cold snow resists combining smoothly. The ambient temperature where you prepare your ice cream matters too—working outdoors in cold conditions slows melting, while indoor preparation in a warm kitchen requires faster work. Some cooks strategically use the warmth of their hands and the friction from stirring to moderate snow temperature, creating ideal conditions for transformation.
Frequently Asked Questions
Can I make snow ice cream with shaved ice instead of natural snow? Yes, shaved ice works as a substitute when fresh snow isn’t available. The technique remains identical, though shaved ice may have slightly different melting characteristics depending on how finely it’s shaved. Some sources confirm that this adaptation produces satisfactory results, though connoisseurs argue that fresh snow creates superior texture.
How long does snow ice cream stay frozen? Snow ice cream melts rapidly and doesn’t refreeze successfully once it begins to thaw. You should consume the entire batch within ten to fifteen minutes of preparation. Attempting to refreeze partially melted snow ice cream typically results in grainy, unpleasant texture rather than smooth ice cream.
Is it safe to eat snow from my yard? Safety depends on your specific location. Avoid snow from areas near roadways where vehicle exhaust accumulates, from areas where pets frequent, or from yards treated with chemicals. Snow from clean, residential areas well away from traffic typically presents no safety concerns. When in doubt, gather snow from undisturbed areas in your yard or nearby parks.
Can I prepare the liquid mixture ahead of time? Yes, combining your milk, sugar, vanilla, and salt several hours before gathering snow poses no problems. Keeping the mixture refrigerated until you’re ready to use it prevents premature warming. This advance preparation works particularly well when coordinating snow ice cream activities with children or groups.
What happens if my snow ice cream turns out too runny? Runny texture indicates either excessive liquid relative to snow or insufficient stirring time. If you encounter this problem, add more snow gradually while stirring continuously until you achieve desired consistency. Working more quickly during the mixing phase can also help, as slower stirring allows more snow to melt.
Tips for Success
Several practical strategies improve your snow ice cream outcomes. Work quickly and efficiently, as time is your limiting factor with this rapidly melting treat. Prepare your liquid mixture while snow is being gathered to maximize efficiency. Use a cold bowl when possible—metal and glass conduct cold better than plastic, helping preserve snow integrity. Gather significantly more snow than you think you’ll need, as estimates are often inaccurate, particularly with unfamiliar snow types. Recruit helpers, especially children, as stirring requires sustained effort and multiple hands make the process faster and more enjoyable. Consider organizing your snow ice cream activity outdoors where cold temperatures naturally preserve your ingredients and where melting residue creates no cleanup concerns.
Making Snow Ice Cream a Tradition
Snow ice cream represents more than just a dessert—it embodies the spontaneous joy and creativity that winter weather enables. The activity requires minimal planning, no special equipment, and produces immediate gratification. Whether enjoyed as a solo treat during a quiet snowy afternoon or as a group activity with family and friends, snow ice cream creates lasting memories while utilizing nature’s free resources. The simplicity of the recipe means even young children can participate meaningfully in preparation, from snow gathering through stirring and serving. Making snow ice cream an annual tradition during winter months transforms a common weather occurrence into an anticipated seasonal celebration that families look forward to experiencing together.
References
- Snow Ice Cream Recipe — Gimme Some Oven. Accessed April 2026. https://www.gimmesomeoven.com/how-to-make-snow-ice-cream-recipe/
- 3-Ingredient Vanilla SNOW Ice Cream — Happy Hooligans. Accessed April 2026. https://happyhooligans.ca/3-ingredient-delicious-vanilla-snow-ice-cream/
- Easy Snow Ice Cream Recipe (without Sweetened Condensed Milk) — Crayons and Cravings. Accessed April 2026. https://crayonsandcravings.com/snow-ice-cream/
- Snow Ice Cream Recipe — The Prairie Homestead. 2015. https://www.theprairiehomestead.com/2015/01/snow-ice-cream-recipe.html
- How to Make Snow Ice Cream (Easy Recipe) — Rose Bakes. Accessed April 2026. https://rosebakes.com/how-to-make-snow-ice-cream-easy-recipe/