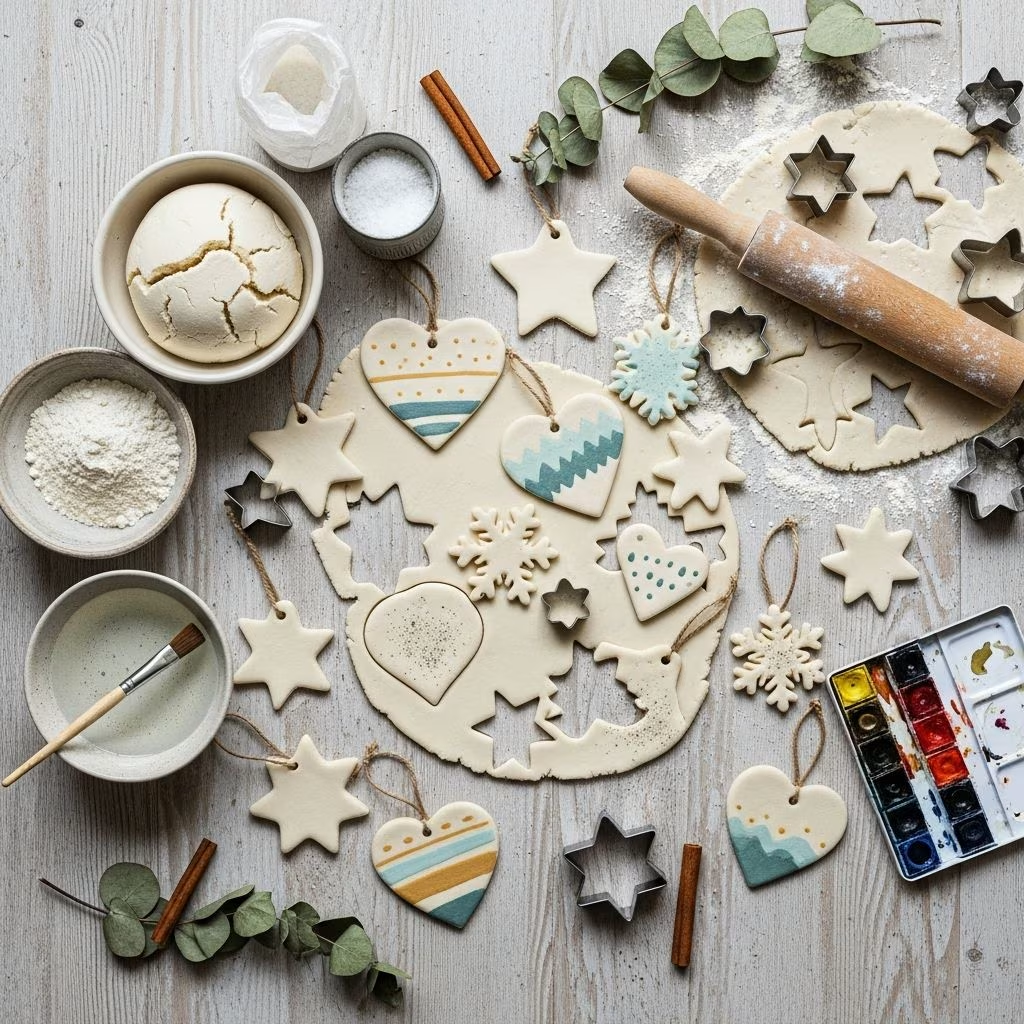
Salt dough ornaments offer a delightful way to blend creativity with tradition, producing decorations that endure for years. Made from everyday pantry staples like flour, salt, and water, these crafts invite families to personalize holiday trees with unique designs, handprints, and textures. This comprehensive guide explores everything from basic recipes to advanced techniques, ensuring your creations are both beautiful and long-lasting.
Why Choose Salt Dough for Holiday Decorations
Salt dough stands out for its simplicity and versatility in crafting. The salt acts as a natural preservative, drawing out moisture to create sturdy pieces that resist mold and breakage when properly baked. Unlike store-bought ornaments, these allow endless customization—think intricate patterns, family initials, or tiny imprints of little hands. Families appreciate the tactile joy of kneading and shaping, turning craft time into memorable bonding experiences. Moreover, these ornaments develop a vintage patina over time, enhancing their sentimental value with each passing season.
Essential Ingredients and Tools
Gathering the right materials is straightforward, as most items are already in your kitchen. Core ingredients include all-purpose flour for structure, table salt for preservation, and warm water to bind everything together. Optional additions like cinnamon can tint the dough naturally for a warmer hue.
- Basic Recipe Staples: 1 cup flour, ½ cup salt, ½ cup warm water (yields about 20-30 small ornaments).
- Tools Needed: Mixing bowl, wooden spoon, rolling pin, parchment paper, cookie cutters, straw or skewer for hanging holes, baking sheets.
- Decorating Supplies: Acrylic paints, sealant spray, ribbons or twine, fine brushes, glitter (optional).
For variations, experiment with ratios: increase salt slightly for extra durability or add cornstarch for a smoother texture in baking soda alternatives.
Mastering the Perfect Salt Dough Recipe
Achieving the ideal dough consistency is key to success. Start by dissolving salt in warm water—this prevents graininess. Gradually incorporate flour while stirring, then knead until smooth and pliable, like playdough. If too sticky, sprinkle in flour; if crumbly, add water drop by drop.
| Recipe Type | Flour | Salt | Water | Bake Temp/Time |
|---|---|---|---|---|
| Classic Salt Dough | 1 cup | ½ cup | ½ cup warm | 200-250°F / 1-2 hours |
| Cinnamon-Infused | 1¾ cups | 1 cup | 1 cup warm | 250°F / 1.5-2 hours |
| Baking Soda Version | 1 cup cornstarch | 2 cups baking soda | 1¼ cups water | Air dry or 175°F / 1-2 hours |
These proportions, refined from popular family-tested methods, ensure even drying and minimal cracking.
Step-by-Step Guide to Shaping Ornaments
Preparation sets the foundation for flawless results. Divide dough into workable portions to avoid overwhelming young helpers. Roll between two parchment sheets to ⅛ to ¼-inch thickness—thinner for delicate designs, thicker for handprints.
- Dust surfaces lightly with flour to prevent sticking.
- Press cookie cutters firmly, then gently lift shapes, re-rolling scraps as needed.
- For personalization, imprint textures using forks, stamps, or natural items like leaves.
- Poke a small hole near the top with a straw, ensuring it’s large enough for ribbon but not so big it weakens the structure.
- Transfer to parchment-lined sheets, spacing 1 inch apart.
Handprint ornaments shine as keepsakes: press palms gently into 4-5 inch rounds, smooth edges, and add names with toothpick script.
Baking and Drying Techniques for Durability
Low, slow baking prevents warping. Preheat to 200-250°F and bake until firm and pale gold, flipping halfway for even drying. Larger pieces may need 2-3 hours; test by tapping—if it sounds hollow, it’s ready. Cool completely on racks to avoid moisture traps.
Air-drying suits humid climates: spread pieces on wire racks for 2-3 days, flipping daily. Baking soda dough excels here, hardening overnight without ovens. Always ensure uniform thickness to dodge uneven results.
Creative Decorating Ideas to Elevate Your Designs
Bare dough offers rustic charm, but painting unlocks vibrancy. Seal first with matte varnish to protect from oils, then apply acrylics in thin layers. Popular themes include metallics for shine, pastels for whimsy, or earth tones for naturals.
- Texture Play: Emboss with rubber stamps or steel wool before baking.
- Glitter Accents: Brush with glue and dip in fine glitter post-sealing.
- Natural Elements: Embed dried flowers or seeds for organic looks.
- Modern Twists: Monograms, constellations, or pet paw prints.
Finish with clear sealant to safeguard against fading and handling wear.
Preservation and Storage Tips
To keep ornaments pristine, store in airtight containers with silica packets, away from direct sun. Avoid humid spots, as salt absorbs moisture. Annually inspect for cracks; touch up paint as needed. Properly cured pieces last decades, becoming family treasures passed down.
Troubleshooting Common Issues
Challenges arise, but solutions are simple:
- Cracking: Roll thinner, bake slower, or cover loosely with foil mid-bake.
- Sticky Dough: Knead in more flour incrementally.
- Puffy Edges: Prick with fork pre-bake to release air.
- Fading Paint: Use quality acrylics and multiple sealant coats.
Family-Friendly Variations and Projects
Adapt for all ages: toddlers love handprints, older kids tackle intricate cuts. Scale up for garlands—string multiples with twine. Themed sets like woodland animals or geometric shapes add variety. Baking soda dough suits no-oven scenarios, ideal for apartments.
Seasonal and Year-Round Applications
Beyond Christmas, craft spring florals, Halloween motifs, or wedding favors. Their neutrality fits any celebration, proving salt dough’s timeless appeal.
Frequently Asked Questions
Can salt dough ornaments be eaten?
No, due to high salt content and baking, they are for decoration only.
How long do they last?
Sealed properly, 10+ years or indefinitely with care.
Is an oven required?
No, air-drying works, though slower (2-3 days).
What if my dough cracks during baking?
Lower temperature and extend time; avoid thick rolls.
Are these safe for young children?
Yes, non-toxic ingredients; supervise small parts.
Can I paint before baking?
Better after, as paints burn; seal post-paint.
References
- Salt Dough Ornaments: Easy Recipe! — Wholefully. 2023-12-01. https://wholefully.com/make-salt-dough-ornaments/
- Best Salt Dough Recipe for Ornaments and Keepsakes — Crafty Morning. 2022-11-15. https://www.craftymorning.com/best-salt-dough-recipe-for-ornaments-and-keepsakes/
- The Best Salt Dough (for Ornaments and Crafting!) — Yummy Toddler Food. 2024-10-20. https://www.yummytoddlerfood.com/the-best-salt-dough-ornaments/
- How to Make Simple Salt Dough Ornaments — The Purposeful You. 2023-11-10. https://www.thepurposefulyou.com/blog/how-to-make-simple-salt-dough-ornaments
- Baking Soda Dough Christmas Ornaments — Cali Girl in a Southern World. 2023-12-05. https://caligirlinasouthernworld.com/baking-soda-dough-christmas-ornaments/