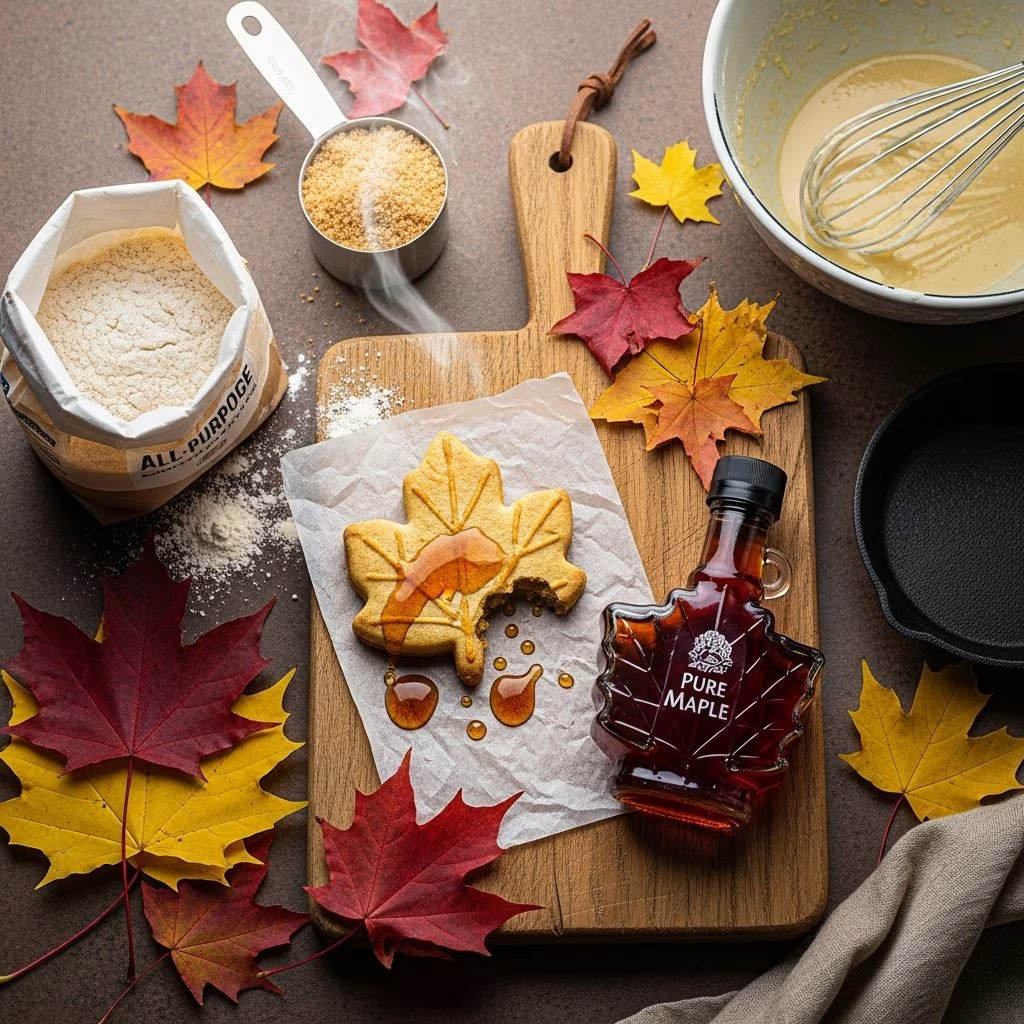
Pure maple syrup offers a natural pathway to creating exquisite candies that capture the essence of early spring forests. These treats, known for their smooth texture and intense flavor, require minimal ingredients but demand attention to detail during preparation. Home cooks can produce professional-quality results using basic kitchen tools, bypassing the need for commercial additives or complex machinery.
The Allure of Pure Maple Treats
Maple candies stand out for their simplicity—essentially boiled-down syrup transformed through heat and agitation. Unlike processed sweets, they retain the syrup’s earthy notes, ranging from caramel-like depth to bright, woody hints depending on the syrup grade. This process not only preserves natural sugars but also concentrates the syrup’s unique mineral profile, delivering a clean, unadulterated sweetness.
Historically, indigenous peoples and early settlers in North America crafted these confections from tree sap, boiling it down over open fires. Today, starting with store-bought pure maple syrup simplifies the endeavor while yielding comparable luxury. The result is a versatile candy suitable for standalone enjoyment, toppings on desserts, or thoughtful gifts wrapped in cellophane.
Essential Ingredients and Tools
To embark on this culinary adventure, gather high-quality components and reliable equipment. The foundation is always pure maple syrup, free from artificial flavors or corn syrup substitutes, as imitation products fail to crystallize properly.
- Pure maple syrup: 1-4 cups, depending on batch size. Lighter grades like Grade A Light Amber yield delicate flavors; darker ones intensify color and taste.
- Butter or oil (optional): ½ tablespoon per cup of syrup reduces foaming and adds creaminess.
- Heavy-bottomed pot: Stainless steel, deep enough to handle bubbling syrup safely.
- Candy thermometer: Accurate to 1°F; clip-on models work best for constant monitoring.
- Wooden spoon or whisk: For vigorous stirring in later stages.
- Molds or pans: Silicone candy molds, muffin liners, parchment-lined baking sheets, or bread tins for shaping.
- Ice bath or cool surface: Speeds controlled cooling.
Preparation begins with calibrating the thermometer: boil water and confirm it reads 212°F (100°C) at sea level, adjusting for altitude if needed (add 1°F per 500 feet elevation).
Mastering the Boiling Phase
The transformation starts with heating syrup to precise temperatures, where water content evaporates to reach the ‘soft ball’ stage. Pour syrup into the pot over medium heat, avoiding stirring initially to prevent premature crystallization.
| Stage | Temperature (°F) | Time Estimate | Purpose |
|---|---|---|---|
| Initial Boil | 235-240 | 20-30 min | Evaporate water |
| Peak Heat (Candy) | 243-246 | Additional 5-10 min | Reach soft ball |
| Cooling | 175-185 | 5-10 min | Prepare for stirring |
Monitor closely as the syrup foams and bubbles vigorously—use a larger pot to contain expansion. At 243-246°F (or 32-34°F above boiling point), remove from heat immediately to halt cooking. Bubbles will subside, revealing a glossy, amber liquid ready for the next phase.
Pro Tip: If foam builds excessively, add a pat of butter to stabilize. This step, drawn from traditional methods, ensures even texture without graininess.
Controlled Cooling and Stirring Technique
Allow the hot syrup to cool undisturbed to 175-185°F, about 5-10 minutes. Placing the pot in an ice bath accelerates this without shocking the mixture. The syrup thickens slightly, setting the stage for crystallization.
Once cooled, stir rapidly with a wooden spoon or whisk for 3-5 minutes. The mixture lightens from deep amber to pale gold, turning opaque, creamy, and stiff—like thick frosting. This agitation induces tiny sugar crystals, creating the signature smooth mouthfeel. Stop when it holds shape but remains pourable; over-stirring leads to hard, gritty results.
Work swiftly: spoon or pour into prepared molds. Silicone molds release easily; parchment-lined pans allow breaking into shards later. Lightly grease surfaces with oil or butter for clean demolding. Let set at room temperature for 1-2 hours until firm.
Creative Variations for Every Palate
Experiment beyond basics to elevate your maple candies. Add-ins during stirring infuse flavor without overpowering the syrup’s purity.
- Creamy Maple: Incorporate 1-2 tablespoons heavy cream or milk post-cooling for a chewy, fudge-like texture ideal for those preferring softer sweets.
- Nutty Crunch: Fold in chopped walnuts, pecans, or sea salt flakes just before molding.
- Flavored Twists: Infuse with vanilla extract, cinnamon, or espresso powder (½ tsp per cup syrup).
- Maple Cream: Cool to lower temperatures (around 230°F) and whip longer for spreadable consistency, perfect on toast.
- Sugar Granules: Boil further to 250°F+ for coarser maple sugar to sprinkle on yogurt or baked goods.
For braces-friendly options, butter-enhanced versions yield softer candies. Scale recipes: 1 cup syrup makes ~½ pound; 4 cups yield 2 pounds, as confirmed by production guidelines.
Troubleshooting Common Pitfalls
Even seasoned makers encounter issues—here’s how to course-correct:
- Grainy texture: Caused by stirring too early or impurities. Strain syrup beforehand and avoid metal utensils post-boil.
- Sticky candy: Undercooked—reheat to target temp next time.
- Too hard/soft: Thermometer inaccuracy; recalibrate religiously.
- Seizes up: Splash of water or butter can salvage; stir minimally.
- Doesn’t set: Humidity high? Use dehumidifier or air-conditioned space.
Practice batches refine instincts, turning mishaps into learning opportunities.
Storing and Gifting Your Creations
Fresh maple candies last 1-2 weeks at room temperature in airtight containers, separated by parchment to prevent sticking. Refrigerate for up to a month, though condensation may soften them—return to room temp before serving. Freeze portions up to 6 months for year-round access.
Package creatively: cellophane bags tied with twine, tins lined with wax paper, or custom boxes. Pair with hot cocoa mixes or tea for gift baskets. Label with production date and ingredients for transparency.
Health and Nutritional Insights
These candies offer a natural alternative to refined sugar treats, with antioxidants from the syrup. A 1-ounce piece provides ~100 calories, mostly from sucrose, plus trace minerals like manganese and zinc. Consume mindfully due to high sugar content; suitable for vegan diets sans butter.
Frequently Asked Questions
Can I use any maple syrup grade?
Yes, all pure grades work, but Light Amber yields clearest candies; darker ones add robust flavor.
How do I know when stirring is done?
The mixture turns matte, lightens significantly, and ribbons off the spoon stiffly.
Is a candy thermometer essential?
Absolutely—visual cues alone risk inconsistency. Digital models offer precision.
Can I make these without molds?
Yes, pour onto oiled parchment, cool, and break into pieces for rustic shards.
Why calibrate the thermometer?
Accounts for altitude and model variances, ensuring accurate temps every batch.
Scaling Up for Events
For parties, multiply recipes but boil in smaller batches to maintain control. Yield calculator: 1 quart syrup ≈ 2 lbs candy. Involve helpers for stirring and molding assembly lines.
References
- DIY Maple Sugar Candy — Little House on the Prairie. N/A. https://littlehouseontheprairie.com/diy-maple-sugar-candy/
- How to Make Maple Candy — Vermont Evaporator Company. N/A. https://vermontevaporator.com/how-to-make-maple-candy/
- Making Candy and Cream — Massachusetts Maple Producers Association. N/A. https://massmaple.org/about-maple-syrup/make-maple-syrup/making-candy-and-cream/
- Maple Candy | How to Make Maple Candy — Binky’s Culinary Carnival. N/A. https://www.binkysculinarycarnival.com/maple-candy-how-to-make-maple-candy/
- Maple Sugar Candy — MRSEC: The Center for Nanoscale Science. N/A. https://www.mrsec.psu.edu/education-outreach/public/nano-activities-kids/liquid-metal/maple-sugar-candy