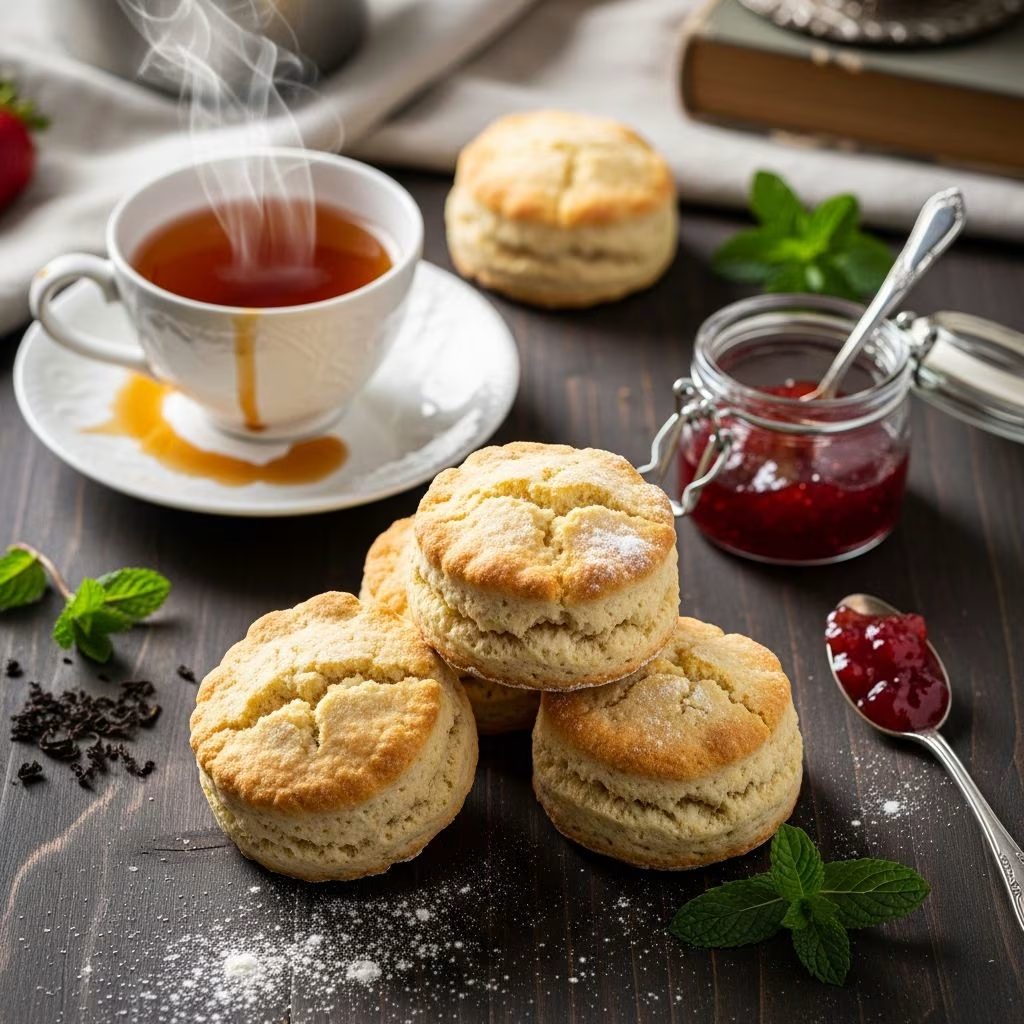
Tea biscuits represent a timeless baked good that bridges the gap between simple comfort food and elegant entertaining. These delicate, crispy treats have become a staple in kitchens worldwide, valued for their versatility and straightforward preparation methods. Whether served alongside an afternoon cup of tea or paired with jam and clotted cream, homemade tea biscuits deliver a satisfaction that store-bought alternatives rarely match. This comprehensive guide walks you through everything needed to bake exceptional tea biscuits, from understanding fundamental techniques to exploring creative variations.
Understanding the Foundation: Core Ingredients
Creating successful tea biscuits begins with recognizing how each ingredient contributes to the final texture and flavor profile. The foundation consists of flour, a leavening agent, fat, liquid, and seasoning—each playing a distinct role in achieving that coveted light, flaky consistency.
Flour serves as the structural backbone of tea biscuits. Most traditional recipes call for all-purpose flour, which provides an ideal balance between protein content and workability. Some bakers prefer whole wheat pastry flour for a nuttier flavor and increased nutritional content, though this substitution slightly alters the final texture.
The leavening agent—typically baking powder or a combination of baking soda and cream of tartar—creates the rise that characterizes properly baked biscuits. These chemical leaveners work by releasing gas bubbles during mixing and baking, resulting in the desirable tender crumb structure. Baking powder quantity varies among recipes, with some calling for one tablespoon per two cups of flour, while others use as little as one teaspoon.
Fat content determines the flakiness factor that distinguishes exceptional tea biscuits from dense, bread-like results. Traditional recipes employ cold butter cut into small pieces, which creates distinct layers when the biscuits bake. Some modern variations use heavy cream as the fat source, eliminating the need for butter entirely. Coconut oil offers another plant-based option that produces comparable results.
Liquid—whether milk, buttermilk, or heavy cream—hydrates the dry ingredients and binds them into cohesive dough. The amount matters significantly; too little produces crumbly, difficult-to-work dough, while excess liquid results in tough, bread-like biscuits.
Temperature Management: The Secret to Superior Texture
Temperature control represents one of the most critical yet often overlooked factors in tea biscuit success. This principle operates at multiple stages throughout the baking process.
Maintaining cold ingredients throughout preparation preserves the fat’s integrity and promotes flakiness. When butter remains cold while being cut into flour, it creates small pockets that transform into flaky layers during baking. Similarly, using cold milk or heavy cream prevents the dough from becoming too warm, which would cause premature gluten development and result in tough biscuits. Some recipes specifically recommend removing butter from refrigeration only moments before use.
Oven temperature proves equally important for achieving proper rise and browning. Most recipes call for preheating to between 400°F and 450°F, ensuring the oven reaches the correct temperature before biscuits enter. An oven that’s too cool produces dense, pale biscuits, while excessive heat can cause the exterior to brown before the interior fully rises.
Resting periods between shaping and baking offer another temperature-related consideration. Allowing shaped biscuits to rest in a cool environment—or even briefly in the refrigerator—helps them hold their shape during baking while promoting more even rise.
Step-by-Step Preparation Method
Understanding the proper sequence of steps prevents common mistakes and maximizes your likelihood of success.
Combining Dry Ingredients
Begin by whisking together flour, baking powder, and salt in a large mixing bowl. This step distributes the leavening agent evenly throughout the flour, ensuring consistent rise across all biscuits. Some bakers use a food processor for this stage, which can also facilitate the next step of incorporating fat.
Incorporating Fat
Working quickly to maintain temperature, cut cold butter into small cubes and add to the flour mixture. Using a pastry cutter, fork, or food processor, combine the fat with flour until the mixture resembles coarse breadcrumbs or oatmeal. This texture indicates proper fat distribution—small pockets of butter remain distinct rather than fully incorporated, creating the conditions for flakiness.
Adding Liquid
Pour in milk or cream gradually while mixing gently with a fork. Add just enough liquid until the dough barely comes together; overmixing develops gluten, leading to tough, chewy results rather than tender, crumbly biscuits. The dough should feel slightly moist but not wet.
Kneading and Rolling
Turn the dough onto a lightly floured surface and knead gently eight to ten times—just enough to bring it fully together while maintaining the layered structure. Roll or pat the dough to approximately one-half to three-quarter inch thickness. Thicker biscuits tend to be fluffier and more tender, while thinner versions achieve greater crispness.
Cutting and Shaping
Cut shapes using a round biscuit cutter, glass, or knife, depending on your preference and available tools. For clean edges that promote even rising, press the cutter straight down without twisting. Gather scraps, reshape gently, and cut additional biscuits until all dough is used.
Baking
Arrange shaped biscuits on a parchment-lined baking sheet and bake for twelve to eighteen minutes, until the tops turn golden brown and the biscuits have risen appropriately. The exact timing depends on oven characteristics and biscuit thickness.
Flavor Variations and Creative Additions
While traditional tea biscuits remain delightfully simple, numerous variations accommodate different taste preferences and dietary considerations.
Sweet variations incorporate sugar and extract into the dry ingredients. Some recipes include one-quarter to three-quarter cup of powdered sugar, creating slightly sweeter biscuits perfect for serving with jam and cream. Adding malt extract, vanilla, or maple extract introduces subtle depth without overwhelming the delicate flavor profile.
Savory versions replace sugar with herbs and cheese. Grated cheddar or finely chopped chives transform tea biscuits into accompaniments for soups and salads. Whole wheat pastry flour creates an earthier base for savory applications.
Dietary modifications expand accessibility. Coconut oil substitutes for butter in dairy-free versions, while alternative flours accommodate gluten sensitivities. Heavy cream-based recipes naturally contain less butter than traditional versions while maintaining excellent texture.
Ingredient Comparison Guide
| Base Ingredient | Primary Use | Flavor Impact | Texture Result |
|---|---|---|---|
| All-Purpose Flour | Standard choice | Neutral | Balanced crumb |
| Whole Wheat Pastry Flour | Nutty flavor preference | Earthy, rich | Slightly denser |
| Cold Butter | Traditional fat | Rich, buttery | Flaky, crispy |
| Heavy Cream | Simplified preparation | Mild, creamy | Tender, moist |
| Coconut Oil | Dairy-free option | Slight coconut notes | Flaky, crispy |
| Buttermilk | Tang and moisture | Tangy, rich | Tender, delicate |
Common Challenges and Troubleshooting Solutions
Dense, Heavy Biscuits: This typically results from overmixing the dough or insufficient leavening. Ensure you mix only until ingredients combine and verify that baking powder hasn’t expired. Check oven temperature accuracy with a thermometer.
Biscuits That Don’t Rise: Cold ingredients mixed too thoroughly can prevent proper rising. Confirm ingredients are cold, minimize mixing, and verify oven temperature has fully reached the target before baking.
Pale, Undercooked Appearance: Increase baking time slightly or raise oven temperature by 25°F. Ensure the oven is fully preheated before inserting biscuits.
Inconsistent Sizing: Cut all biscuits the same thickness and use consistent pressure when pressing the cutter. Let shaped biscuits rest briefly on the baking sheet before baking.
Frequently Asked Questions
What distinguishes tea biscuits from scones?
While similar in appearance, tea biscuits contain less fat and sugar than scones, resulting in a crispier, less sweet treat. Scones are typically fluffier and often served as standalone items, while tea biscuits complement beverages or pair with spreads and toppings.
How should I store homemade tea biscuits?
Store cooled biscuits in an airtight container at room temperature for up to three days. For extended storage, freeze biscuits in freezer bags for several months. Refresh slightly stale biscuits by warming briefly in a 300°F oven.
Can I prepare biscuit dough in advance?
Yes, shaped biscuits can be refrigerated for up to two hours or frozen for several weeks before baking. Frozen biscuits may require slightly longer baking time. This advance preparation proves particularly convenient for entertaining.
Why is my oven temperature important?
Proper oven temperature ensures biscuits rise evenly and develop the desired golden exterior. Temperature affects how quickly the exterior sets relative to the interior’s rise—the fundamental balance that creates perfect texture.
Should I prick tea biscuits before baking?
While some recipes recommend pricking biscuits with a fork, this step remains optional. Pricking prevents excessive rising and creates a flatter, crisper result, while unpricked biscuits remain slightly fluffier.
Serving Suggestions and Pairings
Tea biscuits shine when paired thoughtfully with complementary foods and beverages. Serve alongside hot tea with jam and clotted cream for a traditional afternoon experience. Cheese and savory versions pair beautifully with soups or as standalone snacks. Sweet variations work equally well as coffee cake accompaniments or with fresh berries and whipped cream.
The versatility of tea biscuits—from their adaptable recipes to their flexible serving options—explains their enduring popularity across cultures and generations. Whether you’re baking for a formal tea service or simple weekday enjoyment, these timeless treats reward attention to technique with consistently delightful results.
References
- Tea Biscuits Recipe — The Gracious Pantry. Accessed 2026-04-10. https://www.thegraciouspantry.com/clean-eating-tea-biscuits-recipe/
- Tea Biscuits — The Kitchen Magpie. Accessed 2026-04-10. https://www.thekitchenmagpie.com/tea-biscuits/
- Easy Tea Biscuits With Cream — Milk and Pop. Accessed 2026-04-10. https://milkandpop.com/easy-tea-biscuits-with-cream/
- Traditional Old Fashioned Buttermilk Biscuits or Baking Powder Tea Biscuits — A Canadian Foodie. Accessed 2026-04-10. https://www.acanadianfoodie.com/2010/02/16/traditional-old-fashioned-buttermilk-biscuits-or-baking-powder-tea-biscuits/
- Homemade English Tea Biscuits Recipe: Better Than Store-Bought — Plum Deluxe. Accessed 2026-04-10. https://www.plumdeluxe.com/blogs/blog/english-tea-biscuits-recipe
- English Digestive Biscuits | American Tea Biscuits — My Cooking Journey. Accessed 2026-04-10. https://www.mycookingjourney.com/english-digestive-biscuits-american-tea/