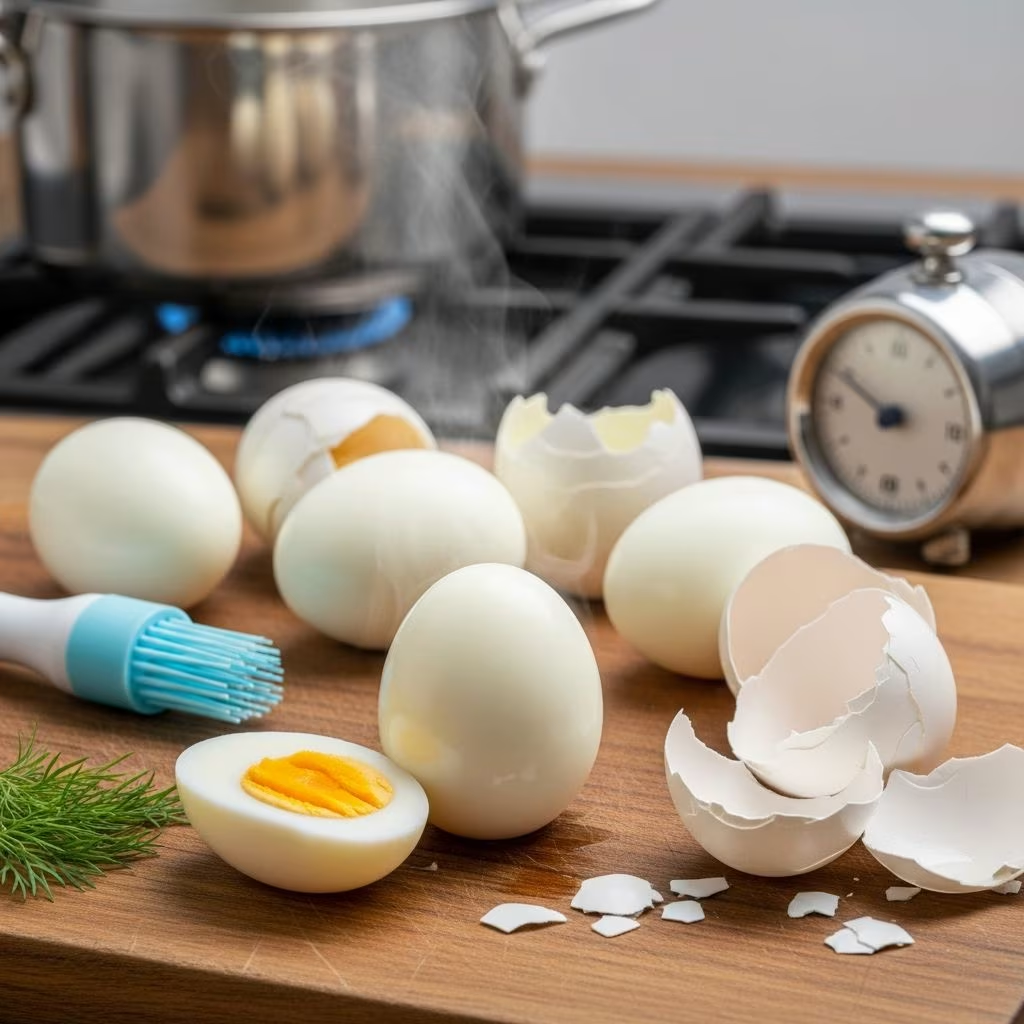
Achieving perfectly cooked and easily peelable hard boiled eggs requires understanding the science behind egg structure and applying proven cooking methodologies. Many home cooks struggle with eggs that either overcook with gray yolks or refuse to peel cleanly, leaving behind frustrating shell fragments. The key to consistent success lies in mastering temperature control, timing precision, and post-cooking cooling techniques that create the ideal conditions for effortless peeling.
Understanding Why Eggs Are Difficult to Peel
The challenge of peeling hard boiled eggs stems from the chemical bond between the egg white and the inner shell membrane. When eggs are cooked using standard boiling methods without proper technique, the egg white adheres tightly to this membrane, making removal a tedious and often damaging process. Several factors contribute to this adhesion problem, including the initial water temperature when eggs are added, the cooking duration, and crucially, the cooling process that follows cooking.
The porous nature of eggshells plays a significant role in peeling difficulty. Fresh eggs, in particular, have shells that bond more strongly to the white because the pH inside the egg hasn’t changed significantly over time. Older eggs, by contrast, have a more alkaline environment that naturally weakens the shell-to-white connection. Understanding this chemistry helps explain why some eggs peel effortlessly while others seem nearly impossible to remove from their shells.
The Foundation: Starting with Hot Water
One of the most critical yet frequently overlooked techniques involves the initial water temperature when introducing eggs to the pot. Rather than starting eggs in cold water and gradually heating them, the superior method begins with water already at a rolling boil. This approach prevents the egg white from fusing to the inner membrane because the proteins set immediately upon contact with the hot water.
To execute this method properly, bring approximately one inch of water to a vigorous boil in a medium saucepan over high heat. The one-inch depth is important—it provides sufficient water for heat distribution without requiring excessive cooking time. Once the water reaches a rolling boil, carefully add eggs one at a time using a spoon or tongs to prevent shell cracking from the temperature shock. If using a steamer basket, the eggs can remain above the water level, and steam will effectively cook them through.
The advantage of this hot-start method extends beyond easier peeling. By allowing the whites to set immediately, you prevent the yolk from shifting during cooking, which can result in off-center yolks. This technique also reduces the total cooking time compared to traditional methods, making the process more efficient.
Precision Timing for Optimal Texture
Once eggs enter the boiling water, precise timing determines the final texture and doneness. For large eggs—the standard size used in most recipes—thirteen minutes produces perfectly hard boiled eggs with fully set whites and solid, creamy yolks without any gray or green discoloration around the yolk.
Timing variations allow for different preferences. Medium-cooked eggs require approximately ten minutes, resulting in whites that are fully set but yolks that remain slightly softer in the center. Soft-boiled eggs, depending on desired firmness, need between three and six minutes. The critical factor is maintaining consistent medium heat once the initial boiling phase begins. If heat remains at a rolling boil, eggs may crack, and the vigorous movement can damage shells before cooking even completes.
After adding eggs and adjusting heat to medium, small wisps of steam should escape from beneath the pot lid. This gentle environment allows even heat distribution without aggressive water movement that could compromise shell integrity. Setting a reliable timer ensures accuracy—even two or three minutes of variation can noticeably affect the final result, particularly regarding yolk consistency.
The Critical Ice Bath Phase
Cooling represents perhaps the most underappreciated component of the perfect hard boiled egg process. Many cooks neglect proper cooling or rush through it, which undermines all the careful work done during cooking. The ice bath serves multiple purposes: it halts the cooking process immediately, prevents the gray-green ring from forming around the yolk, and crucially, helps separate the shell membrane from the egg white.
Prepare the ice bath before eggs finish cooking to avoid delays. Combine approximately two cups of ice cubes with two cups of cold water in a medium bowl. The ice keeps the water sufficiently cold throughout the cooling process. Using tongs or a slotted spoon, transfer eggs immediately from the hot water to the ice bath the moment the timer sounds. Delaying this transfer, even by thirty seconds, allows residual heat to continue cooking the yolk, risking that unwanted gray ring.
Allow eggs to remain in the ice bath for a minimum of fifteen minutes. This extended cooling period permits the egg white to contract and separate from the membrane more completely than shorter cooling times achieve. Some cooks allow eggs to sit for up to thirty minutes or even longer, as the extended contact with cold water further facilitates membrane separation. After adequate cooling, eggs can be stored in their shells in the refrigerator until peeling becomes necessary, or peeling can begin immediately.
Peeling Techniques That Minimize Damage
Once eggs are properly cooled, peeling becomes significantly easier if correct techniques are employed. Begin by rolling the cooled egg gently on the countertop or hard surface, applying moderate pressure to create fine cracks throughout the shell. Rotate the egg as you roll to ensure cracks develop evenly across the entire surface. This preliminary cracking step is essential because it allows water to penetrate between the shell and the membrane, facilitating separation.
After the shell is sufficiently cracked, hold the egg under gently running cool water and begin peeling from the wider end where the air pocket naturally exists. The running water serves multiple purposes: it rinses away tiny shell fragments, keeps the egg cool, and provides lubrication that helps the membrane separate from the white. Peel slowly and deliberately rather than aggressively, as hasty peeling often tears the white and removes portions of the egg itself.
If peeling without running water, submerge the egg in a bowl of cool water and peel while it remains partially submerged. The water cushions the egg and helps separate shell from white. Some practitioners prefer peeling at room temperature after the egg has warmed slightly, as this can make shell removal easier in certain cases, though the water method generally produces superior results.
Key Variables and Adjustments
| Egg Size | Recommended Cooking Time | Notes |
|---|---|---|
| Small | 10-11 minutes | Reduce time slightly from standard large egg recipe |
| Large | 13 minutes | Standard timing for most recipes |
| Extra Large | 14-15 minutes | Increase time slightly to ensure thorough cooking |
| Jumbo | 15-16 minutes | Allow extra time for larger yolks |
Egg size significantly affects cooking time, and using consistent sizing prevents guesswork. Most standard recipes assume large eggs, the size most commonly sold and used in cooking. If your market primarily carries small or extra-large eggs, adjust cooking times accordingly. Starting with properly sized eggs from refrigeration—rather than room temperature—ensures more predictable results.
The pot size and water volume also matter. Using a pot large enough to hold eggs in a single layer ensures even heat distribution. Overcrowding a small pot creates temperature variations, with eggs on the bottom experiencing hotter conditions than those near the top. If cooking substantial quantities, either use a larger pot or prepare eggs in batches to maintain consistency.
Common Mistakes and How to Avoid Them
Starting with cold water ranks among the most prevalent errors. While this method eventually produces cooked eggs, it increases peeling difficulty because the white fuses to the membrane during the gradual heating process. Always begin with already-boiling water to prevent this issue.
Inadequate cooling or rushing through the ice bath phase also undermines results. The full fifteen-minute cooling period isn’t optional for optimal peeling. Similarly, many cooks neglect to prepare the ice bath in advance, resulting in delays that allow eggs to continue cooking after being removed from heat.
Overcooking represents another common mistake. The gray-green ring around the yolk, while harmless, indicates overcooking and suggests the cooling process didn’t halt cooking quickly enough. Following recommended timing precisely and immediately transferring eggs to ice water prevents this discoloration.
Finally, neglecting the rolling step before peeling or attempting to peel dry rather than under running water creates unnecessary difficulty. These preparatory steps aren’t shortcuts to skip but rather essential components of the complete process.
Frequently Asked Questions
Can I make multiple batches using the same water?
Yes, as long as you maintain the boiling temperature between batches. The water can be reused multiple times, though replenishing water and adjusting heat ensures consistent results for each batch.
How long do hard boiled eggs stay fresh?
Unpeeled hard boiled eggs stored in their shells last approximately one week in the refrigerator. Peeled eggs should be consumed within three to four days for optimal quality.
What causes shells to crack during cooking?
Cracks typically result from temperature shock when cold eggs contact boiling water. Adding eggs slowly and allowing water to remain at a gentle boil rather than violent boil reduces cracking risk. Using eggs without existing cracks also prevents this issue.
Can this method work for different doneness levels?
Absolutely. The same starting technique and ice bath cooling work for soft, medium, and hard-boiled eggs—only the cooking time changes based on desired yolk consistency.
Why are my yolks still runny after cooking?
Insufficient cooking time causes runny centers. If targeting fully hard-boiled eggs, ensure you’ve reached the full thirteen-minute mark for large eggs before transferring to the ice bath.
Mastering the Complete Process
Achieving perfectly cooked and easily peeled hard boiled eggs involves understanding how each step—from initial water temperature through final cooling and peeling—contributes to the final result. Rather than relying on shortcuts or gimmicks, this methodical approach based on sound cooking principles consistently produces excellent outcomes. Once you’ve practiced this technique a few times, the process becomes automatic, and you’ll enjoy reliably perfect hard boiled eggs every single time you prepare them, whether for salads, deviled egg preparations, or simple snacks.
References
- The Best Way to Hard-Cook Eggs (and Peel Them) — America’s Test Kitchen via Today show. 2024. https://www.youtube.com/watch?v=dg51LRrfWY0
- How to Make Easy Peel, Perfect Hard Boiled Eggs Every Time — Bowl of Delicious. 2024. https://www.bowlofdelicious.com/how-to-make-perfect-easy-to-peel-boiled-eggs-every-time/