There’s something distinctly sophisticated about serving crepes for dessert. These thin, delicate pancakes have graced French tables for centuries, and they remain a beloved choice for both casual gatherings and formal entertaining. What makes crepes particularly appealing is their remarkable versatility—the same basic batter can be transformed into countless flavor profiles through various fillings and toppings. Whether you’re looking to impress dinner guests or simply indulge in a refined treat, mastering the art of crepe-making opens up a world of culinary possibilities.
Understanding the Foundation: Basic Crepe Batter Composition
The beauty of crepes lies in their simplicity. Unlike many desserts that require numerous specialized ingredients, a quality crepe batter relies on just a handful of fundamental components. Understanding each ingredient’s role helps you achieve the perfect texture and flavor every time you cook.
Essential Ingredients for Your Batter
- All-purpose flour — Provides the structure that gives crepes their characteristic thin, delicate texture. Sifting the flour ensures a smooth batter without lumps.
- Eggs — Bind the ingredients together and contribute to the batter’s richness and golden color when cooked.
- Milk — Creates the liquid base that allows the batter to spread thinly across the cooking surface. Both whole milk and alternatives work effectively.
- Melted butter — Adds richness and helps achieve a light golden color during cooking. Using unsalted butter allows you to control salt content.
- Sugar — A modest amount sweetens the batter slightly, enhancing the overall flavor profile.
- Salt — Balances flavors and prevents the batter from tasting flat.
Mastering the Batter Preparation Process
Creating a perfectly smooth batter requires attention to technique rather than complex procedures. The method you use to combine ingredients significantly impacts your final result.
Step-by-Step Batter Assembly
Begin by combining your dry ingredients—flour and a pinch of salt—in a substantial mixing bowl. Create a well in the center, much like you would when making fresh pasta. This well becomes the starting point where you’ll add your wet ingredients. Crack your eggs directly into this center well, then add your slightly cooled melted butter and optional sugar. Using a whisk, begin vigorous circular motions from the center, gradually incorporating the dry ingredients from the sides of the well. As the mixture begins to thicken, start pouring in your milk in small amounts rather than all at once. This incremental approach prevents lumps from forming and ensures a silky-smooth batter.
Continue this process until all milk has been incorporated and the batter reaches a consistency similar to heavy cream. The batter should be completely lump-free and have a slightly glossy appearance. Once prepared, cover your mixing bowl and allow the batter to rest for several hours. This resting period allows the flour to fully hydrate and actually improves the texture of your finished crepes. Many cooks find that preparing batter the morning of the day you plan to cook yields excellent results.
Cooking Techniques for Perfect Crepes
Achieving thin, evenly-cooked crepes requires both the right equipment and practiced technique. The cooking surface, heat level, and spreading method all contribute to success.
Setting Up Your Cooking Station
Select a non-stick crepe pan or a standard non-stick skillet approximately 8-10 inches in diameter. A heavy-bottomed pan distributes heat most evenly and prevents hot spots that could cause uneven browning. Before cooking, lightly coat your pan with neutral vegetable oil using a small brush or cloth. Heat the pan over medium-high heat until a drop of batter sizzles immediately upon contact—this indicates the surface has reached the ideal temperature.
The Spreading and Cooking Process
Pour approximately 1/4 cup of batter into the center of your heated pan. Immediately tilt and rotate the pan so the batter spreads evenly across the entire surface, creating an incredibly thin layer. This quick tilt-and-rotate motion should take only a second or two—hesitation results in thick, pancake-like crepes rather than the delicate sheets you’re aiming for. Within 45-60 seconds, the bottom surface will develop a light golden-brown color with a few darker spots. This is your cue to flip. Using a spatula or even your fingers, carefully flip the crepe and cook the opposite side for approximately 30 seconds. The second side cooks much more quickly and should develop only light browning.
Transfer your finished crepe to a plate and repeat with the remaining batter. Some cooks prefer to stack finished crepes directly on top of one another—they cool slightly and won’t stick together. Others place each crepe on parchment paper between layers. Either method works, and your preference may depend on whether you plan to fill crepes immediately or store them for later use.
Exploring Sweet Filling and Topping Combinations
The true magic of crepes emerges once you begin exploring filling options. A single batch of basic crepes can be transformed into multiple distinct desserts through thoughtful filling choices.
Classic and Timeless Flavor Pairings
| Filling Category | Specific Options | Preparation Notes | Best For |
|---|---|---|---|
| Citrus-Based | Fresh lemon juice with zest and sugar; lemon curd with berries | Spread fresh butter on warm crepe, add sugar and lemon juice, fold | Light, refreshing finales |
| Chocolate Options | Hazelnut spread; melted dark chocolate with nuts; chocolate ganache | Spread while crepe is still warm for melting; add toasted nuts for texture | Rich, indulgent servings |
| Fruit Preserves | Strawberry, blackberry, raspberry, or apricot jam | Pair with fresh whipped cream for elegant presentation | Sophisticated entertaining |
| Cream-Based | Whipped cream with vanilla; ricotta cream; custard sauce | Use homemade whipped cream for superior texture and taste | Elegant plating opportunities |
| Caramel Inspirations | Salted caramel sauce; dulce de leche; butterscotch drizzle | Drizzle over folded crepe; add sea salt for contrast | Dinner party showstoppers |
Building Your Signature Combination
The most memorable crepe experiences often come from combining complementary flavors and textures. Consider pairing a spreadable element with a fresh component—for instance, melted chocolate pairs beautifully with fresh raspberries and a dusting of confectioner’s sugar. Alternately, use a rich filling balanced with brightness—hazelnut chocolate spread gains new dimension when accompanied by fresh citrus zest or a subtle hint of orange liqueur.
Temperature contrasts add another dimension to your crepe presentations. Warm melted chocolate filling against cool fresh berries or ice cream creates an engaging culinary experience. Similarly, serving your crepes immediately after preparation, while still warm, allows fillings to meld and flavors to develop optimally.
Practical Preparation and Serving Strategies
Planning your crepe service around actual preparation timing ensures optimal results and minimizes stress when entertaining.
Timing Considerations
- Day Before — Prepare batter and refrigerate overnight. This extended resting period actually improves final results.
- Morning Of — Prepare fillings, toppings, and garnishes. Whip cream shortly before service rather than earlier.
- One Hour Before Guests Arrive — Cook all crepes and store them covered at room temperature.
- Final Assembly — Fill and plate crepes just before serving to maintain optimal texture and temperature.
Quantity Planning for Groups
A standard batch of crepe batter yields approximately 20 crepes, serving four people with five crepes each if offered as a single-course dessert. For multi-course meals, plan for 3-4 crepes per person. Having extra crepes ensures you can accommodate second servings or account for any minor cooking mishaps.
Frequently Asked Questions About Crepe Preparation
Can I prepare crepes in advance?
Yes. Unfilled crepes can be prepared several hours in advance and stored covered at room temperature. Stack them with parchment paper between layers to prevent sticking. For longer storage, wrap them in plastic wrap and refrigerate for up to two days. Reheat briefly before filling to restore pliability.
What causes thick, rubbery crepes?
Several factors contribute to this issue. Batter that’s too thick produces thicker crepes—add milk gradually until you achieve the proper consistency. Insufficient pan rotation prevents spreading. Additionally, overly high heat can cause the bottom to set before the batter spreads. Finally, cooking too long creates rubbery texture.
Should I use a specialized crepe pan?
While dedicated crepe pans have a sloped edge that facilitates easy flipping, a standard non-stick skillet works perfectly well. The most important factor is non-stick coating and even heat distribution rather than pan type.
Can I make crepes gluten-free?
Absolutely. Substitute all-purpose flour with a quality gluten-free flour blend. You may need to adjust liquid amounts slightly, as gluten-free flours absorb moisture differently. Begin with the standard milk amount and add more as needed to reach the proper batter consistency.
How do I keep crepes warm for serving?
Stack finished crepes on a plate and cover loosely with a cloth towel. This maintains warmth while allowing steam to escape, preventing sogginess. Alternatively, place a plate over a pot of gently simmering water and stack your crepes on this impromptu warming station.
Elevating Your Crepe Presentations
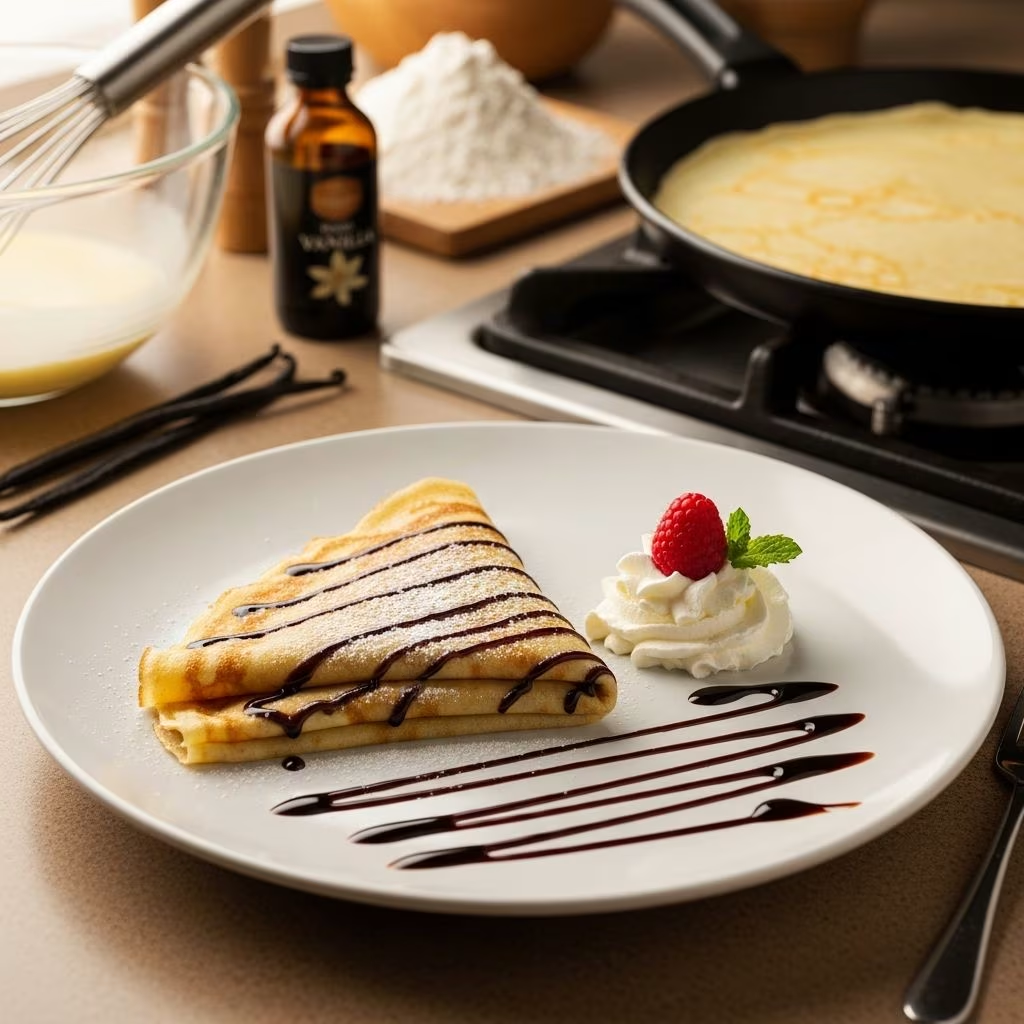
Transform basic crepes into restaurant-quality desserts through thoughtful plating and garnish choices. Dust finished crepes lightly with confectioner’s sugar for visual appeal and subtle sweetness. Fresh berries arranged artfully on the plate add color and freshness. A small quenelle of whipped cream or a drizzle of sauce creates professional presentation without requiring advanced culinary skills.
Consider your complete flavor profile when designing presentations. If your filling is rich and chocolate-forward, bright garnishes and acidic elements like fresh raspberries provide welcome balance. For lighter, fruit-forward crepes, a simple dusting of powdered sugar and fresh mint leaves offers understated elegance.
Conclusion
Mastering crepe preparation opens doors to impressive entertaining and personal indulgence. This versatile dessert requires only basic ingredients and straightforward techniques, yet yields results that feel luxuriously gourmet. Whether you choose classic simplicity or experimental flavor combinations, crepes deliver sophistication and satisfaction. Start with your first batch using a single favorite filling, then expand your repertoire as your confidence grows. Soon you’ll discover that creating beautiful, delicious crepes becomes an effortless part of your culinary skill set.
References
- Basic Crepe Recipe — Del’s Cooking Twist. https://www.delscookingtwist.com/my-favorite-crepe-filling-ideas/
- Easy Dessert Crepes with Ricotta and Raspberries — Good Life Eats. https://www.goodlifeeats.com/easy-crepes-with-ricotta-and-raspberries-dessert/
- The Best Sweet Crepes Recipe — Barbara Bakes. https://www.barbarabakes.com/the-best-sweet-crepes-recipe/
- Crepes (Easy Homemade Recipe + Filling Ideas) — Fifteen Spatulas. https://www.fifteenspatulas.com/mango-framboise-crepes-with-meyer-lemon-curd-and-raspberries/