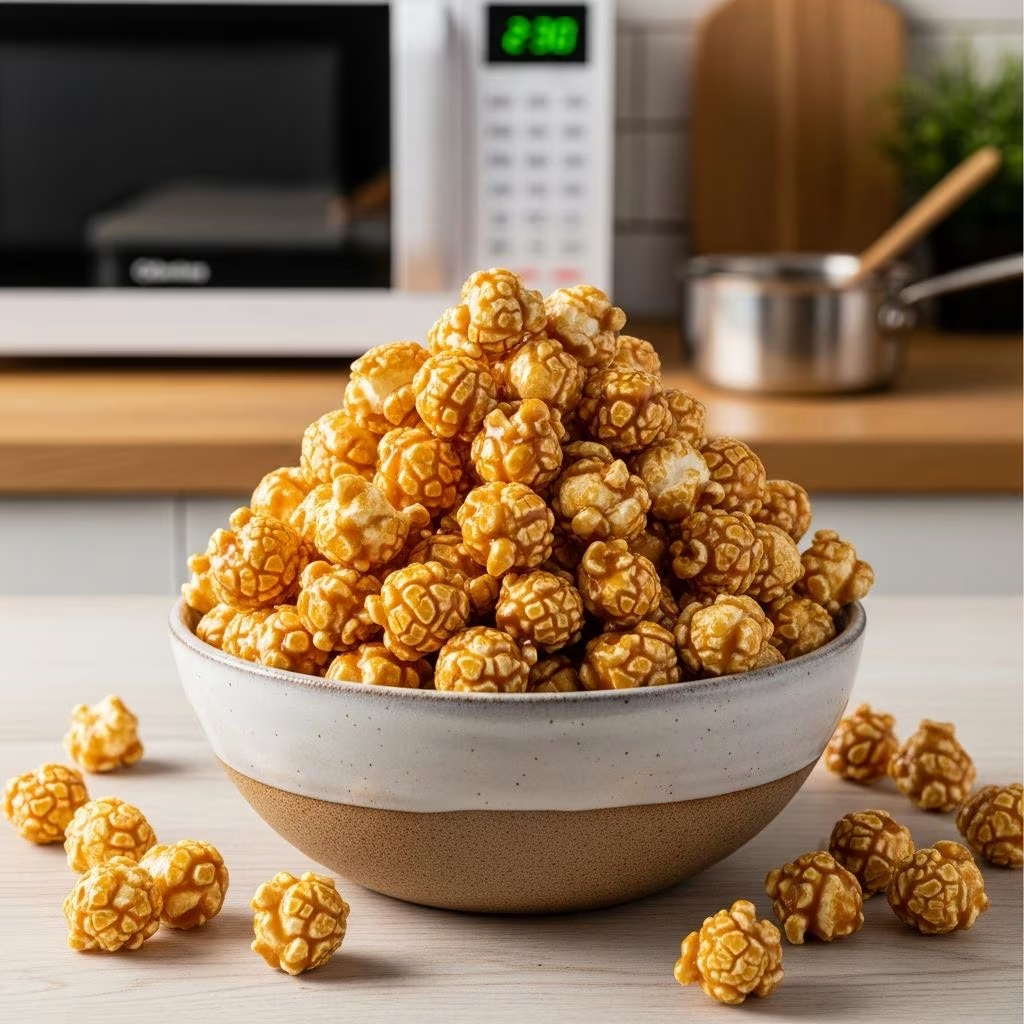
Caramel popcorn represents one of the most satisfying homemade snacks you can create with minimal effort and basic kitchen equipment. Whether you’re preparing a treat for movie night, stocking up for a gathering, or creating edible gifts for friends and family, mastering the microwave method transforms this indulgence from a store-bought luxury into an affordable, customizable creation you can produce in your own kitchen. The microwave approach offers distinct advantages over traditional stovetop methods, providing faster cooking times and more consistent results once you understand the fundamental techniques.
Understanding the Foundation: Core Ingredients
The beauty of caramel popcorn lies in its simplicity. You need remarkably few components to achieve professional-quality results. The foundation begins with popped popcorn—either freshly popped from kernels or pre-popped varieties available at most grocery stores. The quantity typically ranges from six to eight cups of popped corn, providing an ideal base for coating without overwhelming your microwave capacity.
The caramel layer itself requires just three primary ingredients that work together to create the signature sweet coating:
- Butter—approximately half a cup, which provides richness and helps carry the caramel flavoring throughout the mixture
- Brown sugar—one to one-and-a-half cups, depending on your preferred sweetness level, which creates the distinctive caramel color and flavor profile
- Corn syrup or molasses—roughly two to three tablespoons, which prevents crystallization and ensures a smooth, glossy finish
Beyond these essentials, many recipes incorporate baking soda as a leavening agent, which aerates the caramel coating and creates a lighter texture. Sea salt or regular salt acts as a flavor enhancer, cutting through the sweetness and adding complexity to each bite. Vanilla extract rounds out the flavor profile with subtle warmth and depth.
The Microwave Method: Step-by-Step Process
The microwave technique differs significantly from stovetop approaches, requiring specific timing and attention to prevent burning or uneven cooking. Begin by placing your popped popcorn in a large mixing bowl or paper grocery bag, ensuring it’s spread in a relatively even layer.
Combine your butter, brown sugar, and corn syrup in a microwave-safe bowl or measuring cup. Microwave this mixture on high power in thirty-second intervals, stirring between each interval until the butter melts completely and the sugar dissolves. This typically requires one to two minutes of total cooking time. The mixture should appear smooth and homogeneous, without any remaining sugar granules.
Once your caramel base reaches the proper consistency, remove it from the microwave and immediately stir in your baking soda if using. This ingredient causes immediate foaming as it reacts with the warm caramel—this reaction is completely normal and desired. The foaming aerates the coating, resulting in a lighter, crispier final product. Quickly add your vanilla extract and salt, mixing thoroughly.
Pour the warm caramel mixture over your popcorn, stirring constantly and thoroughly to ensure every piece receives an even coating. This step requires patience and attention; rushing this process results in unevenly coated popcorn with sweet clumps in some areas and plain popcorn in others. Use a wooden spoon or silicone spatula to reach throughout the mixture, ensuring proper distribution.
Achieving the Perfect Texture: The Baking Stage
After coating your popcorn with caramel, the mixture requires additional cooking to set the coating properly. Spread your caramel-coated popcorn on a baking sheet or cookie sheet in a single layer. Bake in a preheated three-hundred-fifty-degree Fahrenheit oven for approximately eight to ten minutes. The baking process serves several critical functions: it allows the coating to firm up, removes excess moisture that might create a sticky texture, and ensures the baking soda’s leavening action completes fully.
Stir the mixture once halfway through baking to promote even cooking and prevent any pieces from sticking to the baking sheet. You’ll notice the aroma becoming increasingly pleasant as the caramel deepens slightly and the butter toasts.
Upon removing the popcorn from the oven, spread it on parchment paper or paper towels to cool completely. This cooling period is essential—attempting to eat the popcorn while still warm will result in burnt mouths and a sticky, difficult-to-handle snack. Allow at least fifteen to twenty minutes for complete cooling, during which the coating will harden to the ideal crunch.
Troubleshooting Common Issues
Understanding what can go wrong helps you correct problems in real-time and improve your technique with successive batches.
| Problem | Cause | Solution |
|---|---|---|
| Sticky popcorn that clumps together | Insufficient baking time or moisture retention | Return to oven for 2-3 additional minutes; ensure proper cooling before storage |
| Burnt caramel flavor | Caramel mixture overheated or baking temperature too high | Use shorter microwave intervals; reduce oven temperature by 25 degrees |
| Unevenly coated pieces | Inadequate mixing after pouring caramel | Stir more thoroughly for longer duration; work in smaller batches |
| Hard, brittle texture | Excessive baking time or over-cooked caramel | Reduce baking time by 1-2 minutes; monitor closely during cooking |
| Caramel won’t adhere to popcorn | Popcorn too cold or caramel insufficiently warm | Ensure caramel is still warm when mixing; use freshly popped popcorn |
Flavor Variations and Creative Additions
The basic caramel popcorn formula provides an excellent foundation for experimentation and personalization. Consider incorporating different extracts—almond, maple, or coconut extracts introduce subtle flavor dimensions that distinguish your creation from standard recipes.
Spice additions transform caramel popcorn into more sophisticated treats. A quarter teaspoon of ground cinnamon adds warmth, while cayenne pepper in very small quantities (start with one-eighth teaspoon) creates an interesting sweet-and-spicy contrast. Sea salt varieties—fleur de sel, Himalayan pink salt, or smoked salt—provide unique flavor profiles and textural interest.
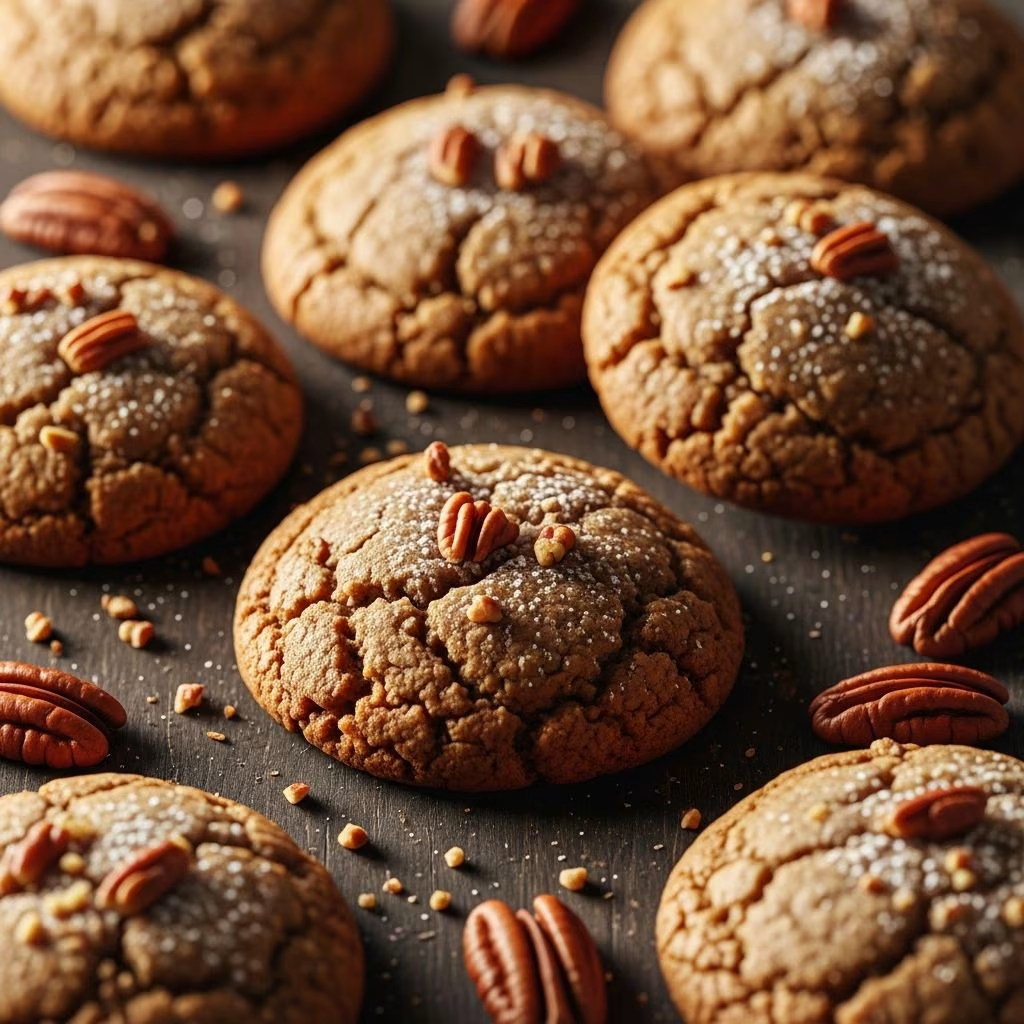
For those preferring nutty flavors, add finely chopped pecans, walnuts, or almonds to the popcorn before coating. Chocolate enthusiasts can drizzle melted dark or milk chocolate over the cooled caramel popcorn for an indulgent variation. Peanut butter adds richness when whisked into the caramel mixture before coating.
Storage Solutions and Shelf Life
Properly stored caramel popcorn maintains its crispness and flavor for extended periods. Once completely cooled, transfer the popcorn to airtight containers, glass jars with tight-fitting lids, or resealable plastic bags. Remove as much air as possible before sealing to prevent moisture absorption and staleness.
Store containers in a cool, dry location away from direct sunlight and heat sources. Properly sealed caramel popcorn remains fresh and crispy for up to two weeks at room temperature. In warmer climates or more humid environments, refrigeration extends shelf life to three to four weeks, though the texture may soften slightly. Freezing caramel popcorn in airtight containers works effectively for extending storage up to several months, though thawing requires time to prevent condensation from creating stickiness.
Ingredient Quality and Selection
The quality of your ingredients directly impacts the final product’s taste and texture. Use real butter rather than margarine or butter substitutes for superior flavor and better coating adherence. Brown sugar quality matters as well—fresher brown sugar blends more smoothly into the caramel base. If your brown sugar has hardened or clumped, microwave it briefly with a damp paper towel to restore workability.
Corn syrup serves a specific chemical function in preventing crystallization, making it difficult to substitute with honey or other sweeteners without affecting results. However, light or dark corn syrup both work equally well, depending on your flavor preference. Light corn syrup produces a cleaner caramel flavor, while dark corn syrup imparts subtle molasses notes.
Yield and Serving Considerations
A standard batch using six to eight cups of popped popcorn yields approximately eight to ten servings, depending on portion size. This recipe scales easily—doubling the ingredient quantities works well for larger gatherings, though you may need to cook the caramel mixture in two batches to avoid microwave capacity issues.
Caramel popcorn works beautifully as an edible gift, particularly when packaged in decorative containers with ribbon or gift tags. The homemade nature of this treat makes it especially appreciated by recipients, particularly those with dietary preferences or allergies you can accommodate through ingredient selection.
Frequently Asked Questions
Can I use pre-packaged microwave popcorn for this recipe? While technically possible, pre-packaged microwave popcorn varieties often have existing seasonings or coatings that interfere with caramel adhesion. Fresh-popped popcorn or plain pre-popped varieties yield superior results. If using microwave packets, select unsalted, unflavored options.
What happens if I skip the baking soda? Baking soda is optional but highly recommended. Without it, your caramel coating will be denser and potentially stickier. The baking soda’s leavening action creates the lighter, crispier texture that makes homemade caramel popcorn superior to many commercial versions.
Why does my caramel look grainy or separated? This occurs when sugar crystallizes or when the mixture overheats. Ensure you dissolve the sugar completely during the microwave stage and avoid temperatures that turn the caramel brown. If this occurs, start fresh with a new batch.
Can I make this without an oven? The oven-baking step significantly improves texture and removes moisture that causes stickiness. While technically you could skip it, the results will be noticeably inferior. The oven stage is worth the extra time investment.
How do I prevent the popcorn from burning during baking? Watch your batch carefully, particularly toward the end of the baking time. Use an oven thermometer to verify your oven temperature—many ovens run hot or cold, affecting cooking times. If you notice browning too quickly, reduce temperature by twenty-five degrees.
References
- The Science of Cooking: Understanding the Chemistry Behind Food — Harold McGee, Scribner. 2004. https://www.penguinrandomhouse.com/books/299889/on-food-and-cooking-by-harold-mcgee/
- Food Storage Guidelines for Home Cooks — U.S. Department of Agriculture Food Safety and Inspection Service. 2024. https://www.fsis.usda.gov/food-safety/safe-food-handling-and-preparation
- Microwave Cooking Methods and Safety Standards — Food and Drug Administration, Center for Devices and Radiological Health. 2023. https://www.fda.gov/radiation-emitting-products/microwave-ovens
- Candy Making and Caramelization Chemistry — America’s Test Kitchen Research. 2022. https://www.americastestkitchen.com/