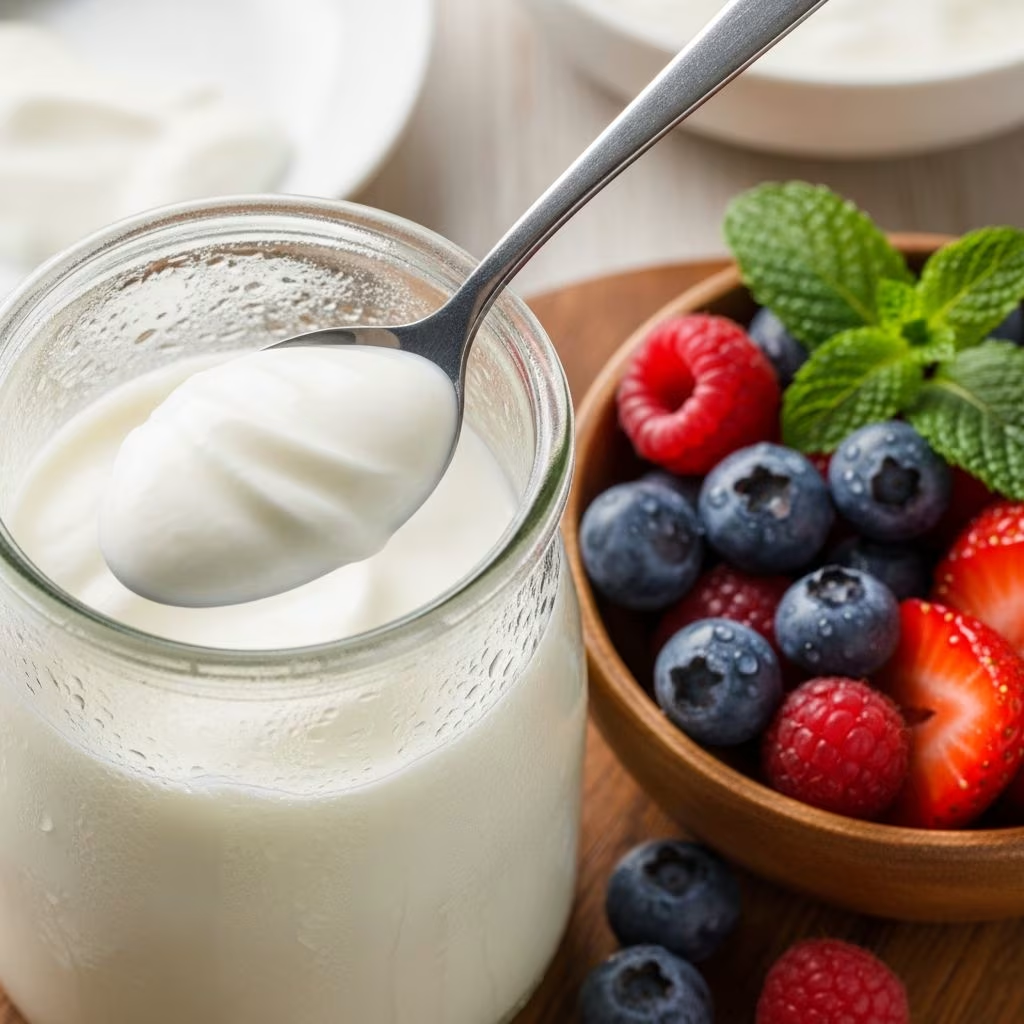
Creating yogurt from scratch transforms simple milk into a versatile, probiotic-rich food that’s superior in taste and texture to many store varieties. This process relies on heating milk to prepare proteins, cooling it to the right temperature, and introducing live cultures for fermentation. With practice, you’ll produce batches customized to your preferred thickness and tanginess, saving money while enjoying fresher dairy.
Why Choose Homemade Over Store-Bought
Homemade yogurt offers control over ingredients, avoiding additives like thickeners or sugars found in commercial products. It delivers a cleaner probiotic profile, supporting gut health through natural bacterial cultures. Economically, a single batch costs pennies per serving compared to premium brands, and you can scale production easily for family needs.
The satisfaction of watching milk set into creamy yogurt builds kitchen confidence. Plus, it’s endlessly adaptable—mild for children or extra tangy for dips and dressings.
Essential Ingredients for Success
Start with high-quality basics to ensure reliable results. Whole milk yields the creamiest texture due to higher fat content, but 2% works for lighter options.
- Milk: 1/2 gallon (8 cups) whole or 2% milk, preferably organic for better flavor and cultures.
- Starter culture: 2-4 tablespoons plain yogurt with live active cultures (check label for ‘L. bulgaricus’ and ‘S. thermophilus’). Use store-bought initially, then reserve from your batch.
- Optional enhancers: 1-2 tablespoons heavy cream for richness or a pinch of sugar to feed bacteria.
Avoid ultra-pasteurized milk, as it resists setting properly due to pre-denatured proteins.
Tools You’ll Need in Your Kitchen
No fancy appliances required, though options like an Instant Pot simplify temperature control. Basic setup includes:
- Heavy-bottomed pot (3-4 quart) to prevent scorching.
- Instant-read thermometer for precise 180-200°F heating and 105-115°F culturing.
- Cheesecloth or fine mesh strainer for Greek-style thickness.
- Insulated cooler, oven with light on, or yogurt maker for incubation.
- Clean glass jars or bowls for storage.
Sterilize equipment by boiling or running through a dishwasher to minimize unwanted bacteria.
Mastering the Heating and Cooling Stages
The foundation of great yogurt is proper milk preparation. Heating denatures proteins, allowing them to form a firm gel during fermentation.
- Heat gently: Pour milk into pot, rinse pot first with cold water to reduce sticking. Over medium heat, stir occasionally until bubbles form at edges and temperature hits 190-200°F (about 15-20 minutes). Do not boil.
- Cool precisely: Remove from heat, stir to even temperature. Let sit until 105-115°F (30-60 minutes). Test by dipping a clean finger—it should feel warm, not hot.
This step kills competitive bacteria and prepares the milk for culturing.
Incorporating the Starter Culture
Temper the starter to avoid shocking cultures. In a small bowl, whisk 1/2 cup cooled milk into the plain yogurt until smooth. Gently stir this back into the pot, distributing evenly without vigorous mixing that could disrupt setting.
Live cultures now multiply, converting lactose to lactic acid over 6-12 hours, thickening and tangying the milk.
Incubation: Creating the Perfect Environment
Maintain steady warmth (around 110°F) for bacterial growth. Methods vary by tools available:
| Method | Setup | Time | Pros |
|---|---|---|---|
| Instant Pot | Yogurt function, 8-12 hours | 8-12 hrs | Hands-off, precise temp |
| Oven | Light on or proof setting | 6-10 hrs | Common household use |
| Cooler | Hot water bottles around jars | 8-12 hrs | No electricity needed |
| Yogurt Maker | Built-in incubation | 6-10 hrs | Consistent results |
Longer incubation increases tanginess and thickness. Check after 6 hours; it should jiggle like custard. Refrigerate immediately to halt fermentation.
Straining for Ultra-Thick Greek Yogurt
For spoonable density, drain whey (liquid protein). Line a strainer with cheesecloth over a bowl. Spoon in yogurt, refrigerate 2-8 hours or overnight. Save whey for smoothies or baking—it’s nutritious.
Stir strained yogurt for smoothness. Yields double the thickness, ideal for tzatziki or parfaits.
Troubleshooting Common Issues
Problems arise from temperature or hygiene. Here’s how to fix:
- Runny yogurt: Milk not heated enough; reheat next batch to 200°F. Or starter too old—use fresh.
- Separated whey: Overheating or stirring too much. Strain and whisk smooth.
- No set: Dead cultures; test starter by tasting (should be tangy). Sterilize better.
- Grainy texture: Cool too slowly; stir while cooling next time.
Save 2 tablespoons from a good batch as future starter for 3-5 cycles before refreshing.
Flavor Variations to Delight Your Palate
Plain yogurt is a canvas. Swirl in after chilling:
- Fruit forward: Pureed berries, honey, vanilla.
- Savory twist: Herbs, garlic, olive oil for dips.
- Sweetened: Maple syrup, cinnamon for breakfast bowls.
For infused batches, add flavors pre-fermentation sparingly to avoid interfering with cultures. Experiment with milk blends like half-and-half for luxury.
Health Benefits and Nutritional Edge
Homemade shines with billions of probiotics per serving, aiding digestion unlike pasteurized store yogurt. Whole milk versions provide calcium, protein (doubles when strained), and healthy fats. Customize fat content for diets—nonfat skim works but needs longer straining.
Recent studies affirm yogurt’s role in microbiome diversity, potentially lowering inflammation and boosting immunity (USDA Dairy Research, 2024).
Storage, Shelf Life, and Batch Scaling
Store in airtight jars up to 2 weeks in fridge. Freezes well for 1-2 months; thaw slowly. Scale up by doubling ingredients, maintaining ratios.
Produce weekly for fresh supply, using oven method for large pots.
Creative Ways to Use Your Yogurt
Beyond eating plain:
- Base for smoothies, lassi, or frozen treats.
- Marinades for meats (tenderizes with acidity).
- Baking substitute for sour cream or buttermilk.
- Sauces: Raita, tzatziki, or salad dressings.
Incorporate into pancakes or muffins for moisture and tang.
Frequently Asked Questions
Can I use plant-based milk?
Yes, but add thickener like gelatin and vegan starter. Results vary; dairy excels for natural set.
How do I know my starter is active?
It should smell tangy and taste sour. If batch fails repeatedly, buy new.
What’s the tangiest yogurt time?
12+ hours incubation, but taste-test to preference.
Can I re-use homemade yogurt as starter?
Yes, up to 4-5 times before potency fades.
Why strain whey?
Concentrates protein for creaminess; whey is versatile for recipes.
Nutrition Comparison Table
| Type | Calories (per 100g) | Protein | Probiotics |
|---|---|---|---|
| Homemade Plain | 61 | 3.5g | High |
| Strained Greek | 100 | 10g | High |
| Store Greek | 90 | 9g | Variable |
Data approximated from USDA standards; homemade controls quality.
References
- How to make PERFECT GREEK Yoghurt – Thick, Tangy & Foolproof! — Backyard Chef (YouTube). 2023. https://www.youtube.com/watch?v=a7EOR28W3_8
- Homemade Yogurt (Plain and Fruit) — ZoëBakes. 2018-05-23. https://zoebakes.com/2018/05/23/homemade-yogurt/
- How to Make Greek Yogurt (Only 2 Ingredients!) — The Mediterranean Dish. 2024. https://www.themediterraneandish.com/how-to-make-greek-yogurt/
- How to Make Greek Yogurt with Just 2 Ingredients! — Bigger Bolder Baking (YouTube). 2023. https://www.youtube.com/watch?v=Z2P8kDNoE-g
- How to Make Yogurt — Maureen Abood. 2023. https://maureenabood.com/how-to-make-yogurt/
- HOMEMADE YOGURT with Whole Milk (Thick and Creamy) — A Modern Homestead (YouTube). 2024. https://www.youtube.com/watch?v=h__DPpB7oGM
- Homemade Yogurt Recipe — Nourished Kitchen. 2024. https://nourishedkitchen.com/homemade-yogurt/