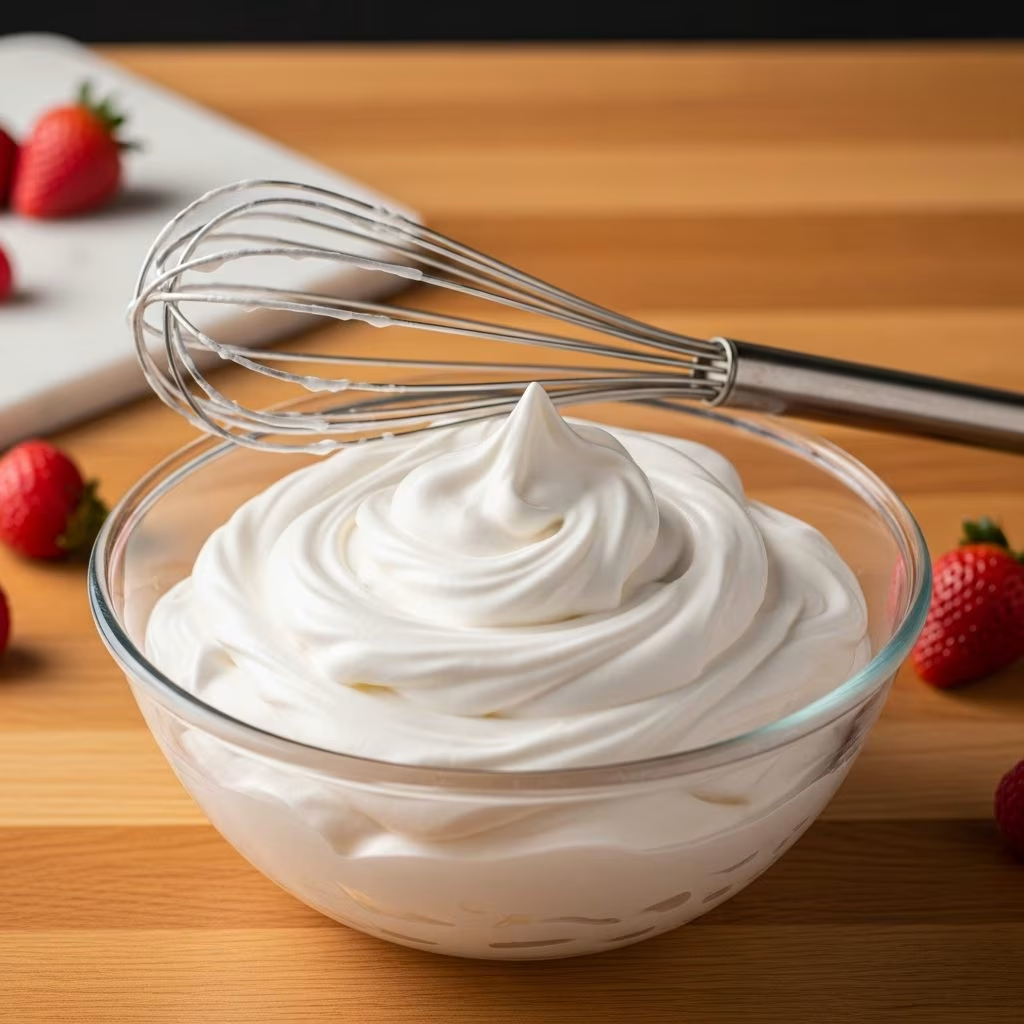
Creating whipped cream from scratch is one of the most rewarding and straightforward culinary techniques anyone can master. Unlike store-bought alternatives, homemade whipped cream offers a fresh, authentic flavor and texture that elevates any dessert. The process requires minimal equipment, just a handful of ingredients, and a few minutes of active preparation. Whether you’re preparing for a dinner party, topping a simple dessert, or experimenting with new recipes, understanding the fundamentals of whipped cream preparation will transform your baking and dessert-making endeavors.
Essential Ingredients for Whipped Cream Success
The foundation of exceptional homemade whipped cream rests on three core components that work together to create that signature fluffy texture and delightful taste. Each ingredient plays a specific role in the final product, and selecting quality versions of each will noticeably improve your results.
Heavy Cream: The Primary Foundation
Heavy cream, also called heavy whipping cream, serves as the primary ingredient that transforms through mechanical action into whipped cream. This ingredient typically contains between 36 to 40 percent butterfat, which is essential for achieving proper volume and stability during the whipping process. The fat content allows tiny air bubbles to be incorporated into the cream, creating the characteristic light and airy texture. Always ensure your heavy cream is cold before beginning—this is crucial because the cold temperature helps stabilize the fat molecules and prevents the cream from separating into butter and liquid. Most recipes call for one to two cups of heavy cream, depending on how much whipped cream you need for your particular application.
Sweetening Agents: Adding Flavor and Structure
Powdered sugar, also known as confectioners sugar, is the preferred sweetener for homemade whipped cream compared to granulated sugar. Powdered sugar dissolves more readily into cold cream and incorporates smoothly without creating a grainy texture. The fine particles of powdered sugar blend seamlessly when added early in the whipping process. Typical recipes use between two tablespoons and half a cup of powdered sugar, depending on your desired sweetness level. Some bakers prefer reducing the sugar content for applications where the whipped cream will top already-sweet desserts.
Vanilla Extract: The Flavor Enhancement
Pure vanilla extract provides the classic flavor note that distinguishes exceptional homemade whipped cream. Just one teaspoon of vanilla extract imparts a warm, sophisticated flavor without overwhelming the cream’s natural taste. Some recipes call for half a teaspoon for more subtle flavoring, while others use up to two teaspoons for pronounced vanilla notes. Always opt for pure vanilla extract rather than imitation varieties, as the superior flavor quality will be noticeable in the finished product.
Equipment Requirements and Preparation
Before beginning any whipped cream preparation, gathering and properly preparing your equipment ensures smooth execution and optimal results. The right tools and proper setup make the difference between mediocre and exceptional whipped cream.
Chilling Your Equipment
Temperature control is paramount when creating whipped cream. Placing your mixing bowl and whisk attachment in the freezer for at least 10 to 15 minutes before starting ensures the cream stays cold throughout the whipping process. Cold equipment prevents the cream from warming up, which could cause it to break or become grainy. Metal bowls are preferable to glass or plastic because they conduct cold more effectively and maintain lower temperatures longer during mixing. If you don’t have time for the freezer, refrigeration for 30 minutes will suffice, though freezing produces superior results.
Mixer Versus Hand Whisking
You have flexibility in your choice of mixing equipment. An electric stand mixer fitted with a wire whisk attachment provides consistent, hands-free operation and is ideal for larger batches. A handheld electric mixer offers portability and works equally well for standard quantities. For those preferring traditional methods, a manual balloon whisk requires more physical effort but allows greater control over the whipping process. Regardless of your chosen method, starting at low speed and gradually increasing prevents splashing and ensures even air incorporation.
Step-by-Step Whipping Process
The transformation from liquid cream to fluffy whipped cream follows a predictable progression when you understand the proper technique. Breaking down the process into stages helps you achieve the exact texture you desire.
Initial Combination Phase
Begin by adding your cold heavy cream, powdered sugar, and vanilla extract to your chilled mixing bowl simultaneously. Combining all ingredients at once minimizes mixing time and keeps everything as cold as possible. If using an electric mixer, attach the wire whisk and start on low speed. This initial phase incorporates the powdered sugar into the cream and begins the aeration process gently.
Progressive Speed Increase
After approximately one to two minutes of low-speed mixing, gradually increase the mixer speed to medium, then to medium-high as the mixture thickens. This progressive approach allows the powdered sugar to fully dissolve while preventing splattering and ensuring uniform texture development. As you increase speed, you’ll notice the volume expanding as air bubbles form throughout the cream. This is where the transformation truly becomes visible.
Peak Stage Recognition
Understanding the different peak stages is crucial for achieving your desired final consistency:
- Soft Peaks: The cream holds peaks that curl over when the whisk is lifted. This stage occurs after approximately two to three minutes of medium-speed mixing and is ideal for folding into other ingredients or using in recipes requiring a lighter texture.
- Medium Peaks: The cream forms peaks that stand mostly upright with slightly drooping tips. This stage, reached after three to four minutes of mixing, represents the perfect consistency for most dessert toppings and decorative applications.
- Stiff Peaks: The cream forms peaks that stand completely upright without any drooping. Achieving this stage requires an additional minute or two of high-speed mixing and is best for applications requiring maximum stability, such as piping decorations.
Practical Applications and Serving Suggestions
Homemade whipped cream elevates a wide variety of desserts and beverages, from classic pairings to creative innovations. Understanding how to use and store your whipped cream ensures maximum enjoyment and minimal waste.
Dessert Topping Applications
Fresh whipped cream serves as the perfect accompaniment to numerous desserts. Layer it on top of pies, cakes, and tarts for an elegant finishing touch. Use it to fill cream puffs, éclairs, and pastry shells for sophisticated presentations. Top individual portions of mousse, pudding, or fruit compotes with a dollop for added richness and texture contrast. For cold beverages, a generous spoonful atop hot chocolate, coffee drinks, or cold milkshakes creates indulgent treats.
Piping and Decoration
When whipped cream reaches stiff peaks, it becomes ideal for decorative piping. Transfer the whipped cream to a piping bag fitted with your choice of tips—star tips create classic rosettes, round tips form simple dots, and open tips produce elegant ribbons. Pipe decorative elements directly onto cake surfaces or create individual portions for plated desserts. Whipped cream’s pristine white color provides striking visual contrast against darker cake layers and berry toppings.
Troubleshooting Common Issues
Even experienced bakers occasionally encounter challenges when preparing whipped cream. Recognizing problems and understanding solutions helps ensure consistent success.
Over-Whipping and Separation
If you continue mixing beyond the stiff peak stage, the fat in the cream begins separating from the liquid components, resulting in a curdled appearance and heavy texture. If this occurs, immediately stop mixing. Add a small amount of fresh cold heavy cream and gently fold it in by hand using a spatula or rubber scraper. This injection of fresh cream smooths out the mixture and restores the proper consistency. Be gentle during this rescue operation to avoid further damage to the structure.
Insufficient Volume Development
If your whipped cream fails to reach proper volume after several minutes of mixing, several factors may be responsible. Verify that your cream is sufficiently cold and that your equipment was properly chilled. Check that your cream is fresh and not near its expiration date, as older cream whips less efficiently. Ensure you’re mixing at adequate speed—low speed won’t generate enough air incorporation for proper volume development. Starting over with fresh, properly chilled ingredients typically resolves this issue.
Grainy or Split Texture
A grainy appearance usually indicates that powdered sugar wasn’t fully incorporated during mixing. Next time, ensure you mix for at least one to two minutes at low speed before increasing speed, allowing complete sugar dissolution. If splitting occurs, which results in a separated, watery appearance, your cream likely became too warm. Always begin with thoroughly chilled equipment and work as quickly as possible.
Storage and Make-Ahead Strategies
Proper storage extends the enjoyment of your homemade whipped cream and allows for advance preparation when planning events or special meals.
Refrigerator Storage
Homemade whipped cream keeps well in the refrigerator for two to three days when stored in an airtight container. Transfer your finished whipped cream to a container with a secure lid immediately after preparation. This prevents the absorption of refrigerator odors and slows down the gradual deflation that naturally occurs over time. Before serving stored whipped cream, give it a brief stir or gentle fold with a spatula to redistribute any liquid that may have separated on top.
Freezing Considerations
While whipped cream can be frozen for up to one month, the texture changes after thawing. Frozen whipped cream becomes grainier and loses some of its light, airy quality. If you choose to freeze whipped cream, transfer it to freezer bags or containers and thaw slowly in the refrigerator before use. Freezing works best for cream destined for incorporation into other recipes rather than for use as a topping where texture matters most.
Variations and Creative Enhancements
Beyond the classic vanilla preparation, whipped cream welcomes numerous flavor variations and creative adaptations for specialized applications.
Flavor Enhancement Options
Replace vanilla extract with alternative flavorings such as almond extract, peppermint extract, or bourbon for sophisticated variations. Add a small amount of cocoa powder mixed with extra powdered sugar for chocolate-flavored whipped cream. Incorporate finely grated citrus zest—lemon, lime, or orange—for bright, refreshing notes. A small amount of cinnamon, nutmeg, or cardamom provides warm spice notes that complement fall and winter desserts.
Specialty Preparations
Create mascarpone whipped cream by replacing a portion of heavy cream with mascarpone cheese for a richer, tangier result ideal for Italian desserts. Prepare stabilized whipped cream by adding a small amount of gelatin or cornstarch, which extends its hold time and prevents deflation—essential for event catering or advance decoration. Experiment with sweeteners beyond powdered sugar, such as honey or maple syrup, though these alter both flavor and texture characteristics.
Frequently Asked Questions
Can I make whipped cream without a mixer?
Yes, a traditional balloon whisk works effectively, though it requires significant arm strength and persistence. Chill your bowl and whisk beforehand, then whisk vigorously in a back-and-forth motion until peaks form. This typically requires 5 to 10 minutes of consistent effort but produces excellent results for those preferring traditional methods.
Why did my whipped cream turn grainy?
Grainy texture usually results from over-whipping, which causes fat separation, or from granulated sugar rather than powdered sugar. To avoid this, use powdered sugar exclusively and monitor mixing time carefully, stopping once stiff peaks form.
How long does homemade whipped cream last?
Properly stored in an airtight container, homemade whipped cream maintains quality in the refrigerator for two to three days. Whipped cream begins gradually deflating and may develop watery separation after this timeframe.
Can I use whipped cream that’s a day old?
Yes, though the texture becomes slightly softer and less voluminous. Give it a gentle stir or brief whisking by hand to restore some fluffiness before serving.
What’s the difference between heavy cream and heavy whipping cream?
These terms are largely interchangeable, as both contain 36 to 40 percent butterfat. Check your local labeling conventions, as terminology varies by region and retailer.
References
- King Arthur Baking Company Homemade Whipped Cream Recipe — King Arthur Baking Company. https://www.kingarthurbaking.com/recipes/homemade-whipped-cream-recipe
- Easy 5-Minute Homemade Vanilla Whipped Cream — Tutti Dolci. https://tutti-dolci.com/homemade-whipped-cream/
- Homemade Whipped Cream Recipe — Sally’s Baking Addiction. https://sallysbakingaddiction.com/homemade-whipped-cream/