Crafting your own vanilla ice cream at home delivers a superior taste and texture compared to store-bought versions. This guide explores accessible recipes that require few ingredients and basic tools, allowing anyone to produce velvety treats without advanced skills.
Why Choose Homemade Over Store-Bought
Homemade ice cream stands out for its fresh ingredients and customizable sweetness. You control the quality, avoiding preservatives while achieving a denser, creamier consistency through proper fat ratios from heavy cream and milk. Professional versions often use stabilizers, but home methods rely on natural churning or freezing for structure.
Core Ingredients for Success
Most recipes center on a handful of pantry staples. Heavy cream provides richness, whole milk balances the base, sugar sweetens and prevents full freezing, vanilla infuses flavor, and a pinch of salt enhances taste.
- Heavy cream (or whipping cream): 1.5-2 cups for body and aeration.
- Whole milk: 1-2 cups to thin the mixture without diluting creaminess.
- Sugar: 0.5-0.75 cups; cane or white works, dissolving fully for smoothness.
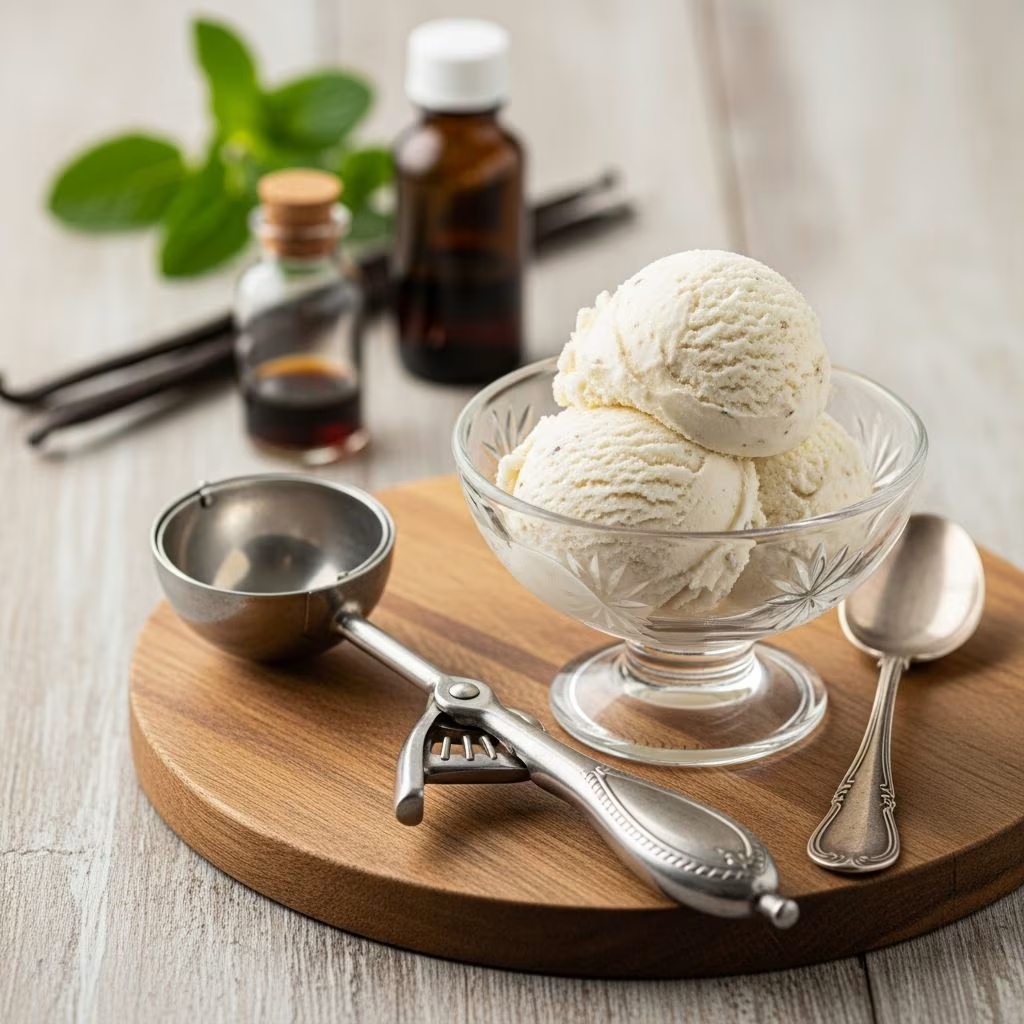
- Vanilla extract or beans: 1-2 tablespoons extract or scraped beans for authentic aroma.
- Salt: A pinch (1/8 tsp) to amplify flavors.
Optional additions like sweetened condensed milk simplify no-churn versions by adding sweetness and body.
No-Churn Method: Effortless Creamy Results
Ideal for those without machines, this technique uses whipped cream’s air pockets for a soft, scoopable texture. Prep takes under 15 minutes, with 6+ hours freezing.
Step-by-Step No-Churn Recipe
- Chill a mixing bowl and beaters. Whip 2 cups heavy cream to stiff peaks.
- In another bowl, mix 14 oz sweetened condensed milk with 1-2 tsp vanilla extract or scraped vanilla bean seeds.
- Gently fold condensed milk into whipped cream using a spatula to preserve volume. Avoid overmixing.
- Transfer to a loaf pan, cover with plastic wrap pressed to the surface, and freeze 6-8 hours until firm.
This yields about 1 quart, perfect for 6-8 servings. For best results, freeze overnight.
Churned Ice Cream: Classic Ice Cream Maker Approach
An ice cream maker aerates the base for authentic soft-serve texture. Recipes require chilling the mixture first for optimal freezing.
Basic Churned Recipe
Yield: 1.5 quarts | Prep: 10 min + chill | Churn: 20-30 min
- Heat 1 cup cream with 3/4 cup sugar and 1/8 tsp salt until dissolved. Off heat, add 3/4 cup more cream, 1.25 cups milk, and 1 tbsp vanilla.
- Chill 2-24 hours. Churn per machine instructions until thick like soft serve.
- Freeze 2-4 hours for scoopable consistency.
Variations include blending in vanilla beans for specks or using evaporated milk for extra creaminess.
Comparing Methods: No-Churn vs. Churned
| Aspect | No-Churn | Churned |
|---|---|---|
| Equipment | Mixer, loaf pan | Ice cream maker |
| Prep Time | 15 min | 10 min + chill |
| Texture | Dense, mousse-like | Light, creamy |
| Yield | 1 quart | 1.5 quarts |
| Best For | Quick treats | Batch production |
Churned offers superior aeration but requires investment; no-churn suits spontaneity.
Flavor Enhancements and Mix-Ins
Elevate basic vanilla with thoughtful additions. Swirl in during last churning minutes or fold post-whipping.
- Fruits: Pureed strawberries or blueberries (1 cup).
- Chocolate: Chips, chunks, or fudge ribbons.
- Nuts: Toasted pecans or almonds (1/2 cup).
- Premium twists: Infuse base with beans or paste for deeper flavor.
Adjust sugar for tart add-ins to maintain balance.
Troubleshooting Common Issues
Encounter problems? Here’s how to fix them:
- Ice crystals: Ensure airtight storage; beat midway through freezing for no-churn.
- Too hard: Temper 10 min before scooping; use more cream.
- Not sweet enough: Taste base pre-freezing; sugar mutes when frozen.
- Grainy texture: Fully dissolve sugar; chill thoroughly.
Storage and Serving Tips
Store in airtight containers with plastic wrap on top to prevent freezer burn. Keeps 1-2 weeks. Serve with fresh berries, warm pies, or chocolate sauce. For parties, portion into molds for pops.
Nutrition Snapshot
Per 1/2 cup serving (no-churn): ~250 calories, 20g fat, 15g sugar. Varies by recipe; use low-fat milk for lighter versions.
Frequently Asked Questions
Can I make this dairy-free?
Yes, substitute coconut cream and milk, but texture may differ.
Do I need an ice cream maker?
No, no-churn works excellently without one.
How long does it last in the freezer?
Up to 2 weeks for best quality.
Can I use half-and-half?
Yes, but increase cream for richness.
Why add salt?
It balances sweetness and heightens vanilla notes.
Pairing Ideas for Your Creation
Complement with berry compotes, brownies, or as a float base. Kids love it in cones; adults pair with espresso.
References
- Homemade Vanilla Ice Cream Recipe — Paula Deen. Accessed 2026. https://www.pauladeen.com/recipe/homemade-vanilla-ice-cream-recipe/
- Simple Homemade Vanilla Ice Cream — The Prairie Homestead. 2012-07. https://www.theprairiehomestead.com/2012/07/simple-no-cook-vanilla-ice-cream.html
- Easy Vanilla Ice Cream (No-churn recipe!) — SugarHero. Accessed 2026. https://www.sugarhero.com/easy-vanilla-ice-cream/
- Homemade Vanilla Ice Cream Recipe — Love and Lemons. Accessed 2026. https://www.loveandlemons.com/homemade-ice-cream-recipe/
- The Best (and Easiest) Homemade Ice Cream — Barefeet in the Kitchen. Accessed 2026. https://barefeetinthekitchen.com/homemade-ice-cream-recipe/