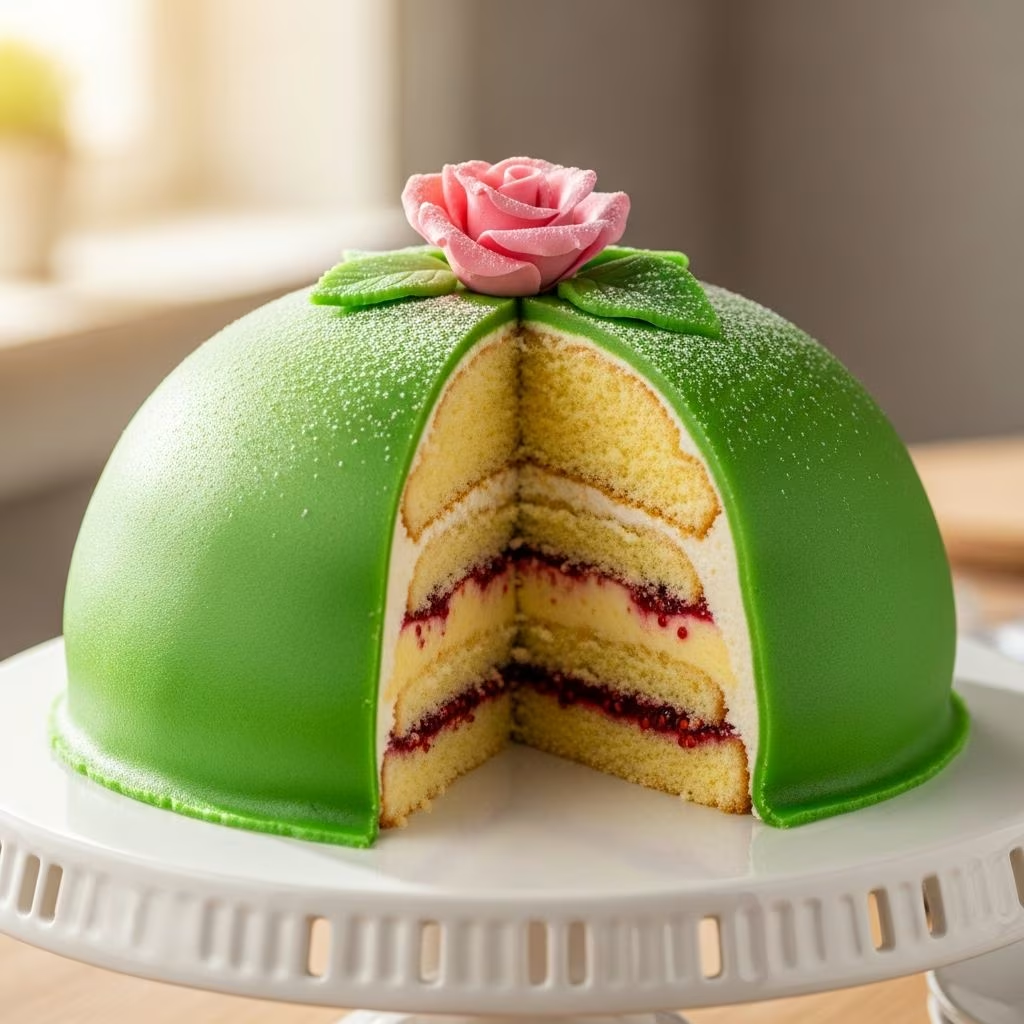
Creating a flawless fondant coating for cakes and decorative projects requires understanding the fundamental components that work together to achieve the ideal texture and consistency. Rolled fondant represents one of the most versatile mediums in cake decoration, offering a smooth, polished finish that transforms ordinary desserts into elegant creations. Unlike store-bought versions that can be prohibitively expensive, preparing fondant in your own kitchen allows for complete control over quality, flavor, and customization options.
Understanding Fondant Composition and Purpose
Fondant serves as a sophisticated outer layer for cakes, creating a canvas for artistic expression and professional presentation. The homemade version differs fundamentally from commercial alternatives by incorporating fresh ingredients that yield superior elasticity and workability. The fundamental chemistry behind fondant involves combining specific ingredients that interact to create an extensible paste capable of draping smoothly over cake surfaces without cracking or tearing.
The development of rolled fondant as a decorating medium revolutionized cake artistry by enabling decorators to achieve mirror-smooth surfaces impossible to accomplish with traditional frosting techniques. Understanding how each ingredient contributes to the final product enhances your ability to troubleshoot problems and adapt recipes to suit your specific climate and working conditions.
Essential Ingredients for Fondant Production
The foundation of quality homemade fondant rests on four primary components that work synergistically to produce the desired consistency and workability.
Confectioners Sugar
Confectioners sugar forms the volumetric base of the fondant mixture. This finely milled powdered sugar, typically containing cornstarch as an anti-caking agent, comprises the majority of the final product. Most recipes call for six to eight cups of confectioners sugar, providing the structure and substance that gives fondant its distinctive smooth texture. Sifting the sugar before incorporation helps eliminate lumps and ensures even distribution throughout the mixture.
Gelatin Component
Unflavored gelatin functions as the crucial binding and elasticity agent in fondant formulations. This ingredient enables the fondant to stretch and roll without cracking or developing tears. Typically, recipes employ one to two teaspoons of gelatin powder per batch. The gelatin undergoes a blooming process, where it absorbs cold water for several minutes before gentle heating to activate its thickening properties. This step creates the flexible matrix that prevents the sugar from becoming brittle.
Sweetener Syrup
Corn syrup or glucose syrup contributes moisture and body to the fondant mixture. These clear, viscous syrups prevent the fondant from drying excessively and add pliability to the final product. Recipes typically incorporate one-quarter to one-third cup of this ingredient. The syrup also impacts the glossiness and flexibility of the finished fondant, making it an essential component for achieving professional results.
Glycerin Addition
Vegetable glycerin prevents the fondant from hardening to an undesirable brittle consistency. This humectant ingredient attracts and retains moisture, maintaining the fondant’s soft, workable state for extended periods. Most recipes call for one to two tablespoons of glycerin, though the exact amount can be adjusted based on climate conditions and personal preference.
Additional ingredients include shortening or butter for texture improvement, cold water for the gelatin blooming process, and vanilla extract or other flavorings to enhance taste.
Detailed Preparation Process
Step One: Gelatin Preparation
Begin by placing two ounces of cool water in a small microwave-safe bowl or cup. Sprinkle the gelatin powder evenly across the water surface and whisk gently one or two times to combine the ingredients. Avoid vigorous stirring, which can create unwanted air bubbles. Allow this mixture to stand undisturbed for five minutes, during which the gelatin absorbs the water completely. This blooming stage prepares the gelatin for melting and activation.
Step Two: Activating the Gelatin
After the blooming period, microwave the gelatin mixture for fifteen seconds. This brief heating fully melts the gelatin and activates its thickening properties. The mixture should appear completely clear and uniform with no visible particles. Remove from the microwave and allow to cool slightly before proceeding.
Step Three: Combining Wet Ingredients
While the gelatin cools, measure the corn syrup and vegetable glycerin into the warm gelatin mixture. Whisk these ingredients together thoroughly to ensure complete incorporation. The combination should be uniform and glossy. Microwave this mixture for an additional fifteen seconds to ensure all components are fully melted and integrated. This step creates the wet base that will be introduced to the powdered sugar.
Step Four: Sugar Integration
Sift approximately six cups of confectioners sugar into a large mixing bowl, creating a mound of fine powder. Using the back of a wooden spoon, create a well in the center of the sugar mound. This depression provides a central location for the warm gelatin mixture. Pour the entire warm mixture into this well all at once.
Step Five: Initial Mixing
Using a wooden spoon, begin stirring the mixture in circular motions, gradually incorporating sugar from the sides of the well into the gelatin mixture. Continue this process until most of the sugar has been incorporated and the mixture becomes too thick for the spoon to manage effectively. The fondant at this stage will appear somewhat sticky and lumpy, which is entirely normal.
Step Six: Hand Kneading and Refinement
Transfer the partially mixed fondant to a clean surface dusted lightly with confectioners sugar. Using your hands, begin kneading the mixture as you would bread dough, incorporating any remaining dry sugar. Continue kneading for several minutes, adding small amounts of additional sugar as needed. The fondant will gradually transform from a sticky, uneven paste into a smooth, pliable substance. This kneading process distributes all components evenly and develops the proper texture.
Achieving Proper Consistency and Texture
The correct fondant consistency represents a balance between softness and workability. When properly prepared, the fondant should feel smooth and pliable without sticking excessively to your hands or surfaces. If the mixture remains too soft and sticky after kneading, gradually incorporate additional confectioners sugar in small increments. If the fondant becomes too stiff or dry, add water drop by drop, kneading thoroughly after each addition to determine if further adjustment is necessary.
Environmental conditions significantly impact fondant consistency, as humidity and temperature affect the moisture content of the mixture. During humid weather, you may need additional sugar to achieve the proper texture. In dry climates, slightly more water might be necessary. Document the adjustments you make to your recipe, creating a personalized version that accounts for your local conditions.
Resting and Setting Procedures
Once the fondant reaches the desired consistency, wrap it thoroughly in plastic wrap, then place it in a sealed plastic bag. This double-wrapping prevents air exposure that could cause the fondant surface to dry and form an undesirable crust. Store the wrapped fondant at room temperature for at least eight hours, preferably overnight. This resting period allows the gelatin to fully set and the ingredients to continue integrating, resulting in a more cohesive and workable product.
Preparing Fondant for Application
Before using the rested fondant, remove it from storage and allow it to reach room temperature if refrigerated. Knead the fondant by hand for several minutes to restore its pliability and smooth texture. The kneading action helps redistribute moisture evenly throughout the fondant and prepares it for rolling.
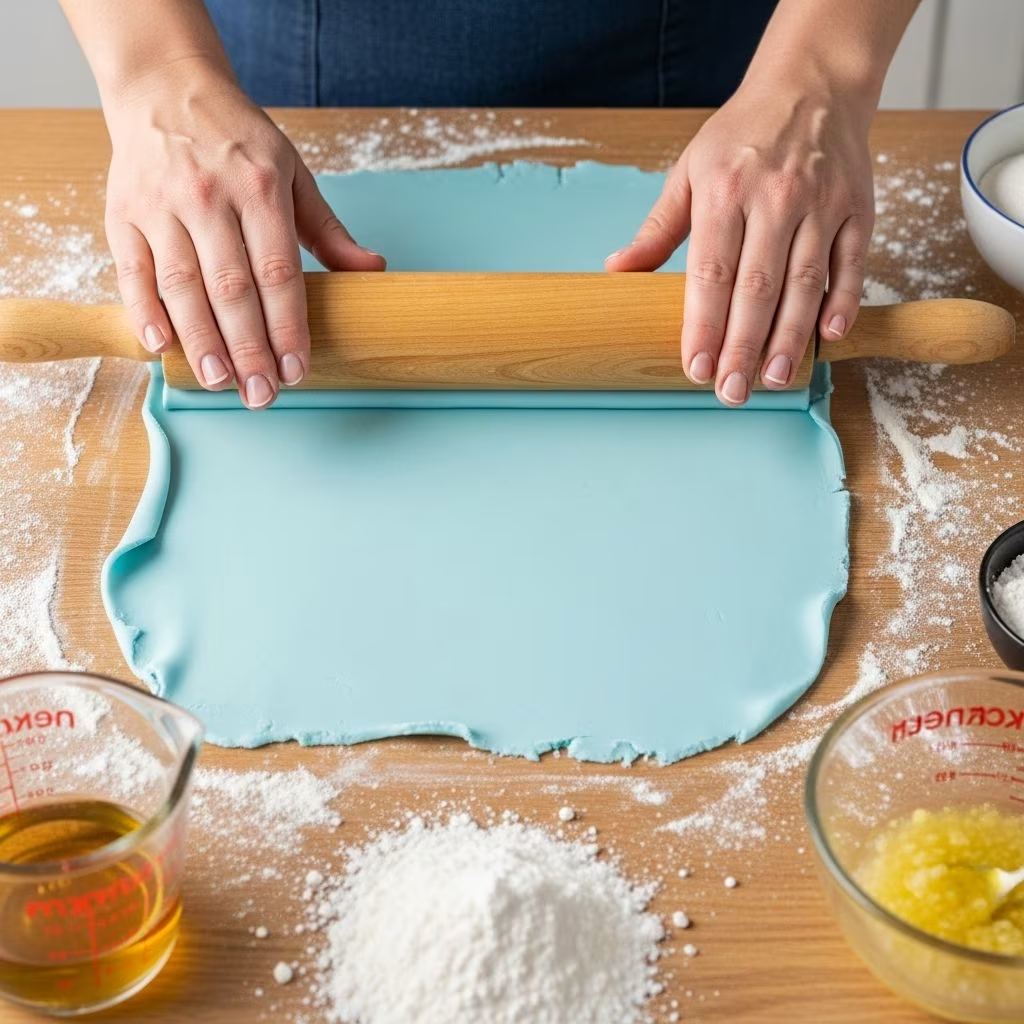
When ready to roll the fondant, work on a clean surface dusted lightly with confectioners sugar. Using an adjustable rolling pin, begin flattening the fondant from the center outward, rotating it frequently to maintain an even thickness. Continue rolling until the fondant reaches the desired thickness for your project, typically one-eighth to one-quarter inch depending on your specific application.
Troubleshooting Common Fondant Issues
| Problem | Likely Cause | Solution |
|---|---|---|
| Fondant remains sticky and unworkable | Insufficient sugar or excess moisture | Add confectioners sugar gradually until proper consistency is achieved |
| Fondant becomes dry and crumbly | Too much sugar or insufficient moisture | Add water drop by drop while kneading to restore pliability |
| Cracks appear when rolling | Inadequate gelatin or insufficient kneading | Knead thoroughly before rolling; allow longer resting period |
| Fondant develops hard surface | Exposed to air too long | Keep unused portions wrapped tightly in plastic; work quickly |
| Fondant becomes grainy or separated | Temperature fluctuations during setting | Store at consistent room temperature away from temperature extremes |
Storage and Long-Term Maintenance
Properly stored homemade fondant maintains its quality for several weeks. Keep unused portions wrapped tightly in plastic wrap and stored in an airtight container at room temperature, away from direct sunlight and heat sources. Do not refrigerate unless absolutely necessary, as cold temperatures can cause condensation that negatively impacts texture.
Before reusing stored fondant, remove it from storage and bring it to room temperature naturally. Knead the fondant thoroughly to restore its smooth, workable consistency. If the surface has developed a thin crust or hardened layer, simply knead this into the overall mass, as it will integrate during the kneading process.
Customization and Flavor Enhancement
The basic fondant recipe provides an excellent foundation for customization. Incorporate food-grade colorant during the wet ingredient stage, adding just before pouring the mixture into the sugar. For flavor variations, substitute the vanilla extract with almond extract, peppermint extract, or other concentrated flavorings at the rate of one-half to one teaspoon per batch.
You can also divide the prepared fondant into sections and knead different colors into each portion, creating a palette of fondant colors for varied decorative applications. This technique proves particularly useful for larger projects requiring multiple colored elements.
Professional Tips for Superior Results
- Ensure all equipment and surfaces are clean and dry before beginning the fondant preparation process
- Use room-temperature ingredients to promote even mixing and optimal texture development
- Resist the urge to rush the kneading process; thorough mixing ensures proper ingredient distribution
- Maintain consistent working conditions by controlling temperature and humidity in your work area
- Document any adjustments you make to the recipe for future reference and improved consistency
- Practice handling and rolling small test batches before attempting larger cake-covering projects
- Keep all unused fondant covered with plastic wrap to prevent surface drying
- Allow sufficient resting time before first use to maximize elasticity and workability
Frequently Asked Questions
Can I make fondant without gelatin?
While gelatin provides the ideal elasticity, some bakers successfully substitute agar agar for a vegetarian version. However, this substitution may affect the final texture slightly, requiring minor adjustments to other ingredient quantities.
How long can I store homemade fondant?
When stored properly in an airtight container at room temperature, homemade fondant maintains quality for several weeks to a few months. Always knead thoroughly before each use to restore workability.
What causes elephant skin on fondant?
Elephant skin, characterized by wrinkles and creases on the fondant surface, typically results from insufficient sealing of the cake with crumb coat before applying the fondant. Ensure your crumb coat is smooth and sealed properly before fondant application.
Can I color the fondant after preparation?
Yes, you can knead food-grade coloring into rested fondant. This approach works well when you need to adjust the color or create multiple hues from a single batch.
Why does my fondant tear when rolling?
Tearing typically indicates insufficient gelatin content, inadequate kneading before rolling, or working with fondant that hasn’t rested sufficiently. Ensure proper resting time and thorough kneading before attempting to roll.
References
- Rolled Fondant Recipe Instructions — Wilton. Accessed April 2026. https://wilton.com/rolled-fondant/wlrecip-212/
- How to Make Rolled Fondant — Baking Sense. November 2, 2017. https://www.baking-sense.com/2017/11/02/how-to-make-rolled-fondant/
- How To Make Rolled Fondant Recipe — Bigger Bolder Baking. Accessed April 2026. https://www.biggerbolderbaking.com/how-to-make-rolled-fondant/
- The Best Fondant Recipe — Fav Family Recipes. Accessed April 2026. https://www.favfamilyrecipes.com/how-to-make-fondant/
- How to Make Fondant (Including Video Tutorial) — Tikkido. Accessed April 2026. https://tikkido.com/blog/how-to-make-fondant
- Fondant Recipe (homemade) + Video Tutorial — Sugar Geek Show. Accessed April 2026. https://sugargeekshow.com/fondant-recipe/